Last updated November 17, 2026


Free written scope consultation - allowances, timeline, and change-order rules on paper before a single trade is scheduled
DIY vs Professional Fence Installation: What’s Safe to Do Yourself
Fence installation has the highest rate of confident DIY starts and frustrated professional rescues of any home project. The reason is simple: the visible part of a fence is genuinely manageable. Hanging a gate, swapping a rotted picket, capping a post – most homeowners can do that on a Saturday with a drill and a level. But setting those posts plumb, level, and deep enough in Spring Valley’s caliche soil with the right concrete mix and correct cure time is where most homeowners discover, two hours in, that they needed different tools and a second set of hands. This guide draws the line between what’s safe to do yourself and what isn’t, so you can decide based on reality rather than a 12-minute YouTube video.
Styles & brands we work with
- Kitchen remodeling
- Bathroom remodeling
- Home additions & ADU
- Roofing
- Windows & doors
- Driveway & pavers
- Fence
Quick Answer
Attaching fence panels to already-set posts, replacing pickets, hanging gate hardware, installing post caps, and staining an existing fence are all legitimate DIY work. Excavating post holes in Spring Valley’s caliche soil, setting posts plumb across a long run, mixing and curing concrete properly, and pulling the correct Clark County permits are where professional crews earn their money – and where DIY attempts most often fail. If your project involves new posts in the ground, call a professional before you rent an auger.
Table of Contents
- Where the DIY Line Actually Falls
- The Caliche Problem: Why Your Rental Auger Will Fail
- What “Level and Plumb” Really Means Across a 100-Foot Run
- Clark County Permits and the Resale Trap Nobody Mentions
- The Honest DIY Success Zone
- Cost and Time Reality Check: DIY vs Professional
- Materials That Hold Up in Spring Valley’s Climate
- Common Mistakes to Avoid
- When to Call a Professional
- Frequently Asked Questions
Where the DIY Line Actually Falls
The clearest way to decide is to split fence work into two categories: work above grade and work below grade. Above grade is almost always fair game for a motivated homeowner. Below grade is where the skill, equipment, and liability live.
Here’s the split we’ve seen hold up across thousands of Spring Valley fence projects:
- Fair game for DIY: Replacing damaged pickets or panels, installing post caps, swapping gate hinges and latches, tightening sagging gates, re-staining or sealing an existing fence, and adding decorative lattice or trim.
- Risky for DIY: Pulling up and resetting a single leaning post in soft soil, small ornamental fence runs under 20 feet with easy digging, and repairs to fences already set in sand or decomposed granite.
- Professional territory: Any new fence installation with posts in Spring Valley’s caliche soil, runs over 40 feet, anything requiring a permit or HOA approval, fences on a property line, and any job where the existing fence is load-bearing for a gate.
Notice the pattern: everything mechanical and cosmetic is DIY-friendly. Everything structural and legal is not. When a Spring Valley homeowner calls us after a failed attempt, it’s almost never because they lacked skill – it’s because they lacked the right equipment for the soil, or they didn’t know the permit rules.
The Caliche Problem: Why Your Rental Auger Will Fail
Spring Valley sits on some of the hardest residential soil in the Las Vegas Valley. The culprit is caliche – a naturally cemented layer of calcium carbonate that forms just below the surface and behaves more like soft rock than dirt. A homeowner who rents a one-man auger from a big-box store expecting to drill six clean holes in an afternoon will usually drill one, smoke the clutch, and return the machine by lunch.
Here’s what actually happens on a DIY attempt in Spring Valley caliche:
- The first 6 to 12 inches go fine. The auger chews through topsoil and loose fill without complaint, which builds false confidence.
- The bit hits the caliche layer. The auger slows, binds, and starts kicking back. On smaller machines, the torque clutch trips repeatedly.
- Progress stalls. Standard augers can’t break caliche. On a good day, a determined homeowner with a digging bar and a post hole digger can get through one hole in 45 minutes to over an hour. Times 20 posts, that’s an entire weekend of brutal labor.
- The hole ends up too wide. Digging bars and shovels enlarge the hole around the post, which means the concrete column has to be bigger to hold. The job quietly gets more expensive.
Professional crews bring rotary hammer drills with ground bits, hydraulic augers rated for hard soil, or a mini-excavator with a rock auger. In many Spring Valley neighborhoods – especially older pockets near Russell Road and around the Paradise border – a crew will also hit buried concrete footings, old irrigation lines, or landscape rock that was dumped decades ago. That’s not a YouTube problem. That’s a job site reality.
If your fence installation involves new posts in Spring Valley, that’s the exact moment to call in a crew that deals with caliche every week.
What “Level and Plumb” Really Means Across a 100-Foot Run
Every fence video says “make sure your posts are plumb.” Almost none of them explain what that actually means across a long run, and that’s where DIY projects collapse.
On a 100-foot fence with posts every 8 feet, you’re setting 13 posts. Each post has to be plumb in two directions (front-to-back and side-to-side), set at the same height as its neighbors within a quarter inch, and spaced evenly enough that panels don’t have to be trimmed on-site. Lose a quarter inch on each post and by post 13 you’re an inch out of level – or worse, out of square on the spacing.
Here’s what “level and plumb” actually requires:
- String lines in two directions – one along the top of the posts at final height, one on each face at the panel line.
- A magnetic torpedo level on every post in two axes, checked while the concrete is still wet and again after it starts to set.
- Bracing every post individually – typically two stakes and cross-braces per post – until concrete cures, which means 12 to 24 braces for a 100-foot run.
- Consistent hole depth: in Spring Valley, fence posts need to sit below the frost line for stability and reach at least 24 to 30 inches into competent soil for a 6-foot fence, often more for 8-foot privacy fences in our wind exposure.
- Correct concrete mix and cure time – fast-set for speed, standard mix for strength, and a minimum of 24 hours before any load goes on the posts, longer in cold weather.
Eyeballing it feels fine on post one. On post nine, when the string line sags and the braces are in the way, the compound error becomes visible. When a Spring Valley homeowner asks us to finish a failed DIY job, this is what we find nine times out of ten.
Clark County Permits and the Resale Trap Nobody Mentions
This is the part most fence install guides skip entirely, and it’s the part that costs Spring Valley homeowners real money at closing.
Clark County requires a building permit for fences over a certain height – generally 6 feet for most residential zones, with different rules for corner lots where sight triangles apply. Fences under the threshold may not need a permit, but the rules change depending on your zoning, your HOA, and whether you’re on a corner lot. HOAs in Spring Valley master-planned communities often have stricter fence rules than the county does – approved materials, approved colors, and sometimes maximum heights that are lower than the county allows. Installing first and asking later gets expensive.
Here’s the resale trap: a fence installed without a required permit can show up as a defect during a buyer’s inspection or title search. When that happens, the seller either has to tear it out, apply for a retroactive permit and pay any penalty, or negotiate a credit at closing. In a market like Spring Valley’s, where the fence is often the first thing a buyer sees, an unpermitted fence doesn’t just hurt the sale – it can kill a deal entirely.
The steps to get it right:
- Check your HOA rules first if you’re in a Spring Valley master-planned community. They may need approval before you even apply to the county.
- Confirm the height threshold and zoning requirements with Clark County’s building department for your specific address.
- Apply for the permit if required – most fences go through a simple over-the-counter process.
- Schedule the inspection after posts are set but before backfill is fully compacted, so the inspector can verify depth and concrete.
- Keep the final signed permit with your home records for future resale.
The permit itself is usually modest – a few hundred dollars for a typical residential fence. The cost of skipping it, at resale, runs into the thousands. When we install fences in Spring Valley, pulling the permit and passing the inspection is part of the job, and it stays on file for whenever you sell.
The Honest DIY Success Zone
Here’s where we genuinely encourage homeowners to do the work themselves, because these are the projects where DIY makes sense and saves real money.
- Panel replacement on an existing fence. If posts are solid and structurally sound, swapping out a rotten or damaged panel is a two-hour job with basic tools. This is the single best DIY fence task.
- Gate hardware replacement. New hinges, a self-closing spring, or a latch upgrade is straightforward and makes a big difference in how the fence feels.
- Post cap installation. Caps protect the top of posts from water intrusion and rot. Most modern caps install in minutes with adhesive or a couple of screws. We’ve seen a few dollars per cap save a post replacement.
- Staining and sealing an existing fence. In Spring Valley’s climate, UV exposure and dry heat age a fence fast. Re-staining every two to three years is one of the highest-return maintenance tasks a homeowner can do. It’s also completely safe to do yourself.
- Minor picket repair. Replacing broken pickets, tightening loose fasteners, and small patching work fall squarely in DIY territory.
- Weeding and ground clearance. Vegetation against the fence traps moisture, which is the leading cause of rot at the base of a Spring Valley fence. Clearing it doesn’t require a pro.
We recommend keeping a running punch list on your fence. If the list is all above-grade cosmetic work, DIY it. The moment the list includes any post that’s actually moving, call a pro – a moving post can’t be fixed by tightening a picket.
Cost and Time Reality Check: DIY vs Professional
The DIY pitch sounds great until you add up what the tools, materials, and permits actually cost – and you put a value on your weekend. Here’s what a 100-foot wood privacy fence in Spring Valley looks like from both sides.
DIY Scenario: 100 Feet of Wood Privacy Fence
- Materials: $2,800 to $4,200 depending on wood grade, post size, concrete bags, stringers, and fasteners
- Tool rental: $250 to $500 for a two-day auger rental, plus a digging bar, mixing tub, and post hole digger if you don’t own them
- Permit fees: $150 to $400 depending on run length and height
- Wasted materials: Expect 5 to 15 percent on a first-time job – miss-cut pickets, bowed posts that need to be reset, concrete that set before it was plumb
- Labor hours: 40 to 60 hours realistically for a first-time installer, spread across two to three weekends, plus the cure time
- Realistic all-in: $3,500 to $5,500 plus 3 weekends of your time
- Warranty: None. If a post fails in Spring Valley’s soil in year two, the cost is yours.
Professional Scenario: 100 Feet of Wood Privacy Fence
- Materials, labor, and permit: Bundled into a single upfront price quoted before work starts
- Timeline: Usually one to three days on site for a straightforward residential run, with weather permitting
- Warranty: Backed in writing. With Groundwork, every fence project is covered by the 730-Day Done Right Promise, which means if workmanship fails, we make it right.
- Hidden costs avoided: No wasted material, no tool rental, no second weekend, and no permit liability at resale
The front-end difference between DIY and professional is smaller than most people assume once you count the tools, wasted materials, and permit costs. The bigger difference is the warranty and the time back. Call (888) 329-9414 for a free Spring Valley estimate – we’ll run through the real numbers with you, no obligation.
Materials That Hold Up in Spring Valley’s Climate
Spring Valley’s climate is brutal on fences. Summer sun pushes surface temperatures on wood and vinyl to 150 degrees or higher. Winter nights drop below freezing a few times a season. Wind gusts during summer thunderstorms routinely top 40 mph. The soil, as we covered, is caliche-heavy. A fence in Spring Valley has to deal with all of it.
What we see working across Spring Valley installations:
- Cedar and pressure-treated pine remain the most common fencing materials in the area. Cedar fences handle sun and heat well but need re-sealing every two to three years. Pressure-treated pine is the cost-effective standard, but in caliche soil the post quality matters more than the panel quality – if the post rots, the fence comes down regardless of how good the panels look.
- Composite fences from brands comparable to the top roofing and siding lines we work with (GAF and CertainTeed stand out for weathering) are increasingly popular in Spring Valley – they hold color, resist moisture, and skip the re-staining cycle. The trade-off is upfront cost.
- Vinyl fences handle UV and moisture well, but they’re less forgiving of soil movement. In caliche areas with heavy clay pockets, we’ve seen panel buckling when posts aren’t set deep enough and properly backfilled.
- Metal and ornamental iron has the longest lifespan and best wind performance, and it’s increasingly specified for pool and property-line fencing in Spring Valley HOA communities.
Brand matters more on fences than most homeowners expect. The same way a roof built with GAF or CertainTeed materials holds up longer than a no-name bundle, a fence built with proven posts and quality fasteners will outlast a bargain-basement build by years. Our approach is to specify the brand for the part of the fence that actually fails first – the post and the fasteners – not just the panels you see.
Common Mistakes to Avoid
- Skipping the HOA check. Installing a 6-foot privacy fence in a Spring Valley HOA that caps at 5 feet means tearing it down and starting over. Read the CC&Rs before you buy a single board.
- Using a standard auger on caliche. The rental machine will fail, and you’ll waste a day. If you haven’t verified what your soil is actually like, dig a test hole with a hand digger before renting anything.
- Setting posts too shallow for Spring Valley wind. A 24-inch post hole might work in softer soil, but our wind exposure and caliche base mean most 6-foot fences need 30 inches or more into competent ground, with proper concrete volume.
- Eyeballing plumb because “it looks close.” Compound error across 13 posts is how a fence run ends up visibly crooked by the last panel. It’s a slow, frustrating fix.
- Pouring concrete that’s too wet. Over-watered concrete is weaker, cracks sooner, and won’t hold a post against soil movement. The mix should be stiff enough to hold its shape when the post is set.
- Staining a new fence too soon. Fresh pressure-treated wood needs to dry before it will accept stain. In Spring Valley’s dry heat, that’s usually four to six weeks. Staining early traps moisture and causes peeling.
- Building on a contested property line. In Spring Valley neighborhoods with tight lots, an 6-inch overrun onto a neighbor’s parcel can become a legal issue at resale. Get a survey if the line isn’t obvious.
- Adding a gate to a fence that isn’t structurally ready. A gate concentrates load on two posts. If those posts weren’t designed for that load, the gate sags within a year. Gate posts often need to be larger – 6×6 rather than 4×4 – and set deeper.
When to Call a Professional
Call a professional the moment your project includes any of the following: new posts in the ground, runs over 40 feet, anything requiring a permit or HOA approval, a gate on an existing fence, or a property-line installation. Those are the projects where an experienced crew saves you money – once you factor in tool rental, wasted material, permit responsibility, and the value of a written warranty. If your project is cosmetic repair, staining, or hardware, you’re probably fine doing it yourself.
For Spring Valley homeowners ready to move forward on a new fence, we’re glad to look at the project, walk the line with you, and give you a written upfront estimate. Groundwork Construction Co. of Spring Valley offers free estimates in Spring Valley – call (888) 329-9414. Calls are answered by a live person, 24/7, so you’re never stuck in a voicemail loop over a weekend.
If your fence project is part of a larger exterior plan – fencing alongside a new driveway, or a fence defining a future ADU – we can scope all of it as one project. See our Fence Installation in Spring Valley page for what’s included, or look at Driveway & Pavers in Spring Valley and Home Additions & ADU in Spring Valley for the bigger picture. For everything we cover, see the Groundwork Construction Co. of Spring Valley home.
Frequently Asked Questions
You can do some fence work yourself and it’s worth doing. Panel replacement, post caps, gate hardware, and staining are all safe DIY tasks. New fence installations with posts in the ground, especially in Spring Valley’s caliche soil, usually exceed what a homeowner can reasonably do with rented tools and weekend time. Call (888) 329-9414 for a free estimate if you’re on the fence about which side your project falls on.
Caliche is a hard, naturally cemented soil layer that forms in desert climates just below the surface. In Spring Valley it behaves more like soft rock than dirt, which is why standard rental augers stall out and most DIY attempts with hand tools finish one post per hour instead of the six per hour a proper machine handles. Professional crews bring rotary hammer drills, heavy-duty augers, or mini-excavators to get through it. Call us for a free estimate if you’d rather not fight it.
It depends on the fence height, your zoning, and your HOA. Clark County typically requires a permit for residential fences at 6 feet and above, and Spring Valley HOAs often have stricter rules on top of that. Putting up a fence without a required permit can create a defect at resale, so it’s worth confirming before you buy materials. We handle the permit and the inspection on every Spring Valley fence project we install. Call (888) 329-9414 for a free estimate.
For a 100-foot wood privacy fence, DIY runs about $3,500 to $5,500 all-in once you count materials, tool rental, permit fees, and realistic waste – plus two to three weekends of your own time and no warranty. A professional installation is quoted upfront with materials, labor, and permit in one number, done in one to three days, and covered by a written warranty. Call (888) 329-9414 for a free quote on your specific fence – no obligation, no surprises.
Not if the scope doesn’t change. Our quotes are upfront and the number you see is the number you pay. The one exception is a hidden condition a contractor couldn’t see before digging – a buried concrete footing, an old septic tank, or a root system in the way – and even then we stop, show you, and quote the fix before touching it. Call (888) 329-9414 for a free estimate and we’ll walk the line with you first.
Most Spring Valley residential fence installations run one to three days on site once material is delivered and the permit is in hand. The window includes post setting, a cure period for the concrete, and panel installation. Caliche-heavy yards can add a day for excavation. DIY timelines run 40 to 60 hours of hands-on labor over two to three weekends, often longer. Call (888) 329-9414 for a free estimate and a realistic timeline for your property.
The Bottom Line
The line between DIY and professional fence work isn’t about skill – it’s about whether the job goes into the ground. Panels, gates, caps, and stain belong in the DIY column. Posts, permits, caliche, plumb, and property lines belong to the pros. Spring Valley’s caliche soil is unforgiving to rental tools, the county permit and HOA rules are stricter than most homeowners expect, and a crooked or unpermitted fence can cost thousands at resale. If your project is cosmetic, do it yourself and do it well. If it involves new posts in Spring Valley ground, get a free estimate from a crew that deals with caliche every week and backs the workmanship in writing for 730 days. Call (888) 329-9414 – calls are answered by a live person, 24/7.
Written by the team at Groundwork Construction Co. of Spring Valley.
See the difference
 Before
 After
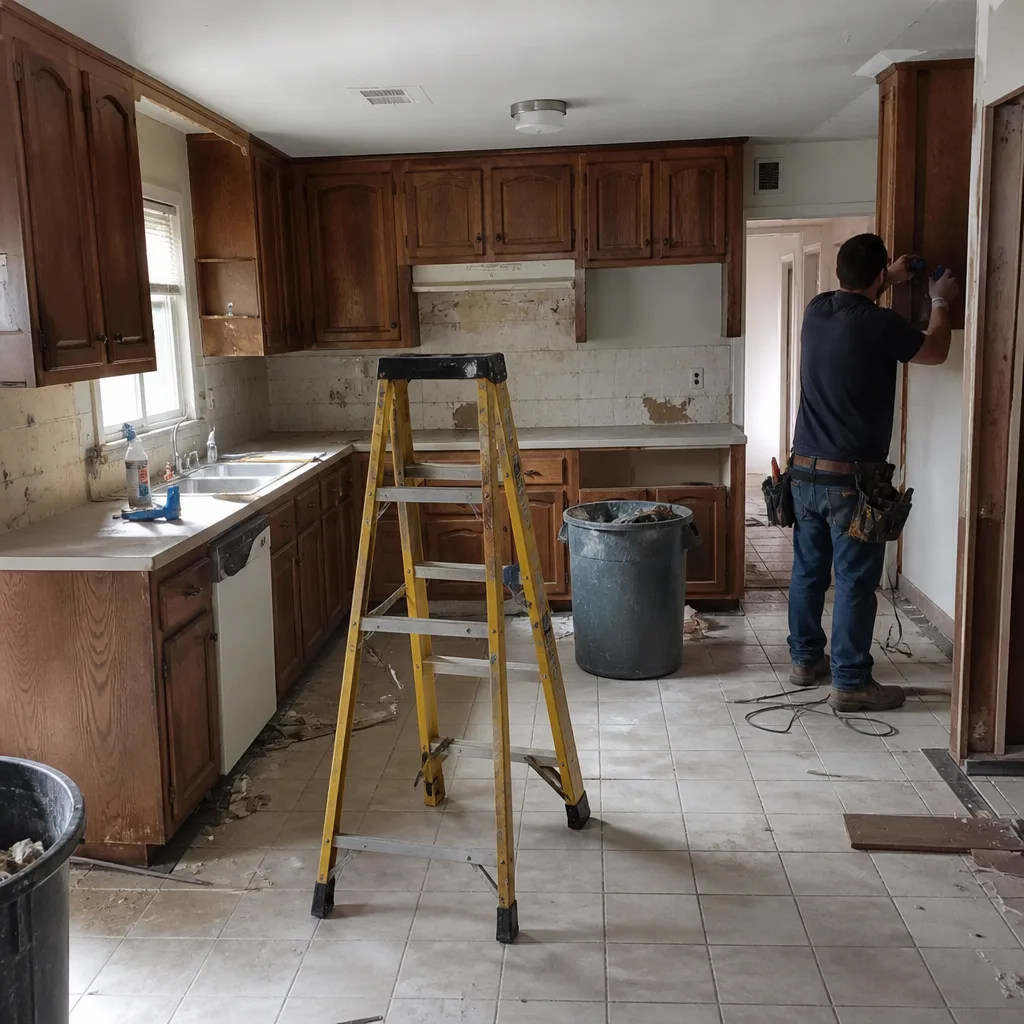 Before
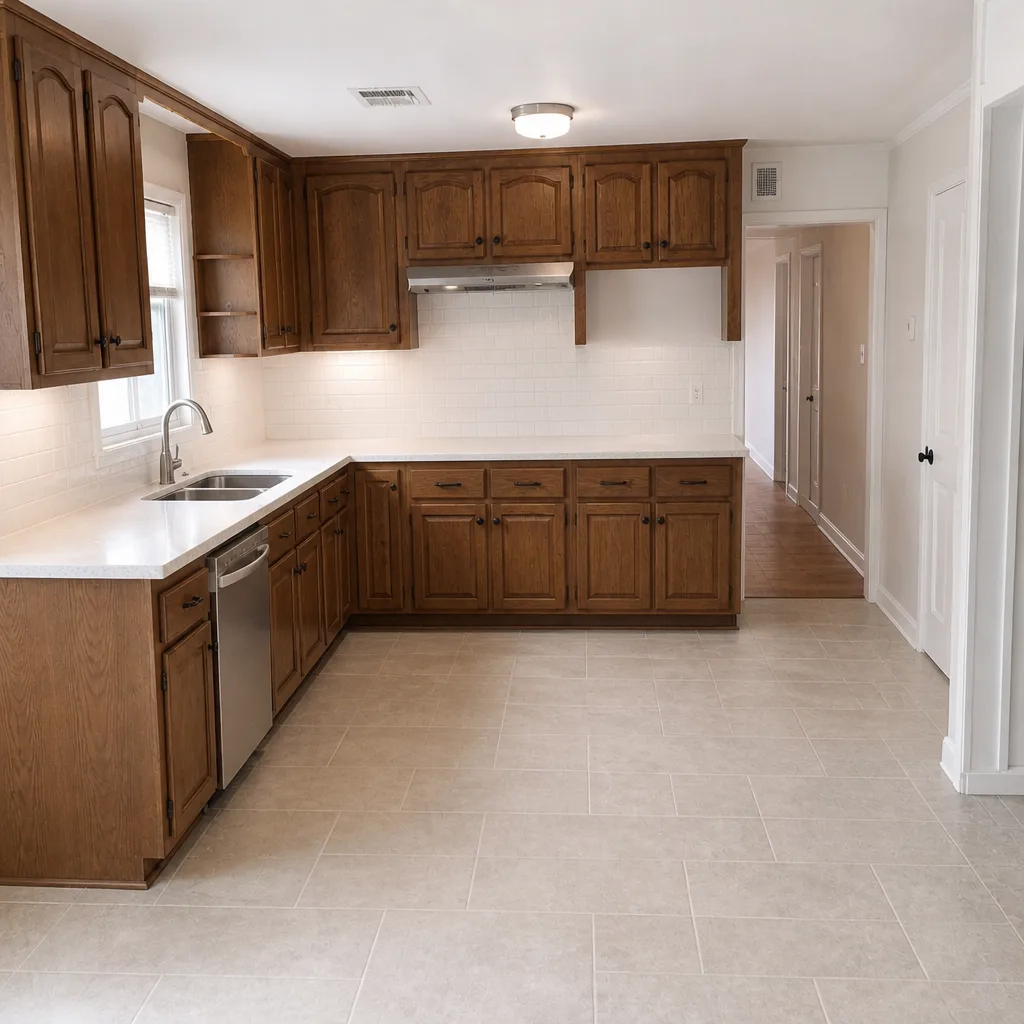 After
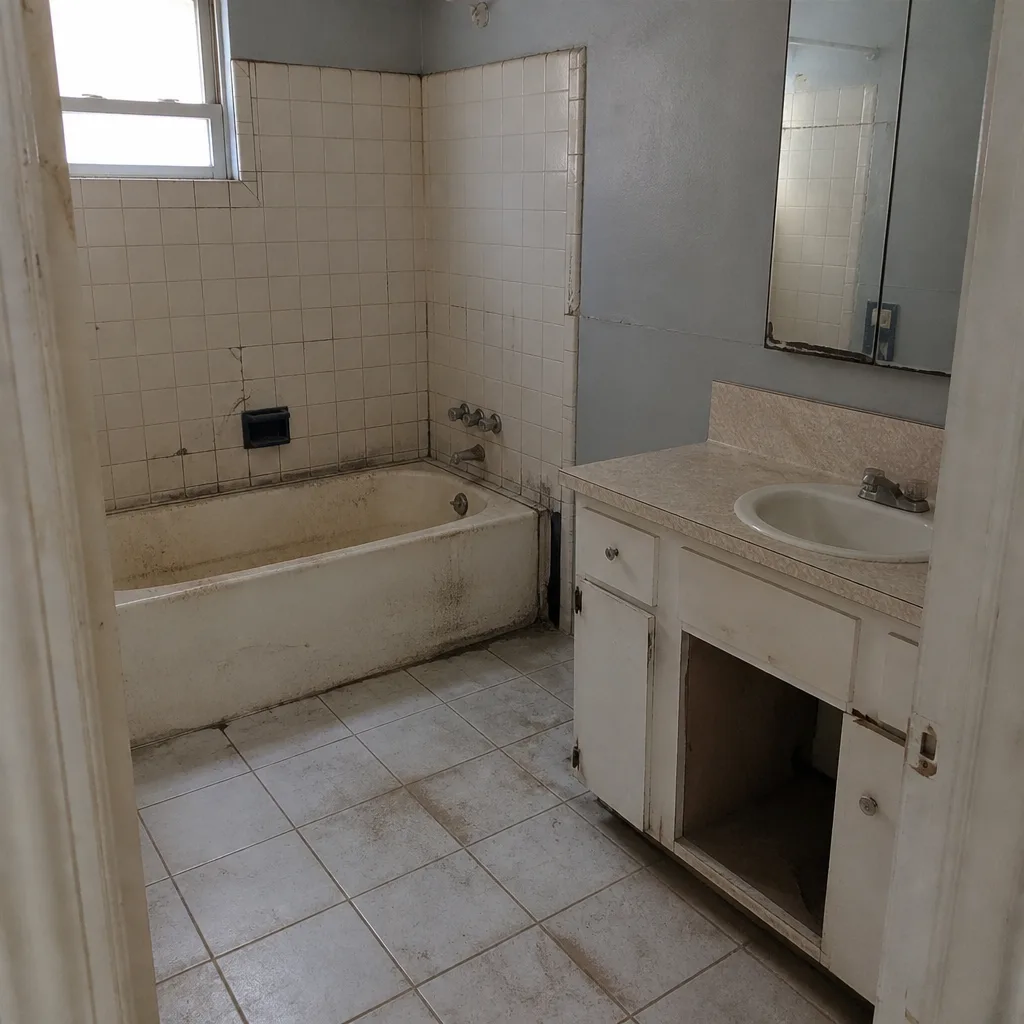 Before
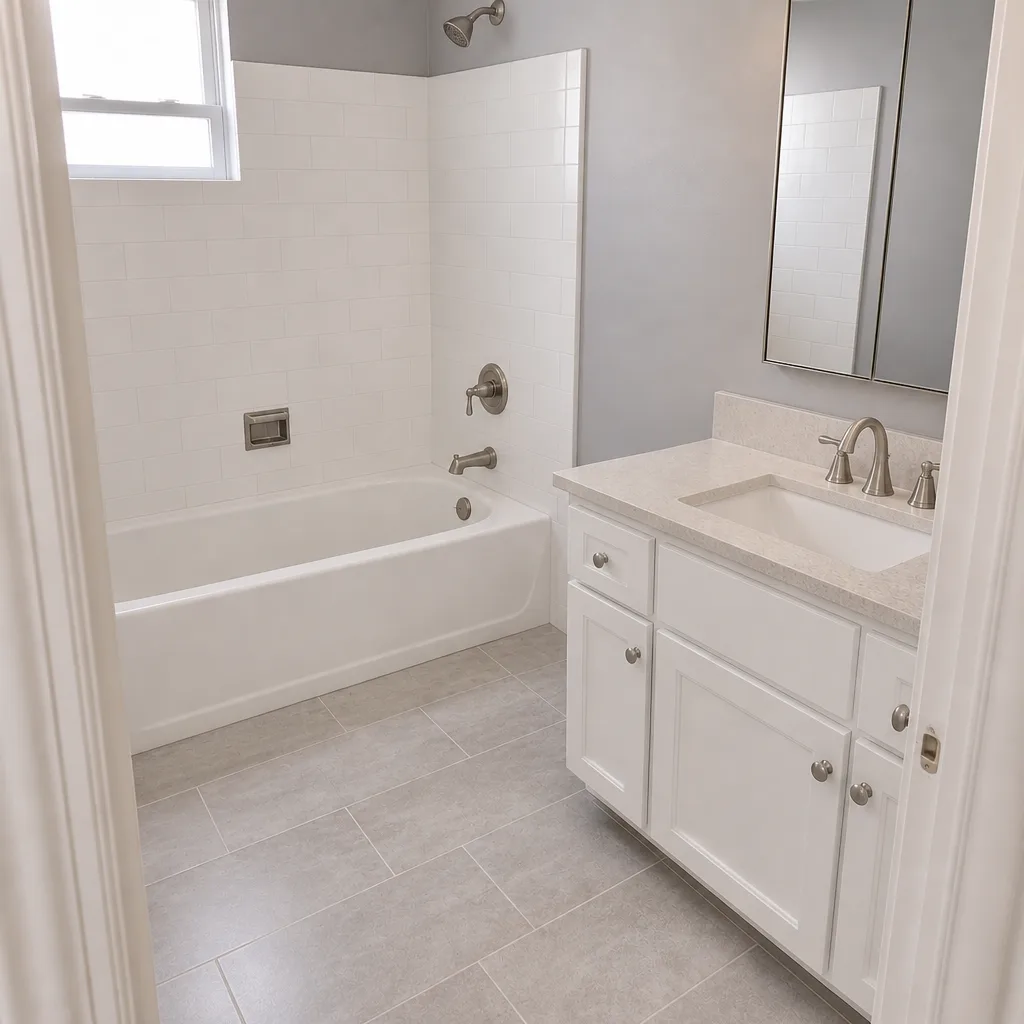 After