Last updated November 17, 2026
Free written scope consultation - allowances, timeline, and change-order rules on paper before a single trade is scheduled
The Complete Driveway & Pavers Guide for Spring Valley Homeowners
Most paver failures in the Las Vegas Valley happen within 18 months, and it’s rarely because someone bought cheap pavers. It’s because the base prep ignored what caliche does when it heats and shifts. Caliche is the calcium-carbonate hardpan that sits under much of Spring Valley, and it behaves nothing like the soil the national installation guides were written around. This guide treats the desert as the design spec, not an afterthought. By the end, you’ll know how deep excavation needs to go, why thermal expansion joints aren’t optional here, what your HOA and Clark County will actually require, and how to compare paver materials on heat absorption instead of looks alone.
Quick Answer
A driveway paver job done right in Spring Valley starts six inches below grade, not at the surface. Caliche hardpan has to be excavated and replaced with a properly compacted aggregate base that drains and flexes with the seasonal swing, and the pavers themselves need real expansion gaps because surface temps on a paved driveway here regularly climb past 140°F in July. Skip either step and the driveway looks great for one or two summers, then starts heaving, settling, and shedding joint sand.
Table of Contents
- Why Spring Valley’s Caliche Soil Changes Everything
- Base Prep: The Six-Inch Rule and What Goes Under It
- Thermal Expansion: Why Gaps Are Non-Negotiable in 110°F Heat
- Comparing Paver Materials by Heat, Not Just Looks
- HOA and Clark County Rules for Driveways in Spring Valley
- Permits: What’s Required and Who Pulls Them
- The Installation Process, Step by Step
- Keeping a Desert Driveway Alive Through the Years
Why Spring Valley’s Caliche Soil Changes Everything
Caliche is a naturally cemented layer of calcium carbonate that forms just below the surface across much of the Las Vegas Valley. In parts of Spring Valley, particularly on the west side toward the foothills and in older tracts off Tropicana and Rainbow, that layer can be thick and rock-hard. It feels like a gift when you’re digging a fence post. It’s a trap for pavers.
The problem is not that caliche is hard. The problem is that it’s inconsistent. Where it’s solid, water can’t drain through it. Where it’s fractured or thin, water pools against it and the soil underneath moves. When the summer heat drives surface temperatures on a paved driveway well past 140°F and then the winter drops into the 30s at night, the material under your pavers expands and contracts at different rates depending on whether it’s sitting on intact caliche, fractured caliche, or ordinary desert soil. The paver surface takes that movement straight to the joints.
What we see in Spring Valley driveways that fail early:
- Ridging along the center where the base was never excavated and the caliche pushed the pavers up in summer
- Dips at the garage apron where water collected against the caliche shelf and softened the bedding sand
- Sand loss from joints within the first two summers, faster than any national installation guide predicts
- Efflorescence, that white chalky haze, which is worse where water sits against a carbonate-rich base
- Edge settling where the pavers meet the street, because the spec used a shallow base on the assumption of stable soil
None of these are paver-quality problems. A $12-per-square-foot travertine and a $4 concrete paver fail the same way on a bad base. The fix is a base designed for caliche, and that starts with a proper excavation depth that most mass-market installers skip because it’s more labor and more haul-away.
If you’re planning a full hardscape refresh, the Driveway & Pavers in Spring Valley page covers our scope and process in detail.
Base Prep: The Six-Inch Rule and What Goes Under It
The single most common cause of premature paver failure in Spring Valley is a base that’s too thin, too soft, or built directly on caliche. National installation guides often call for four to six inches of compacted aggregate base over undisturbed native soil. That assumes the native soil is uniform and drains. In Spring Valley, the native soil is not uniform, and caliche does not drain.
Here’s how a base that actually holds up gets built in our experience:
- Excavate to full depth, caliche included. We cut down far enough to remove fractured caliche and any soft, expansive material, then aim the subgrade so water sheds away from the garage and toward the street.
- Proof-roll the subgrade. Before any aggregate goes down, the exposed subgrade is compacted and checked for soft spots. If something moves under a plate compactor, it moves under pavers.
- Lay a separation and drainage layer. A geotextile fabric keeps fine desert soil from migrating up into the aggregate base, which is the slow death of a driveway in this climate. On tighter lots, a small drainage provision at the low edge helps water get out instead of sitting against the caliche.
- Build the base in lifts. Typically a compacted aggregate base of six to eight inches, placed in lifts of two to three inches and compacted between each. Dumping six inches at once and running a plate over the top does not compact the bottom.
- Set bedding sand and grade at 1.5 to 2% slope. Enough fall to move water, not so much that chairs or pavers walk. Grade matters more in the desert than the installation guide suggests, because the rain comes all at once.
- Edge restraint, then pavers, then joint sand. The edge restraint is what stops the whole field from spreading under thermal load. On desert driveways, that’s not a detail you can skip.
A six-inch base is the floor for most Spring Valley driveways. On the heavier caliche stretches and on driveways built for large vehicles or RVs, we’d go deeper. Anything less in this climate is a driveway with an 18-month clock on it.
Thermal Expansion: Why Gaps Are Non-Negotiable in 110°F Heat
Paver units, whether concrete, travertine, or porcelain, expand and contract with temperature. In a climate where it’s over 100°F for weeks at a time and surface temperatures on a paved driveway in the sun regularly climb well past 140°F, that movement is not a rounding error. It’s a real force across a 20-by-40-foot driveway.
The two places where thermal movement causes real problems in Spring Valley:
- Mortared edges and borders. A mortared border or a poured mortar band at the garage apron or street curb looks clean. But if the pavers can’t move, they push harder against the mortar joint, and the mortar cracks or the pavers chip under the stress. We’ve seen mortared edges fail and delaminate within a single summer on south- and west-facing driveways. The fix is to design expansion gaps into the field and use edge restraint of a type that can flex with the pavers, not a rigid mortar band.
- The joint between the driveway and the garage floor. This junction is under the most stress because the slab and the pavers move independently. On hot Spring Valley days it’s also the hottest part of the surface. Getting it right means a clean expansion joint that’s flexible and wide enough, not just a bead of caulk.
The rule of thumb: any driveway field longer than about 15 to 20 feet should have deliberate expansion joints spaced along it, and any place where pavers meet concrete, mortared borders, or the garage apron needs a proper joint, not a tight fit. If an installer tells you gaps are cosmetic in Las Vegas, that’s the installer who’ll be back in 18 months, or who won’t be.
Whether you go with concrete pavers, travertine, or porcelain, the joint and edge detail is where a Spring Valley installation gets won or lost, and it’s one of the first things we walk through in a design consult.
Comparing Paver Materials by Heat, Not Just Looks
Paver selection here is usually driven by appearance, and that’s the wrong first filter. In a 110°F climate, how a paver handles heat matters as much as how it looks on a design board. Here’s how the three main residential options compare on the stuff that actually matters in Spring Valley.
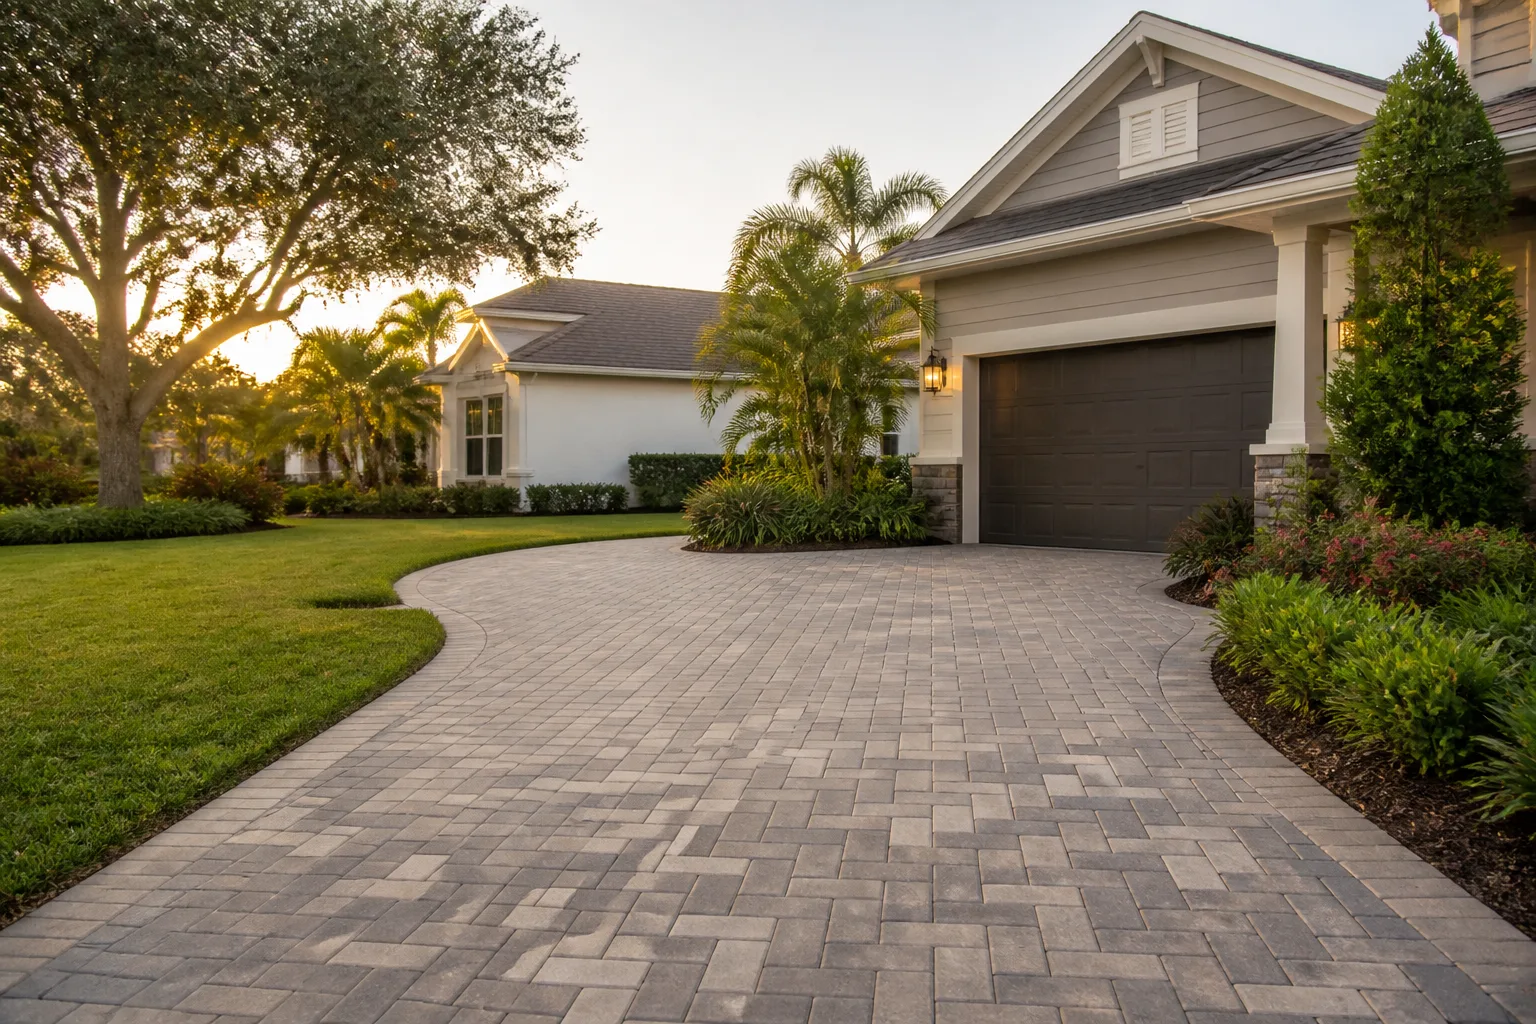
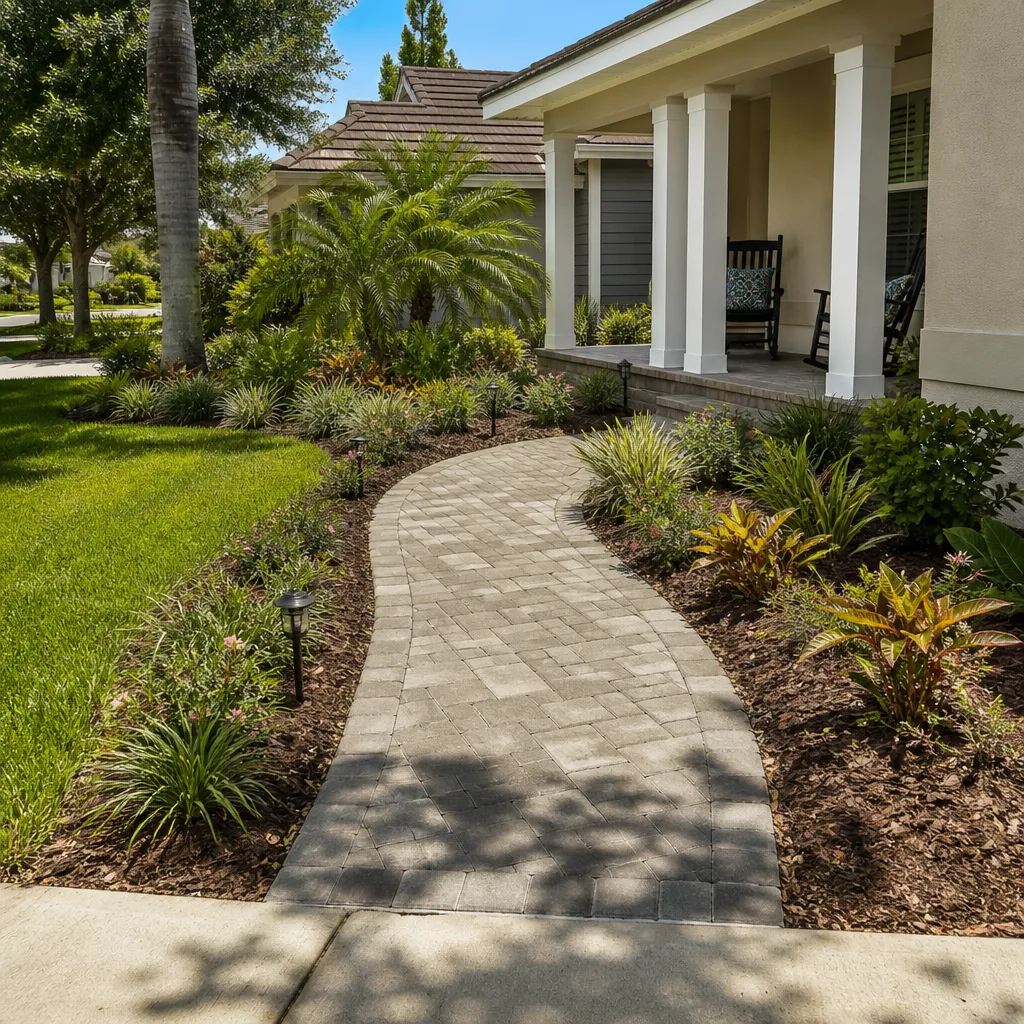
- Concrete pavers. The workhorse option and the most forgiving. Concrete pavers handle thermal movement well, are easy to replace individually, and come in a deep range of colors and sizes. They’re the right call for the majority of Spring Valley driveways. They do absorb more heat than lighter-colored options, so a light or mid-tone color reads cooler underfoot and holds up better to sun exposure than a dark charcoal border.
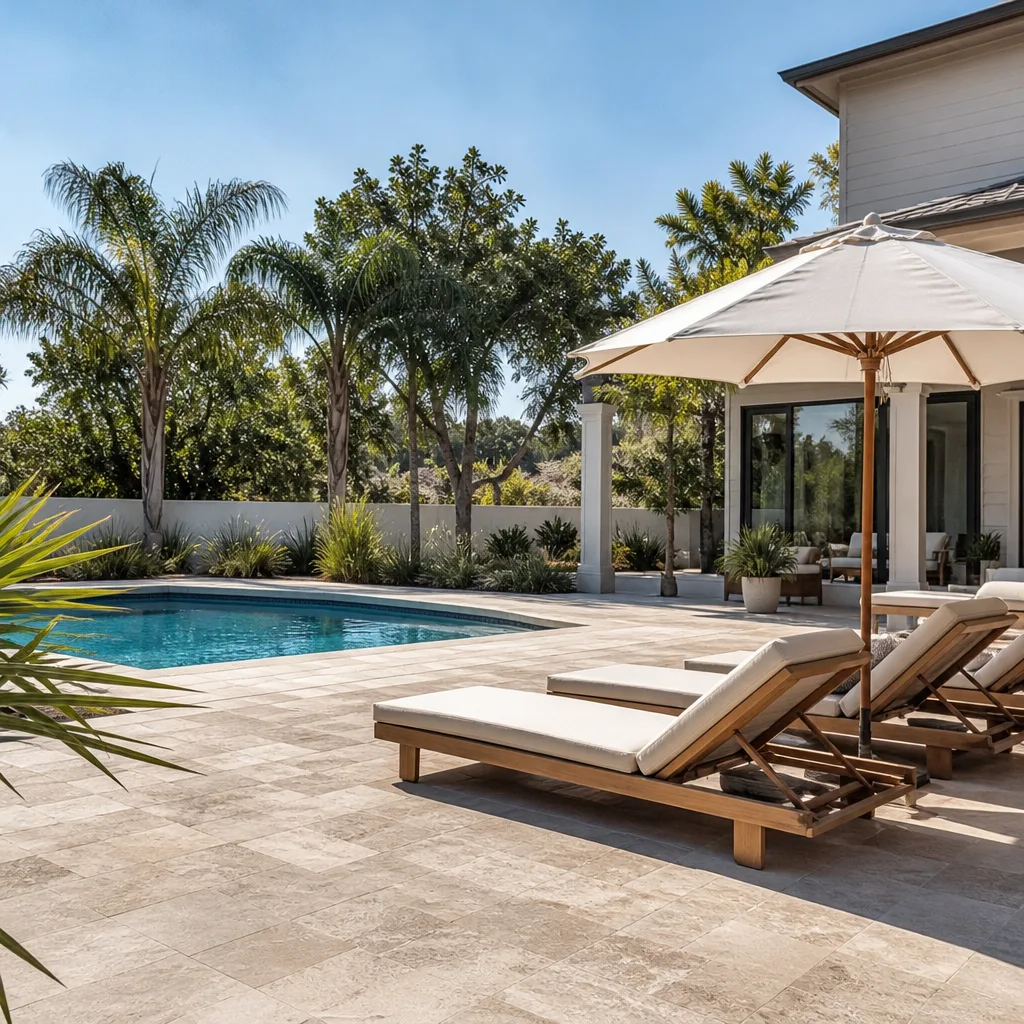
- Travertine. Popular here for pool decks and entry areas, and increasingly for driveways. Travertine runs cooler underfoot than most concrete pavers, which earns it a following in Spring Valley. The catch is durability: natural travertine is softer and more porous than concrete, and it can chip or pit under tire traffic, and freeze-thaw at the edges of the valley can be unkind to a soft stone. It’s a great decision on a shaded or low-traffic driveway and a riskier one on a busy sun-baked one.
- Porcelain pavers. Porcelain tiles made for exterior use have the highest density and lowest water absorption of the three, and they hold up to heat and UV without fading. They run cooler than concrete and clean up easily. The catch is installation: porcelain needs a truly solid base and a skilled hand, because a flexible base means cracked tile, not cracking paver joints. It’s a good fit for a premium driveway where the base prep is going to be done right.
The practical way to choose: pick the material that matches the actual load and orientation of the driveway. A shaded north-facing driveway in Spring Valley behaves very differently from a west-facing sun-catcher that’s on the car all afternoon. And don’t skip the heat question – ask any installer to show you a driveway in Spring Valley they installed three or more summers ago, and walk it with them. Brand partnerships for pavers run through trusted manufacturers like Belgard, and we match material to the specific lot, not to a sales sheet.
HOA and Clark County Rules for Driveways in Spring Valley
Spring Valley is mostly unincorporated Clark County, and a large share of the neighborhoods here are governed by HOAs. That means a driveway replacement is not just a contractor decision; it’s a rules decision first.
The HOA question usually comes down to three things:
- Approved materials and colors. Many Spring Valley HOAs have architectural guidelines that specify paver color families, material types, and border details. Some prohibit certain finishes or require the driveway to match other hardscape on the property. Getting this in writing before the job is far cheaper than getting it after.
- The submittal process. Most HOAs require an architectural submittal with a site plan, material samples, and sometimes a licensed contractor’s information. Approval timelines vary widely from community to community in Spring Valley, so we always build that into the schedule rather than assuming a green light.
- Standards for the apron and street interaction. Where the driveway meets the public street is often governed by both the HOA and the county. Some Spring Valley communities require the apron and approach to match a specific material or grade, and a mismatch can trigger a fix-it notice after the fact.
On the county side, unincorporated Clark County has its own requirements for right-of-way work and for anything that changes drainage or the curb cut. Driveway work that touches the public street usually needs county review, and drainage changes, especially in a caliche area where water already ponds, can draw scrutiny.
The short version: check your HOA’s architectural guidelines first, then confirm with Clark County what applies to the street edge. If you’re also planning to fence the property, our Fence Installation in Spring Valley team runs the same HOA and setback checks, and coordinating the two projects makes sense on a lot that’s getting a full outdoor refresh.
Permits: What’s Required and Who Pulls Them
Whether a driveway replacement needs a permit in Spring Valley depends on scope. A straight like-for-like paver replacement inside your property line often doesn’t require a separate permit beyond the HOA submittal. But work that touches the public right-of-way, changes the curb cut, changes drainage patterns, or is part of a larger project (an addition, a garage conversion, or a new ADU) almost always does.
Here’s how we handle permits on a Spring Valley driveway job:
- Confirm what’s actually in scope. We review whether the work touches the right-of-way, whether drainage changes, and whether the driveway is part of a larger permitted project. That determines whether a permit is needed and which department reviews it.
- Pull the permit before we break ground. If a permit is required, we pull it. We don’t ask the homeowner to handle a permit we’re responsible for building under, because the person ultimately liable for code compliance is the one who pulled it.
- Build to the approved plan and pass inspection. Inspections happen at the stages the county requires, typically including the base and final. A contractor who tells you inspections are a formality is telling you something about how they intend to build.
- Give you the paperwork. Approved permits and inspection records go to you at closeout. If you ever sell the home, they’re part of the disclosure file, and a permitted driveway is worth more than an unpermitted one.
It sounds like more bureaucracy than “just pour a driveway,” but in a county where the drainage and right-of-way matter, it’s the difference between a project that closes cleanly and one that comes back. Ask any contractor who pulls the permit before quoting your job; the answer tells you a lot. We pull the permits a driveway requires, and we’ll tell you upfront whether your job needs one.
The Installation Process, Step by Step
Here’s how a Spring Valley paver driveway comes together from first call to final walk, and what you should expect at each stage.
- Consult and site review. A free estimate and design consult includes walking the property, checking soil, drainage, slope, and HOA constraints, and comparing material options by heat and load, not just aesthetics. You’ll get a written line-item quote, not a napkin number.
- HOA and permit work. We run the HOA submittal process where it applies and confirm with Clark County what the street edge requires. No work starts until that’s clear.
- Demolition and haul-away. The old surface comes out, along with any caliche that has to be removed to reach a good subgrade. Haul-away is part of the quote, not a surprise line on day three.
- Base prep. Subgrade compaction, drainage and separation layer, aggregate in compacted lifts, then bedding sand and grade. This stage takes the longest and is the entire reason the driveway lasts.
- Edge restraint and pavers. Edges get restrained, then the field is laid, cut, and set with proper expansion gaps at every stress point.
- Joint sand and compaction. Joint sand goes in and the field is compacted once more to lock the pavers in tight.
- Cleanup and walkthrough. Site is cleaned, materials from the job are hauled off, and we walk the finished driveway with you, with the written warranty in hand.
Every stage is covered by our 730-Day Done Right Promise: if anything isn’t done right, we make it right. That’s one of the longest workmanship guarantees in residential construction, and it matters most on driveway work because a bad base doesn’t show up in a walkthrough – it shows up in summer two.
Keeping a Desert Driveway Alive Through the Years
A paver driveway on a good base in Spring Valley needs very little to keep going, but “very little” is not “nothing.” What actually matters:
- Top up joint sand once a year. The sun and wind drive sand out of the joints faster here than in cooler climates. Refilling the joints keeps pavers locked and stops water from getting under the surface.
- Check after the first big summer. The first full summer is when thermal movement tests the job. Walk the driveway and look for ridges, dips, or joints opening wider than they should. Catch it early and a small fix stays small.
- Keep water moving away. Make sure the driveway still drains toward the street. If a neighbor’s landscaping or a new wall changed the flow, fix it before the next monsoon season.
- Clean efflorescence if it shows. White haze on concrete pavers in Spring Valley is routine and usually removable. It signals water is passing through rather than running off, which is worth a look.
- Don’t seal too early. Waiting through a full season before considering a sealer lets the pavers and joint sand settle. Sealers vary, so it’s worth a conversation before you apply one.
If you’re planning a larger property improvement, the outdoor work often fits together. Our Home Additions & ADU in Spring Valley team coordinates driveways and approaches with new construction, so the whole site finishes as one project instead of three.
For a broader view of how we run full-scope work, the Groundwork Construction Co. of Spring Valley home page covers our trades and our process.
Common Mistakes to Avoid
- Letting the installer skip excavation to “save time.” If the base goes right down on caliche, the driveway is a two-summer project. Ask how deep the base will be and where the caliche comes out.
- Using a mortared border in a 110°F climate. A rigid mortared edge and thermal movement don’t coexist. The pavers push, the mortar cracks, and the border that looked great on install starts shedding within a summer. Use flexible edge restraint and real expansion gaps.
- Comparing paver prices without comparing base specs. A quote that’s cheaper by thousands per job is often cheaper because the base is four inches instead of eight. Ask for the base spec in writing and compare like for like.
- Ignoring the HOA until after the job. A Spring Valley HOA that rejects the paver color after installation means redoing a driveway you already paid for. Get architectural approval in writing before the first shovel.
- Assuming permits are “not needed” without checking Clark County. Work that touches the street, curb cut, or drainage can require county review even on a residential driveway. Confirm before you build.
- Choosing a paver by color alone on a west-facing driveway. The sunniest, hottest surfaces benefit most from light colors and cooler materials. A dark driveway in full afternoon sun reads far hotter underfoot than a showroom sample suggests.
- Paying in full upfront. Payment milestones tied to completion of each stage keep the job accountable. A contractor who wants the whole amount before work begins is telling you something.
When to Call a Professional
Some driveway work is a sensible DIY project; a paver driveway on Spring Valley caliche usually isn’t. Call a professional if any of these apply: your existing driveway is heaving or dipping within its first few summers; water pools against the garage or along the property line after rain; your HOA requires a color or material you’re not sure how to source; the job touches the public street, curb cut, or drainage pattern; or the driveway is part of a larger project like an addition or an ADU. Working caliche with proper compaction, cutting expansion gaps correctly, and coordinating HOA and county requirements all take experience, and equipment like a plate compactor and a wet saw on an eight-inch base isn’t a weekend rental job.
Groundwork Construction Co. of Spring Valley offers free estimates in Spring Valley – call (888) 329-9414. Calls are answered by a live person, 24/7, no voicemail, no waiting for Monday. Our technicians have up to 12 years of experience, are background-checked and arrive in uniform, and every job is covered by the 730-Day Done Right Promise. Our quotes are upfront and line-item, so the number you see is the number you pay.
Frequently Asked Questions
In Spring Valley, a paver driveway with a proper caliche-ready base typically lands in the range of $12 to $22 per square foot installed, depending on material and how much excavation the lot requires. Concrete pavers sit at the lower end, travertine and porcelain at the higher end, and a lot with heavy caliche that has to be cut and hauled will run higher regardless of material. A 400-square-foot driveway is a different job than an 800-square-foot circle drive, and the quote should show base thickness and excavation as line items. Call (888) 329-9414 for an exact quote on your driveway – the estimate is free.
Not with us, as long as the scope you approved matches what’s on the property. Our quotes are line-item and upfront, so the number you see is the number you pay, and we confirm excavation depth and drainage during the site visit before we quote. The mistake that triggers change orders on other jobs is a base price quoted without checking the caliche, which is exactly why we walk the property first. If something genuinely unforeseen shows up mid-project, you hear about it before any work is done, not after. Call (888) 329-9414 to schedule your free estimate.
Yes, when a permit is required, we pull it and we own the inspection. Whether your Spring Valley project needs one depends on scope: a straight paver replacement inside your property line usually doesn’t go through county permitting, but work that touches the right-of-way, changes the curb cut or drainage, or is part of a larger project does. We confirm what applies to your lot before we start, and you get the approved permits and inspection records at closeout. Call (888) 329-9414 and we’ll tell you upfront whether your job needs one.
Most Spring Valley paver driveways take about three to seven working days of on-site work, depending on square footage and how much caliche has to come out. The base prep stage takes the longest because it involves excavation, compaction in lifts, and drainage, and the paver setting itself is comparatively fast. HOA architectural review can add time before the job starts, so the earlier that submittal goes in the better. We’ll give you a real timeline with the quote, not a guess, so call (888) 329-9414 to get started.
Not bad, but it depends on the driveway. Travertine runs cooler underfoot than concrete pavers, which is a real benefit in a desert, but it’s softer and more porous, so it chips and pits under heavy tire traffic and doesn’t like freeze-thaw at the edges of the valley. On a shaded, low-traffic driveway travertine is a lovely choice. On a west-facing driveway that sees daily car traffic in full sun, concrete or porcelain is usually the safer long-term call. Our design consult walks through the trade-offs on your specific lot. Call (888) 329-9414 to schedule one.
Ask three questions in writing: how deep is the base, what’s the excavation depth, and do you pull the permit if one is needed. A Spring Valley installer doing it right will tell you the aggregate base is six to eight inches thick, compacted in lifts, with caliche removed to a proper subgrade, and will offer to show you a driveway they installed three or more summers ago. If the answers are vague, or the price is much lower than other quotes, the base is usually where the difference is hiding. Call (888) 329-9414 and we’ll walk you through our spec before you sign anything.
The Bottom Line
Spring Valley paver driveways that last are built for the desert, not borrowed from a national guide written for cooler, softer soil. The base has to go deep enough to get through the caliche, the expansion gaps have to be real, the HOA and Clark County requirements have to be handled before the first shovel, and material choice has to account for heat and load, not just color. Do those four things and a paver driveway here can handle the summers for decades. Get them wrong and you’ll be redoing it within a couple of years. Start with a free estimate and design consult, and let a contractor who pulls the permits and builds to a spec walk you through your specific driveway. Call (888) 329-9414 – live person, 24/7. Upfront pricing, no surprises. 0% financing for 18 months and $1,000 off projects over $10,000 come standard. From foundation to finish line, built to last and backed in writing.
Written by the team at Groundwork Construction Co. of Spring Valley.
Styles & brands we work with
- Kitchen remodeling
- Bathroom remodeling
- Home additions & ADU
- Roofing
- Windows & doors
- Driveway & pavers
- Fence
See the difference
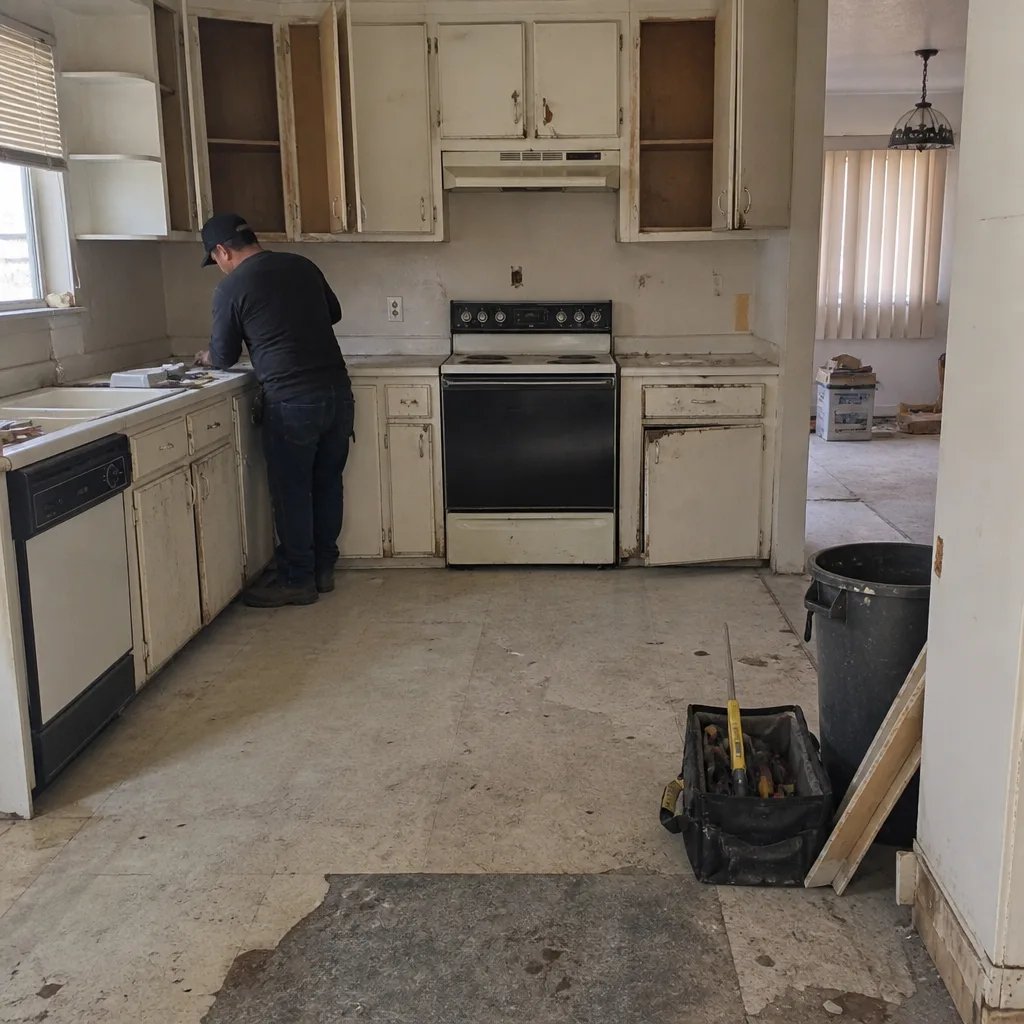 Before
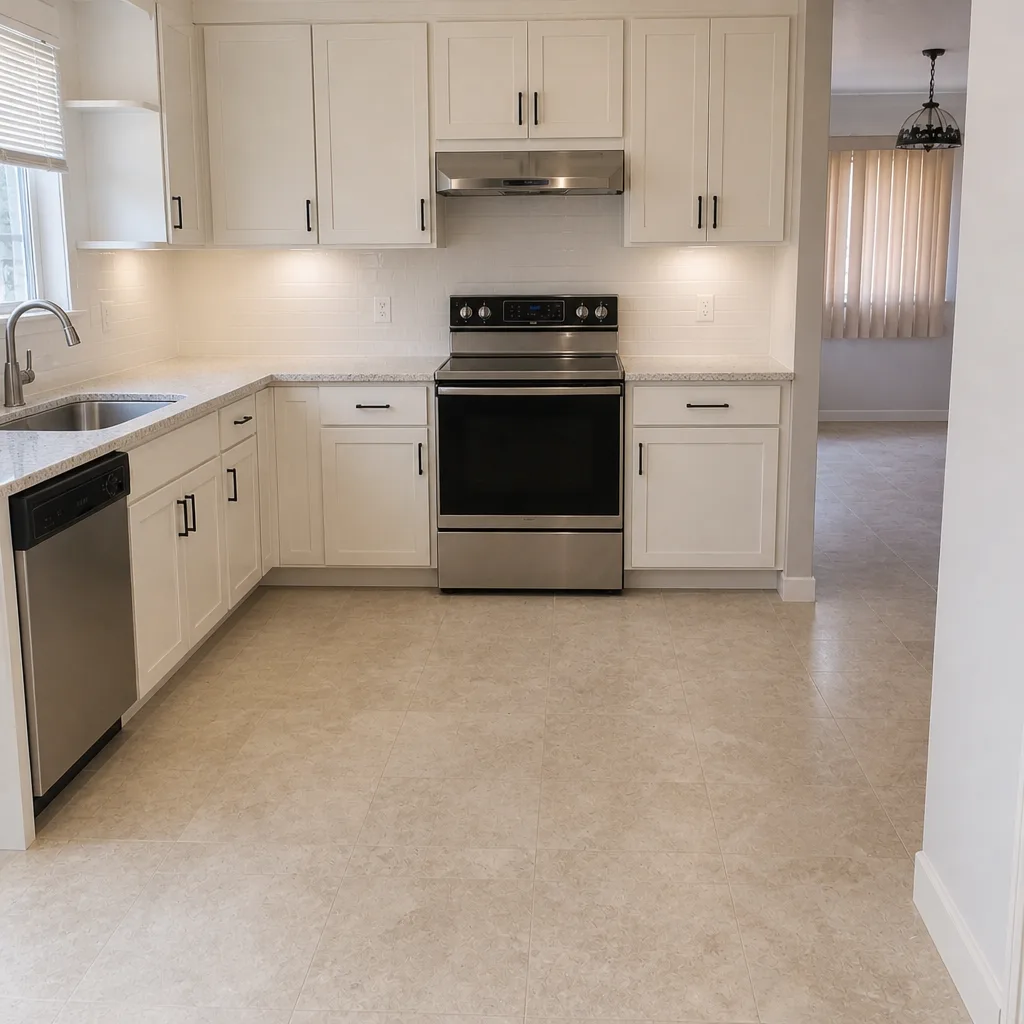 After
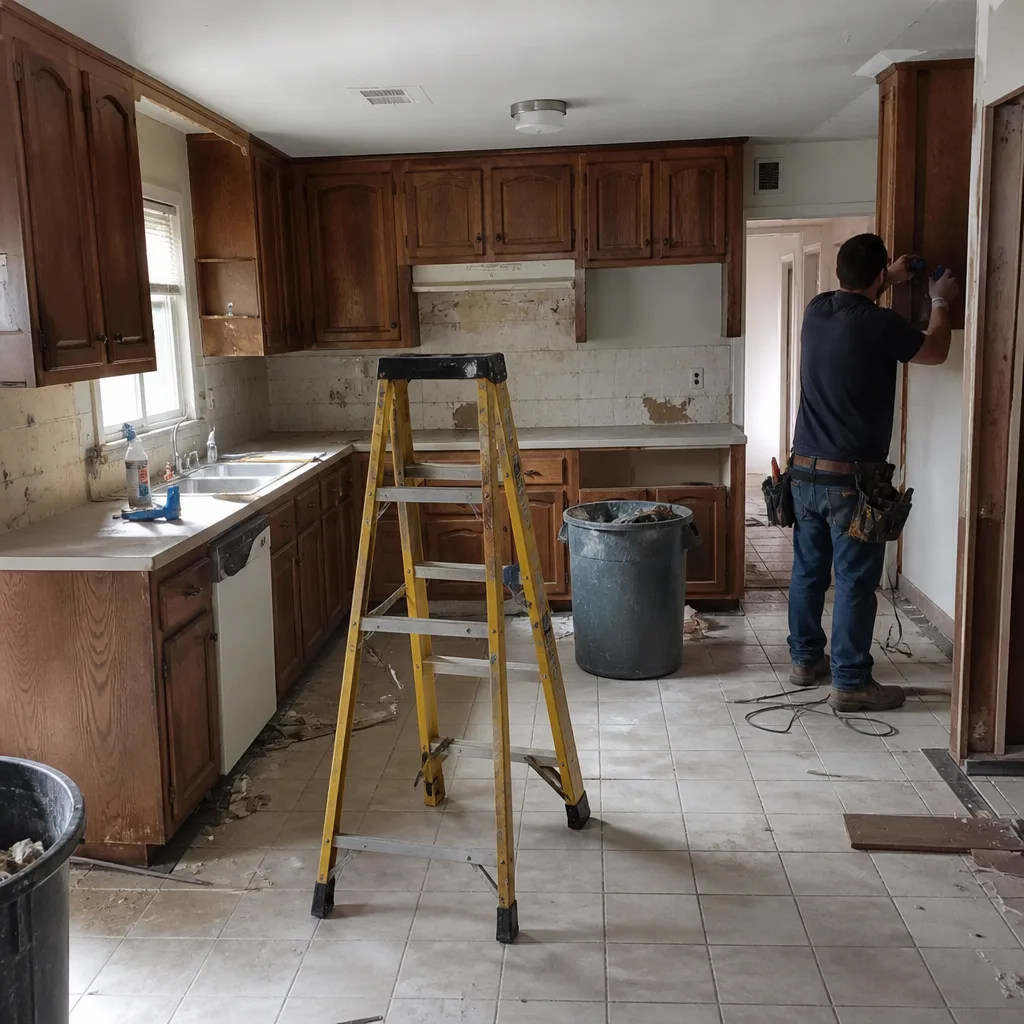 Before
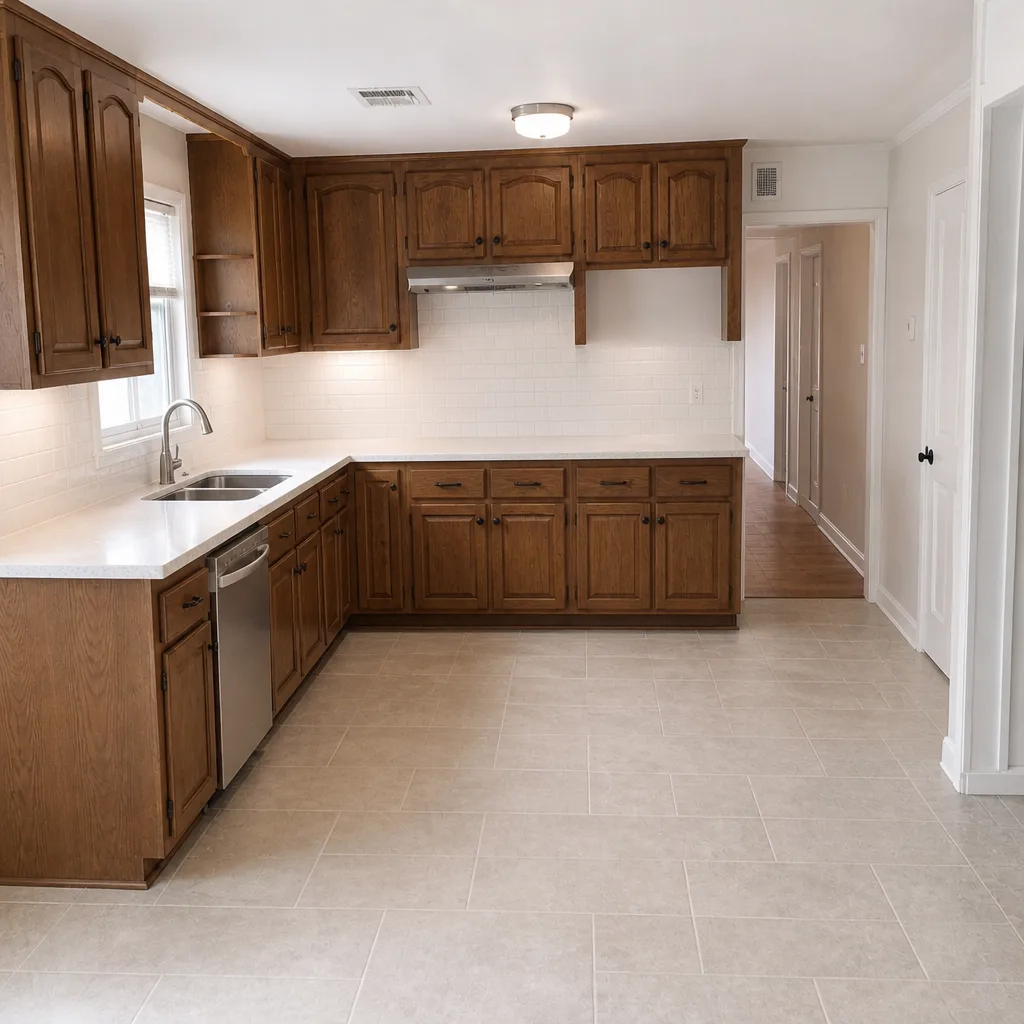 After
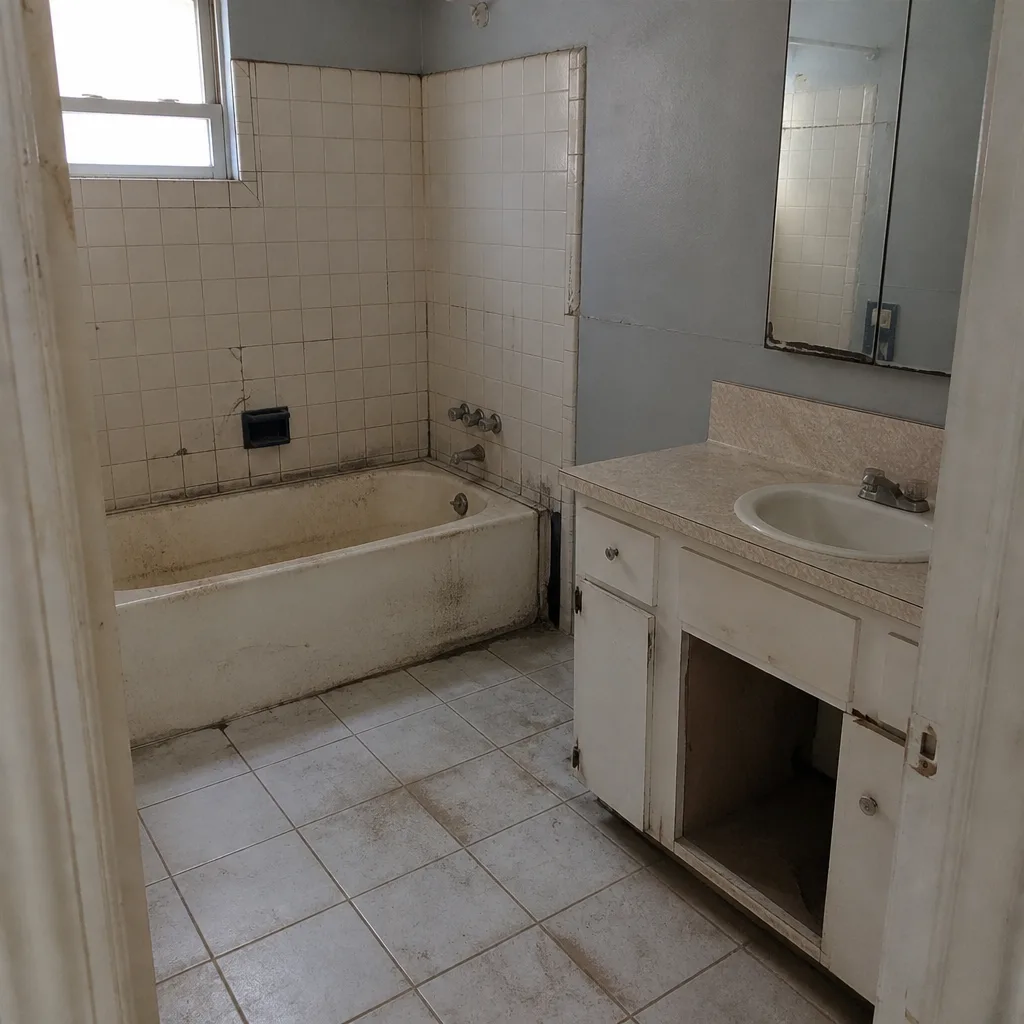 Before
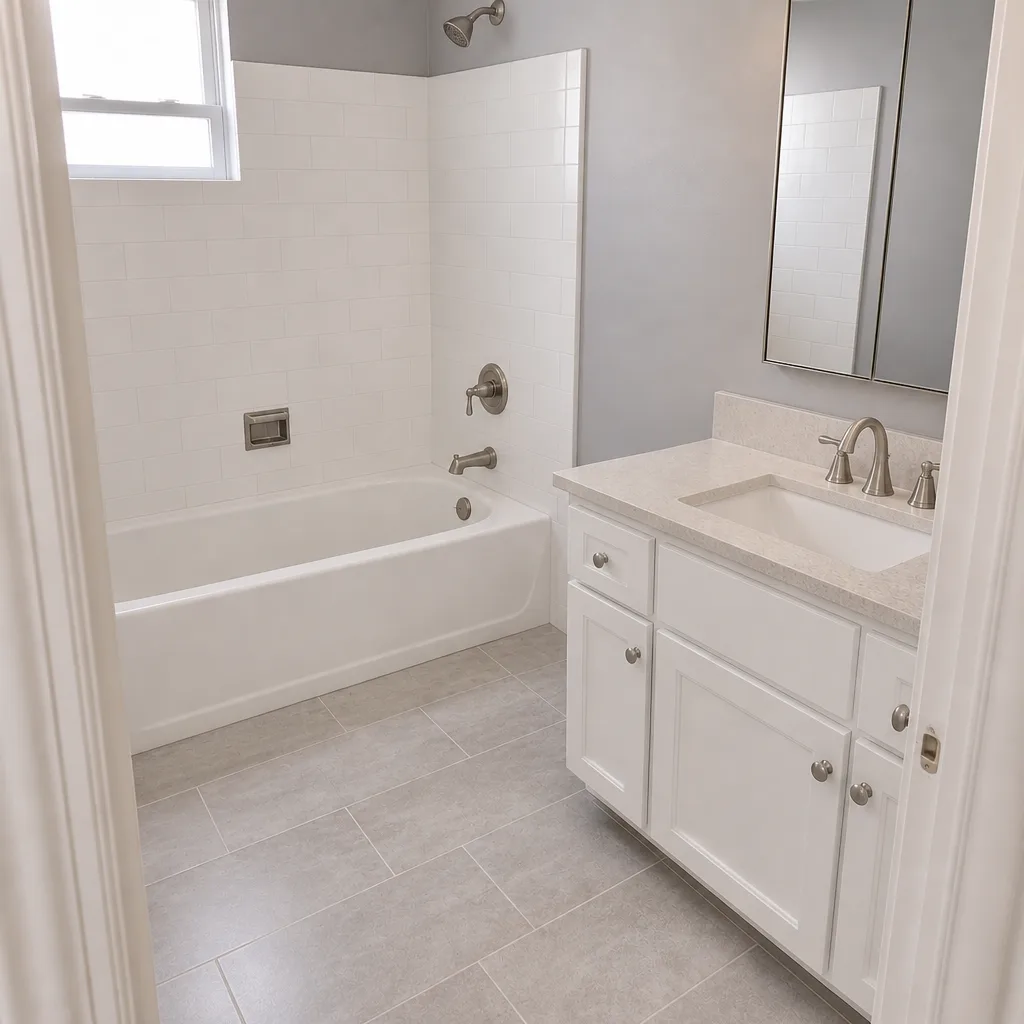 After