Last updated November 17, 2026
Free written scope consultation - allowances, timeline, and change-order rules on paper before a single trade is scheduled
DIY vs Professional Driveway & Pavers: What’s Safe to Do Yourself
YouTube makes paver installation look like a weekend project. It is – if someone else already built the 6-inch compacted aggregate base correctly. That part is where DIY driveways go to die, and it’s the part the videos skip. In Spring Valley, where summer ground temps push 140°F at the surface and monsoon-season runoff arrives fast, a base that wasn’t compacted in lifts with a plate compactor will telegraph every failure within two summers. This guide draws a hard line: which paver tasks a careful homeowner can legitimately own, and which ones are structural gambling. You’ll leave knowing exactly where that line sits on your property.
Quick Answer
Small surface jobs are safe to DIY: replacing a handful of cracked pavers, topping off joint sand, and infilling a small patio corner. Everything structural – excavation, sub-base prep, plate compaction in lifts, laser-level grading, and wet saw cutting on a full driveway – belongs to a professional. The reason is simple: pavers are the visible 10%. The base is the other 90%, and a failed base voids the value of every paver sitting on top of it.
Styles & brands we work with
- Kitchen remodeling
- Bathroom remodeling
- Home additions & ADU
- Roofing
- Windows & doors
- Driveway & pavers
- Fence
Table of Contents
- Why the Base – Not the Pavers – Decides Everything
- The Equipment Wall: Compactors, Lasers, and Sub-Base Expertise
- What Pattern Laying and Cutting Actually Require
- How DIY Base Failures Hit Insurance and Resale Inspections
- Real Cost Comparison: DIY vs Professional in Spring Valley
- The Narrow Band of Legitimate DIY Work
- Spring Valley Climate and Soil: What Local Builders Plan For
- Common Mistakes to Avoid
Why the Base – Not the Pavers – Decides Everything
A paver driveway is a layered system, and the top layer is the least important one structurally. From the bottom up: compacted native subgrade, a geotextile separator in most soils, 4 to 6 inches of aggregate base compacted in 2-inch lifts, 1 inch of bedding sand, then the pavers and joint sand. Skip the lift compaction and the base density never reaches the 95% standard most municipalities expect. The pavers still look perfect on install day. They just start to rut, shift, and pond water after the first wet season.
We’ve seen this pattern repeatedly across Spring Valley. A homeowner watches a tutorial, rents a compactor for a single day, and tries to compact a 6-inch base in one pass. It doesn’t work. Compaction only reaches the top 2 to 3 inches effectively; the lower material stays loose and the whole assembly settles unevenly. The pavers at the edge of a garage apron or against a stem wall shear first because that’s where water and vehicle loads concentrate.
Proper base work also requires knowing what’s under the native soil. In parts of Spring Valley, caliche layers and expansive clay sit within a couple feet of grade. A base built on top of that without addressing drainage and stabilization will move with seasonal moisture swings. This is why the base is where a professional assessment earns its keep – not the pretty surface.
The Equipment Wall: Compactors, Lasers, and Sub-Base Expertise
This is the section most DIY guides gloss over. The tools a correct paver base requires are not the tools most homeowners own or can meaningfully rent for a one-off job. Here’s the honest equipment list for a full driveway in Spring Valley:
- Plate compactor (minimum 5,000-lb-class, often a reversible model for confined areas) – required for base lifts and final surface compaction. A single-day rental rarely covers the lift-by-lift schedule a real base demands.
- Laser level or rotary laser – for establishing consistent slope away from the structure. Hand levels won’t give you the 1 to 2% fall over a 40-foot run that keeps water moving.
- Wet saw with diamond blade – for cutting pavers near edges, curves, and utility penetrations. Dry cuts chip and leave a rough face; most pros cut wet.
- Mechanical plate tamper and hand tamper – edges and corners need a different tool than the open field.
- Excavation equipment or a serious hand-dig crew – a 400-square-foot driveway means moving multiple tons of soil and aggregate by hand if you don’t have a machine.
- Geotextile and edge restraint systems – not optional on a vehicular surface.
Sub-base expertise is the quieter gap. Knowing how deep to excavate, how to test moisture before compaction, when to add a stabilizer, and how to grade for the specific drainage pattern of a Spring Valley lot is judgment that comes from doing it repeatedly. Our technicians have up to 12 years of experience, and even they’ll tell you the base decisions are the ones that separate a driveway that lasts from one that doesn’t.
What Pattern Laying and Cutting Actually Require
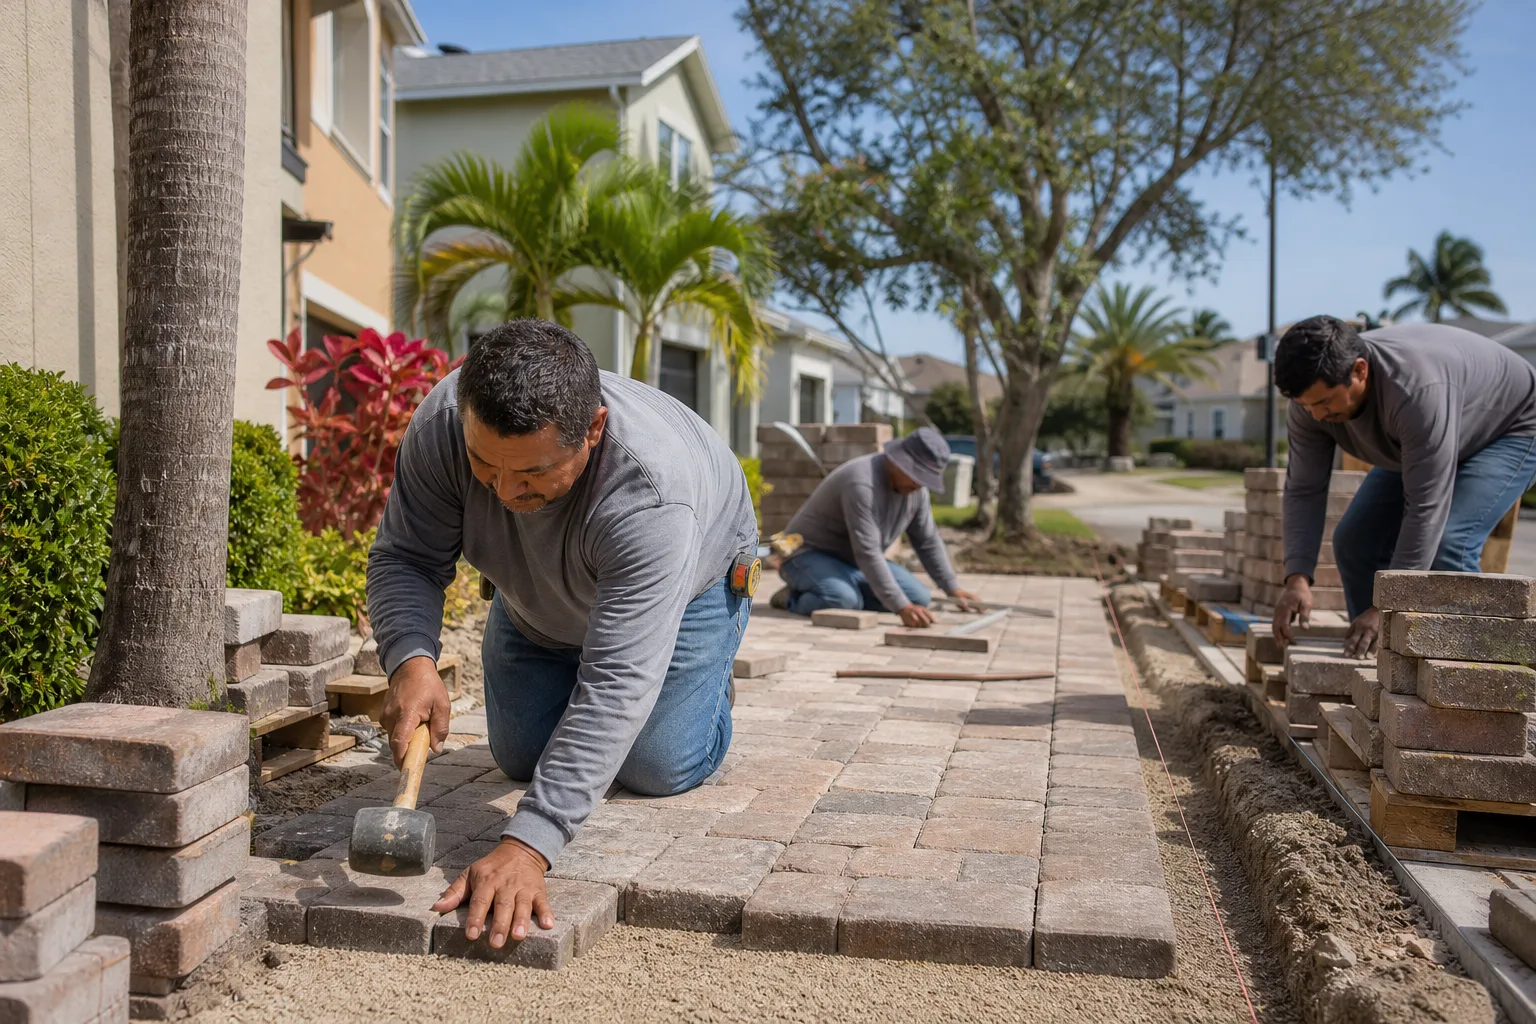
Laying pavers in a running bond or herringbone pattern looks meditative in the videos. In practice, pattern work on a driveway is where DIY timelines stretch from a weekend into three weeks of evenings and weekends. Here’s what’s actually involved:
- Set string lines and a screed rail. The bedding sand has to be screeded to a uniform 1-inch depth, and any high or low spot telegraphs through to the finished surface. This is a two-person job on a full driveway.
- Lay from a fixed reference. Patterns get laid against a string line or edge restraint, working in sections. Any drift shows up as wandering joints two rows later, and the only fix is pulling up what you laid.
- Cut edges and penetrations. Every paver touching an edge restraint, a garage apron, a utility box, or a curve needs a clean cut. A wet saw with a diamond blade is the standard; a borrowed circular saw with a masonry blade will chip and fracture pavers.
- Compact the field, then sweep joint sand. The plate compactor passes over the finished surface to seat pavers into the bedding layer, then polymeric joint sand goes in and gets watered in. Skip the surface compaction and joint sand will wash out within a season.
Pattern laying is not technically hard. Cutting is not technically hard either. Doing both at professional pace across 400-plus square feet, with consistent joint widths and clean edges, is the part that separates a hobbyist result from a finished-looking driveway. And none of it matters if the base underneath is wrong.
How DIY Base Failures Hit Insurance and Resale Inspections
A failed paver driveway rarely stops at an eyesore. Here’s how it reaches into insurance and resale, in ways most homeowners don’t anticipate:
- Drainage claims get complicated. If a DIY base pitches water toward the house instead of away, and water intrudes into the foundation or a crawlspace, an insurance adjuster will ask who installed the driveway. Work you installed yourself is often excluded or flagged differently than work by a licensed contractor – read the policy language on “faulty workmanship” before you excavate.
- Resale inspections flag it. A buyer’s inspector looks at a paver driveway for settling, ponding, and edge restraint failure. Any of the three prompts a specialist inspection, and the buyer’s realtor builds that repair cost into the offer.
- Permits enter the conversation. In Spring Valley and unincorporated Clark County, hardscape work that impacts grading or drainage can require a permit depending on scope. An unpermitted driveway can become a disclosure item and a resale headache. We pull permits and pass inspections on the projects we build, and it’s part of why buyers and their agents treat a professional install differently.
None of this is meant to scare you off from ever touching a paver. It’s meant to show the true stakes: the base is the part where a resale inspection, a drainage claim, or a permit question lands back on the homeowner.
Real Cost Comparison: DIY vs Professional in Spring Valley
Here’s the honest math. A DIY paver driveway in Spring Valley looks cheaper on the receipt, then quietly isn’t. The chart below uses typical 2026 Spring Valley market ranges for a 400-square-foot paver driveway, single-width brick or concrete pavers.
| Line Item | Typical DIY | Typical Professional |
|---|---|---|
| Pavers and bedding sand | $2.25-$4.50/sq ft | Included in install price |
| Aggregate base and geotextile | $1.50-$3.00/sq ft | Included in install price |
| Plate compactor rental | $75-$150/day, often 2-3 days | Included |
| Laser level rental | $40-$80/day | Included |
| Wet saw with diamond blade | $60-$120/day or buy $300+ | Included |
| Excavation (hand or machine) | $0-$1,500 depending on access | Included |
| Edge restraint, joint sand, polymeric | $1.00-$2.00/sq ft | Included |
| Labor (your weekends) | 80-150 hours | Included |
| Realistic redo cost if base fails | $3,000-$6,000 for a 400 sq ft driveway | N/A with workmanship warranty |
Pulled together, a DIY install on a 400-square-foot driveway typically lands between $4,500 and $8,000 in materials and rentals, before you count the weekends. A professionally installed driveway in Spring Valley generally lands in a similar ballpark to a bit higher, but comes with a base built to spec, a workmanship warranty, and no redo risk. And when the pricing is upfront, the number you see is the number you pay. That’s the thing a true cost comparison should show: the DIY “savings” is a bet on your own base work holding up.
If the paver project is part of a broader exterior redo, the driveway cost has to be weighed against the rest of the scope. If you’re adding a detached structure, patio, or full-home exterior refit, it often makes sense to combine it. Our Driveway & Pavers in Spring Valley page has the full scope options, and 0% financing for 18 months plus $1,000 off projects over $10,000 can change the math on a professional install vs. the DIY gamble.
The Narrow Band of Legitimate DIY Work
This is where we push back on the idea that DIY is all-or-nothing. There is a real, legitimate band of paver work that a careful homeowner can own entirely. It’s just narrower than the internet makes it look.
Safe to DIY:
- Single paver replacements. A cracked or popped paver in the middle of a stable field can be lifted with a pair of paver pullers or a joint knife, the bedding sand refreshed, and a matching paver set back. Two hours, no equipment.
- Joint sand top-offs. Polymeric joint sand breaks down over time, especially in Spring Valley’s dry heat and UV exposure. Sweeping in fresh joint sand on a warm, dry day and watering it in is a legit annual maintenance task that keeps a stable driveway stable.
- Small patio infills. A 20-square-foot garden or patio infill that’s decorative and non-vehicular, with a shallow excavation and hand compaction, is achievable with a hand tamper and careful attention to slope. It’s not a driveway.
- Weed and stain maintenance. Vegetation growth in joints and stains from oil or irrigation water are maintenance items, not structural ones.
Not safe to DIY:
- Full driveway excavation and base prep
- Any lift compaction needing a plate compactor
- Cutting pavers for edges, curves, or utility penetrations on a full layout
- Grading and drainage decisions in a Spring Valley caliche or expansive-clay lot
- Anything touching a foundation stem wall, garage apron, or utility connection
Spring Valley Climate and Soil: What Local Builders Plan For
Spring Valley’s climate and soil do specific things to a paver driveway that a tutorial shot in a mild, humid state won’t warn you about. Three factors dominate:
- Extreme summer surface heat. Pavers hit surface temps north of 140°F in July and August, and that heat cycling expands and contracts the assembly. Edge restraint installed with the wrong anchor pattern or the wrong adhesive will pop within two seasons. This is a detail a pro plans for and a first-timer rarely knows to look up.
- Monsoon-season runoff. When a deluge lands in 30 minutes, the site grading has to move water where the design wants it. Any spot in the base that wasn’t compacted correctly becomes a low point. Water finds it. You find it a week later.
- Caliche and expansive clay layers. These can appear within a couple feet of grade in parts of Spring Valley and change how much excavation and stabilization a driveway needs. In our experience, this is also where DIY bases quietly fail: the homeowner never saw the layer, because they didn’t dig deep enough to find it.
Local code and grading requirements – permits, drainage, and connection rules – apply to hardscape project scopes that affect the property’s water movement. Our team pulls permits and passes inspections on projects in Spring Valley; a self-installed driveway with drainage impacts is a different conversation.
Common Mistakes to Avoid
- Compacting a 6-inch base in one pass. Compactors only reach the top few inches. The base has to go in 2-inch lifts, or the lower material stays loose and the entire assembly settles unevenly within the first wet season.
- Laying pavers on a dry-screeded bed without a string line. The pattern wanders within two rows, and the only fix is pulling up what you’ve laid. String lines aren’t optional.
- Cutting with a dry circular saw. Pavers chip, crack, and leave a rough edge. A wet saw with a diamond blade is the standard, and the finished edge is where the difference shows.
- Pitching water toward the house. Spring Valley monsoon storms are unforgiving. A driveway sloped toward the foundation instead of away is a drainage problem the homeowner owns – and often a claim the insurance company won’t cover the same way as a licensed install.
- Skipping the edge restraint. Pavers need mechanical restraint at the perimeter. Joint sand alone won’t hold; the field spreads and gaps open at every edge, from the garage apron to the street.
- Underestimating base excavation. A 400-square-foot driveway means 6-plus inches of excavation across the whole area – multiple tons of material – before any paver or aggregate arrives. Most weekend timelines fall apart at this step.
- Never checking local permits and drainage rules. Spring Valley and Clark County unincorporated areas have rules about grading and drainage impact. Skipping the check creates a disclosure problem at resale, not just a construction one.
See the difference
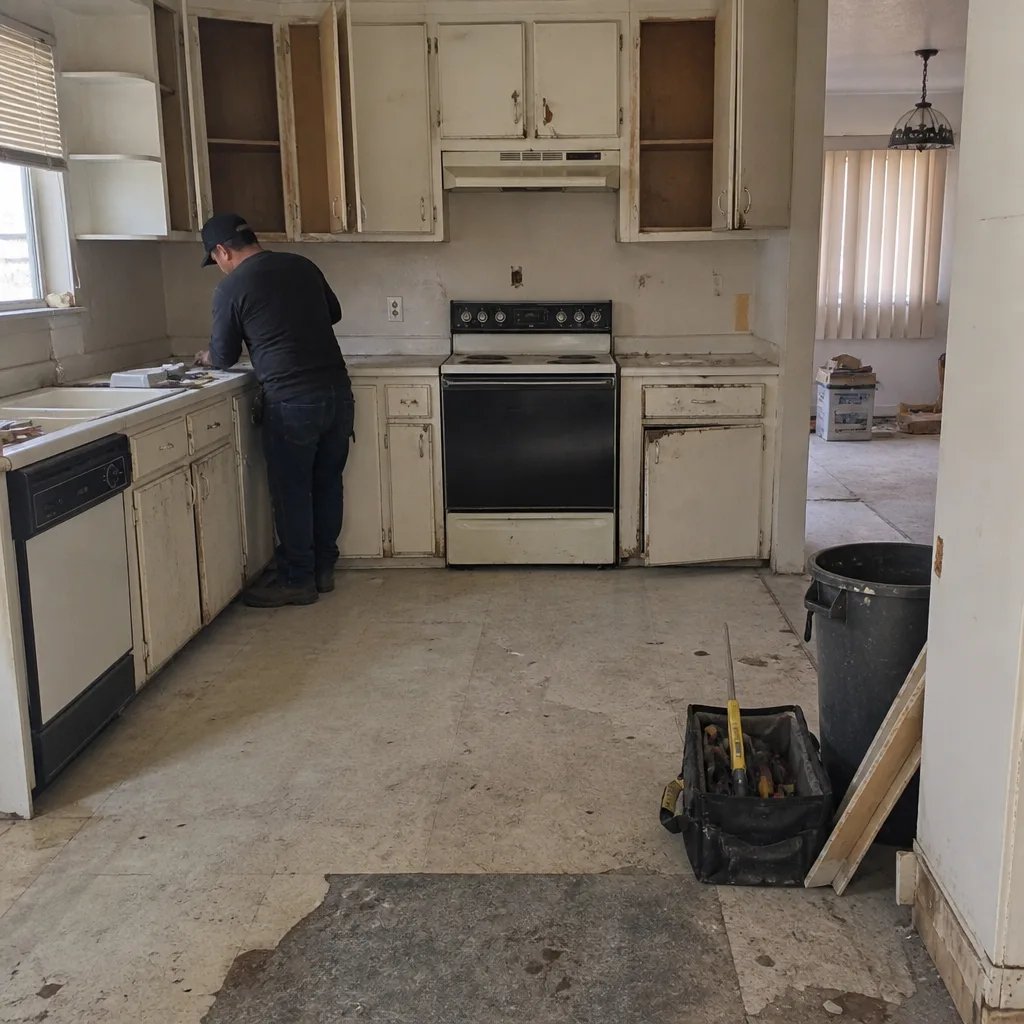 Before
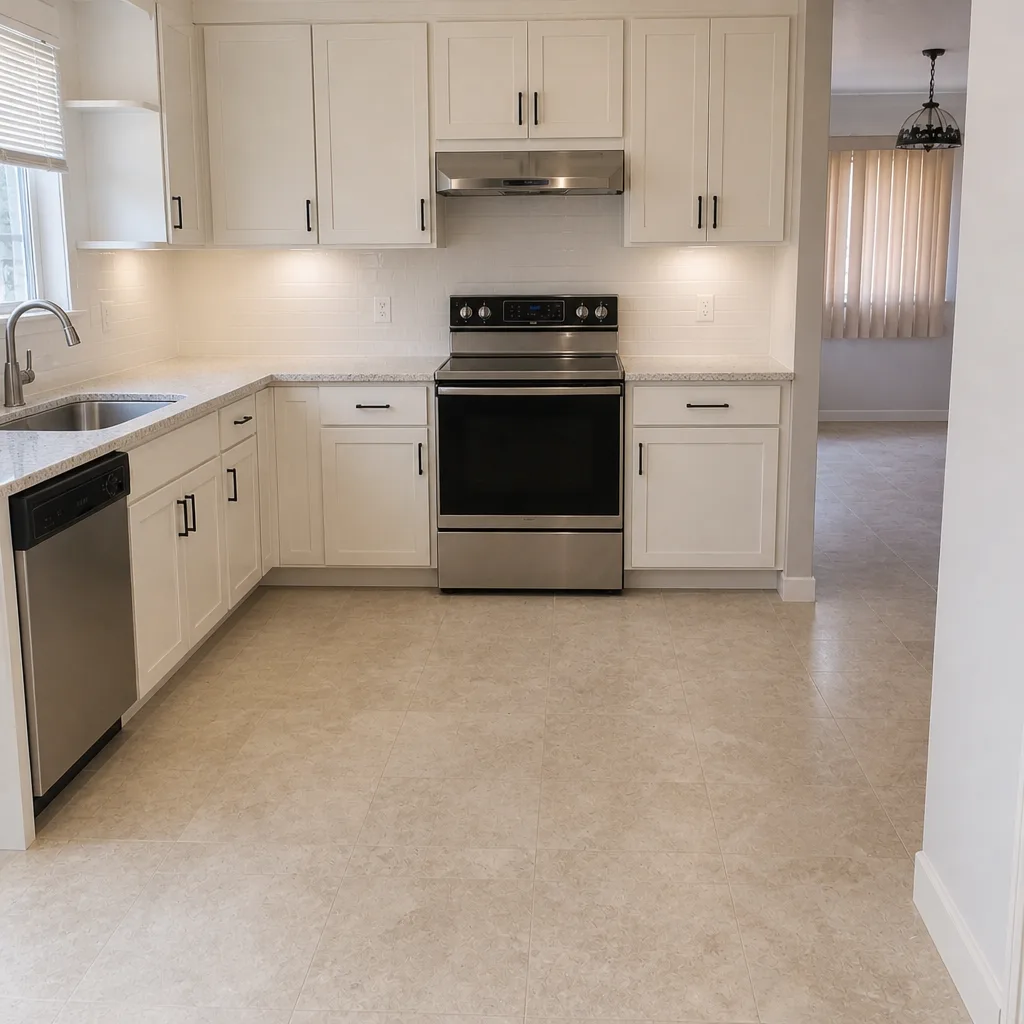 After
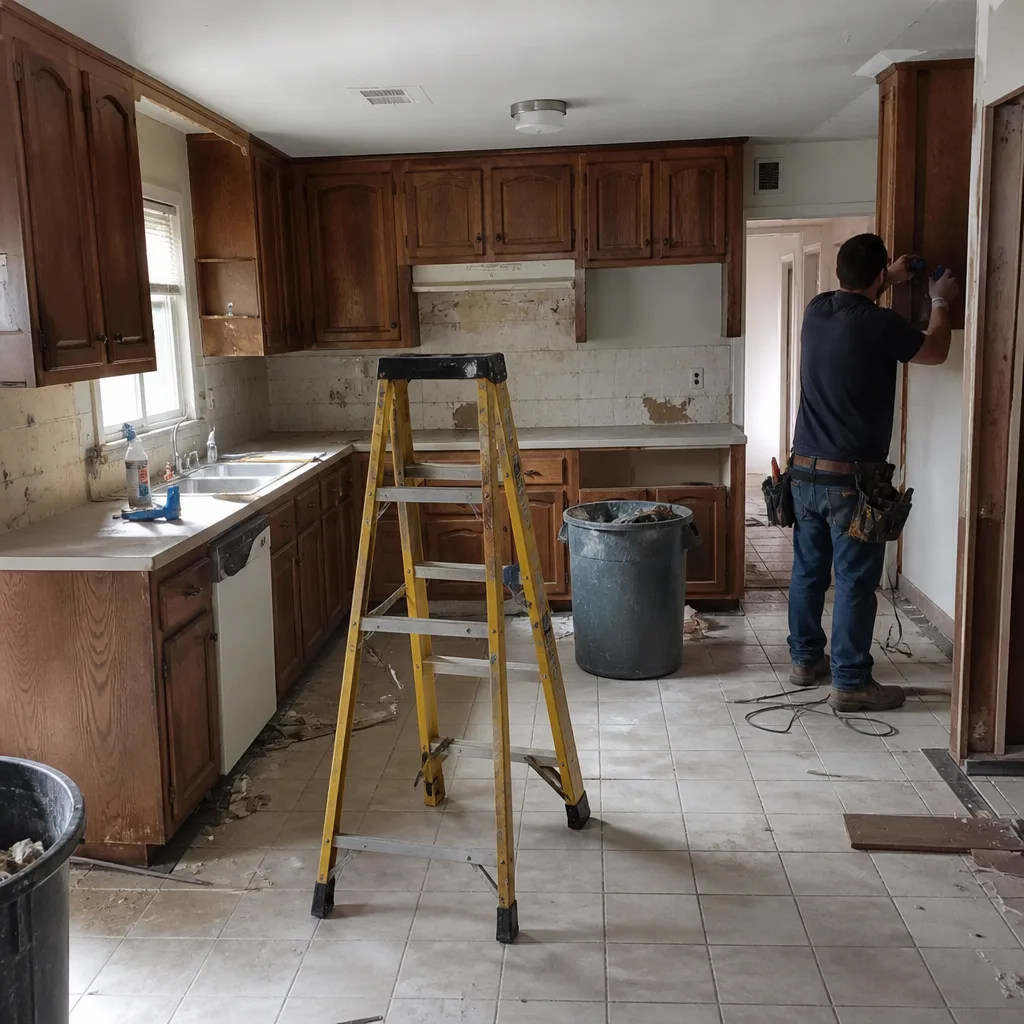 Before
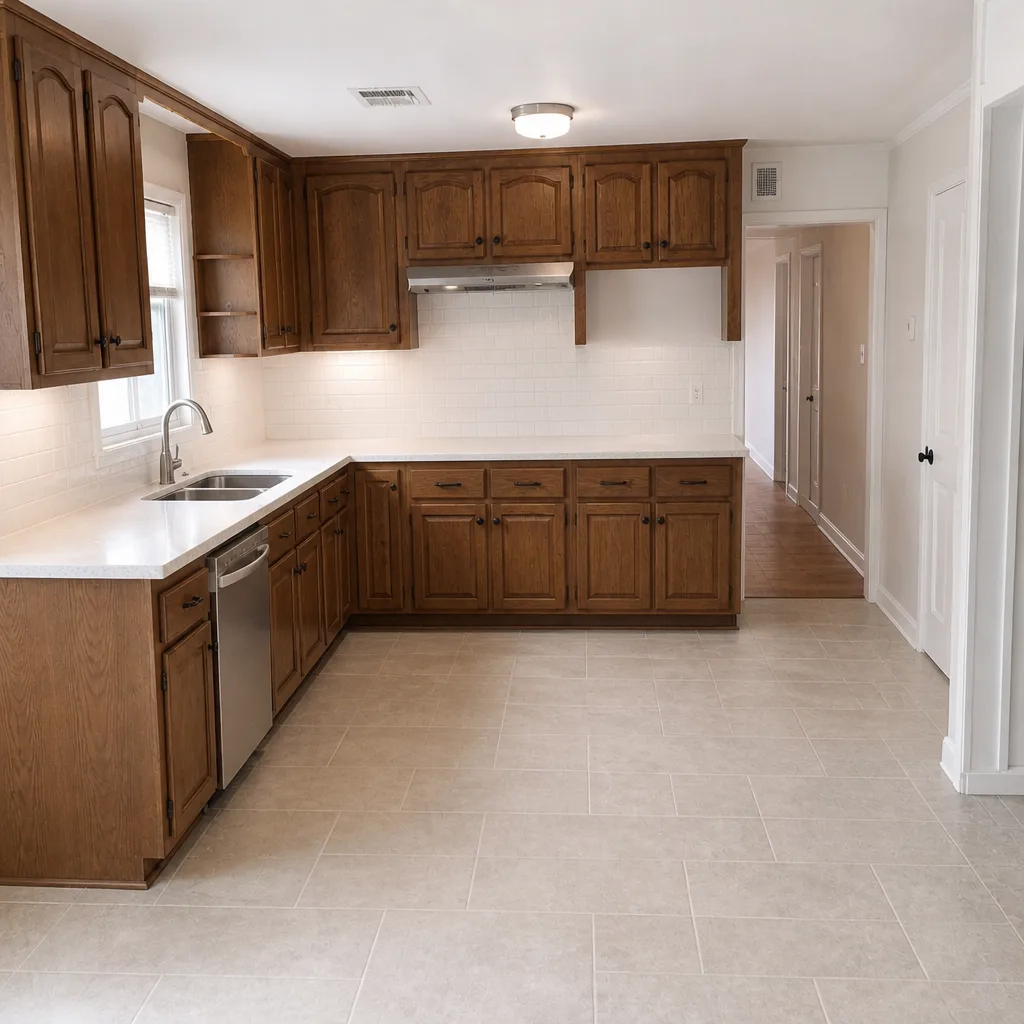 After
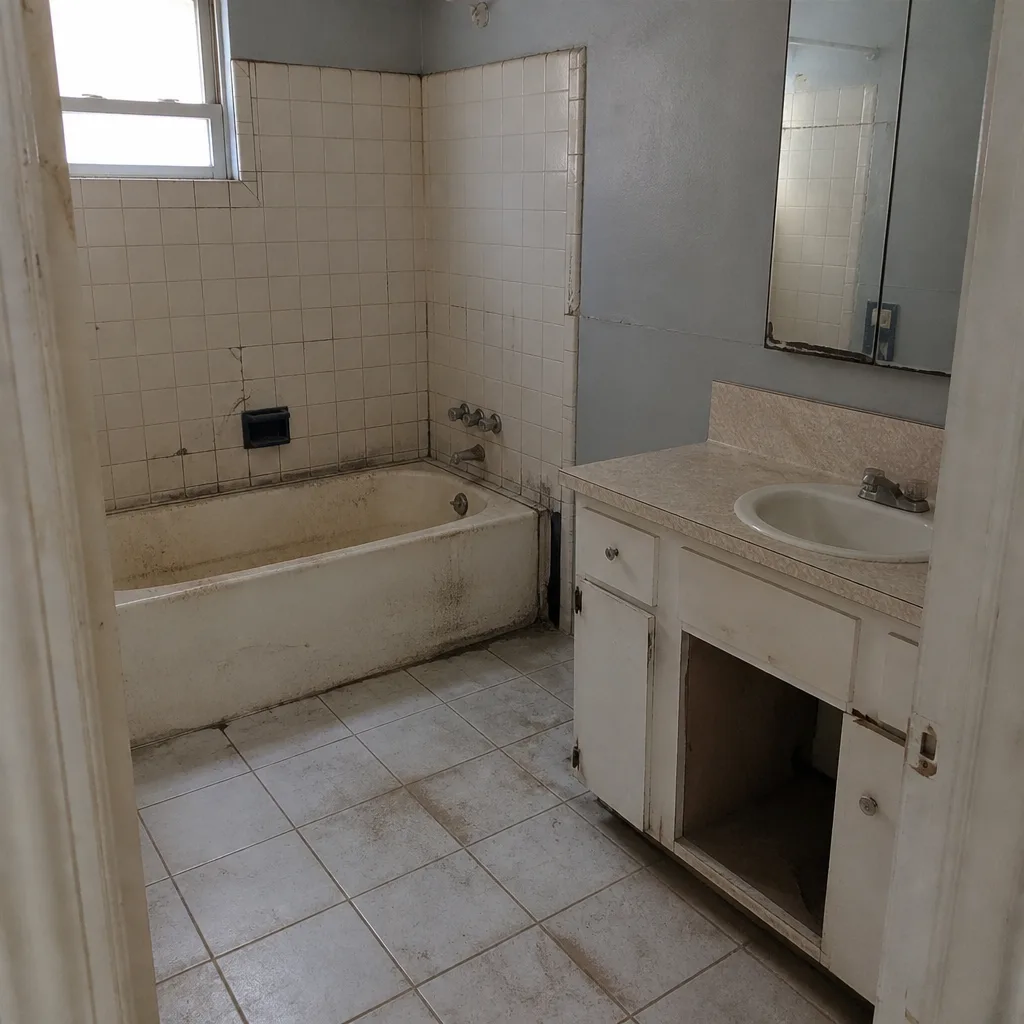 Before
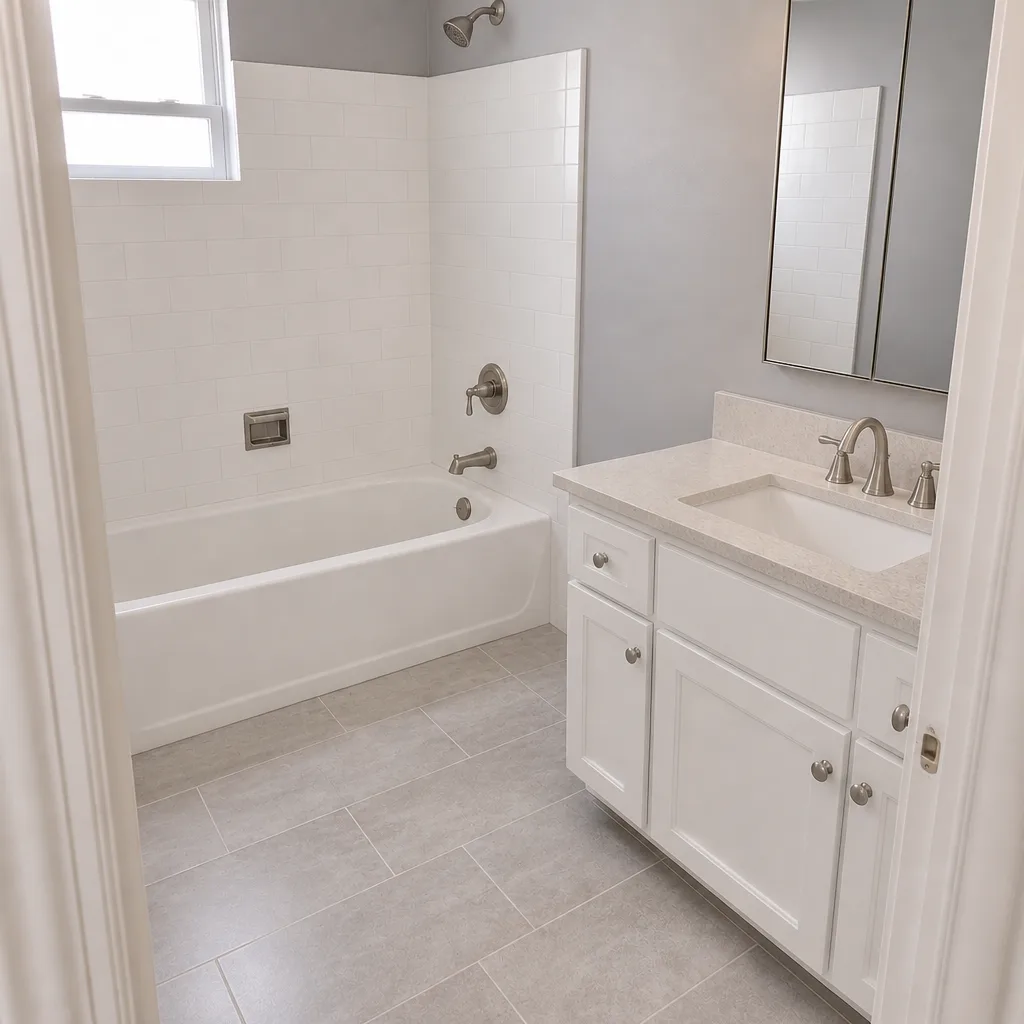 After
When to Call a Professional
Call a professional when the project involves structural base work, excavation, plate compaction, cutting a full layout, or grading against a Spring Valley slope or caliche layer. Call for a driveway, an apron, a full patio hardscape that cars or a heavy grill will sit on, or any paver install connecting to a stem wall, utility, or drainage line. Call when you want the driveway to survive the first monsoon season without argument. Groundwork Construction Co. of Spring Valley offers free estimates in Spring Valley – call (888) 329-9414. We answer live, 24/7, and we can schedule a free project estimate and design consult. All work is covered by our 730-Day Done Right Promise – if it’s not done right, we make it right.
Frequently Asked Questions
You can lay pavers yourself, but the driveway will still fail if the base underneath them doesn’t meet compaction and grading standards for a Spring Valley lot. The pavers are the visible 10%; the base is the other 90%. A homeowner can safely replace single pavers, top off joint sand, and infill small decorative patios. A full driveway is a different scope.
You’ll need a plate compactor, a laser level, a wet saw with a diamond blade, and edge restraint with anchors. The compactor and wet saw are commonly rented, but a single rental day won’t cover a lift-by-lift base compaction schedule. Calling (888) 329-9414 gets an exact scope of what professional installation includes – estimates are free.
For a 400-square-foot paver driveway using standard pavers, typical Spring Valley market ranges land around $8,000-$14,000 professionally installed, depending on paver selection, excavation depth, and site grading. DIY materials and rentals for the same size typically land $4,500-$8,000 before labor and redo risk. Call (888) 329-9414 for an exact quote on your property – estimates are free.
Generally no. Faulty workmanship exclusions typically apply to work you performed yourself, and drainage claims from a mis-pitched driveway are often the toughest to argue. A professionally installed driveway with a written workmanship warranty shifts that exposure off you. Call (888) 329-9414 and we’ll walk you through what’s covered on a Groundwork install.
Most single-driveway projects in Spring Valley run several days to around two weeks, depending on square footage, excavation, and whether grading or drainage work is in scope. The base is the part that takes time. If someone quotes you a paver driveway “in a weekend,” the base is where that timeline is being cut. Call (888) 329-9414 for an accurate timeline.
Yes, for any project scope that touches grading or drainage in a way that requires a permit in Spring Valley or unincorporated Clark County. Permits pulled and inspections passed are part of the job – not an add-on. Call (888) 329-9414 to talk through permit needs for your specific project.
The Bottom Line
The DIY vs professional question on driveway pavers comes down to one thing: the base. Surface work – single paver replacement, joint sand top-offs, small decorative patio infills – is legitimately yours to do. Structural work – excavation, lift compaction, laser grading, cutting a full layout, drainage decisions in Spring Valley’s caliche and clay – is where DIY driveways fail and redo costs wipe out any savings. If you want a driveway that holds up to a Spring Valley summer and a monsoon season, get the base built right. Groundwork Construction Co. of Spring Valley does that work with upfront pricing, a 730-Day Done Right Promise, and background-checked, uniformed technicians. If you’re considering a broader exterior project alongside the driveway – Fence Installation in Spring Valley or a Home Additions & ADU in Spring Valley – start with Groundwork Construction Co. of Spring Valley home to see the full range of what we build.
Ready to price a paver driveway or hardscape project? Call (888) 329-9414 for a free estimate. We answer live, 24/7. Every project includes a free project estimate and design consult, and 0% financing for 18 months is available on approved credit. Ask about $1,000 off projects over $10,000. Built to last, backed in writing.
Written by the team at Groundwork Construction Co. of Spring Valley.