Last updated November 17, 2026


Free written scope consultation - allowances, timeline, and change-order rules on paper before a single trade is scheduled
Driveway & Pavers Maintenance Schedule: What to Do and When
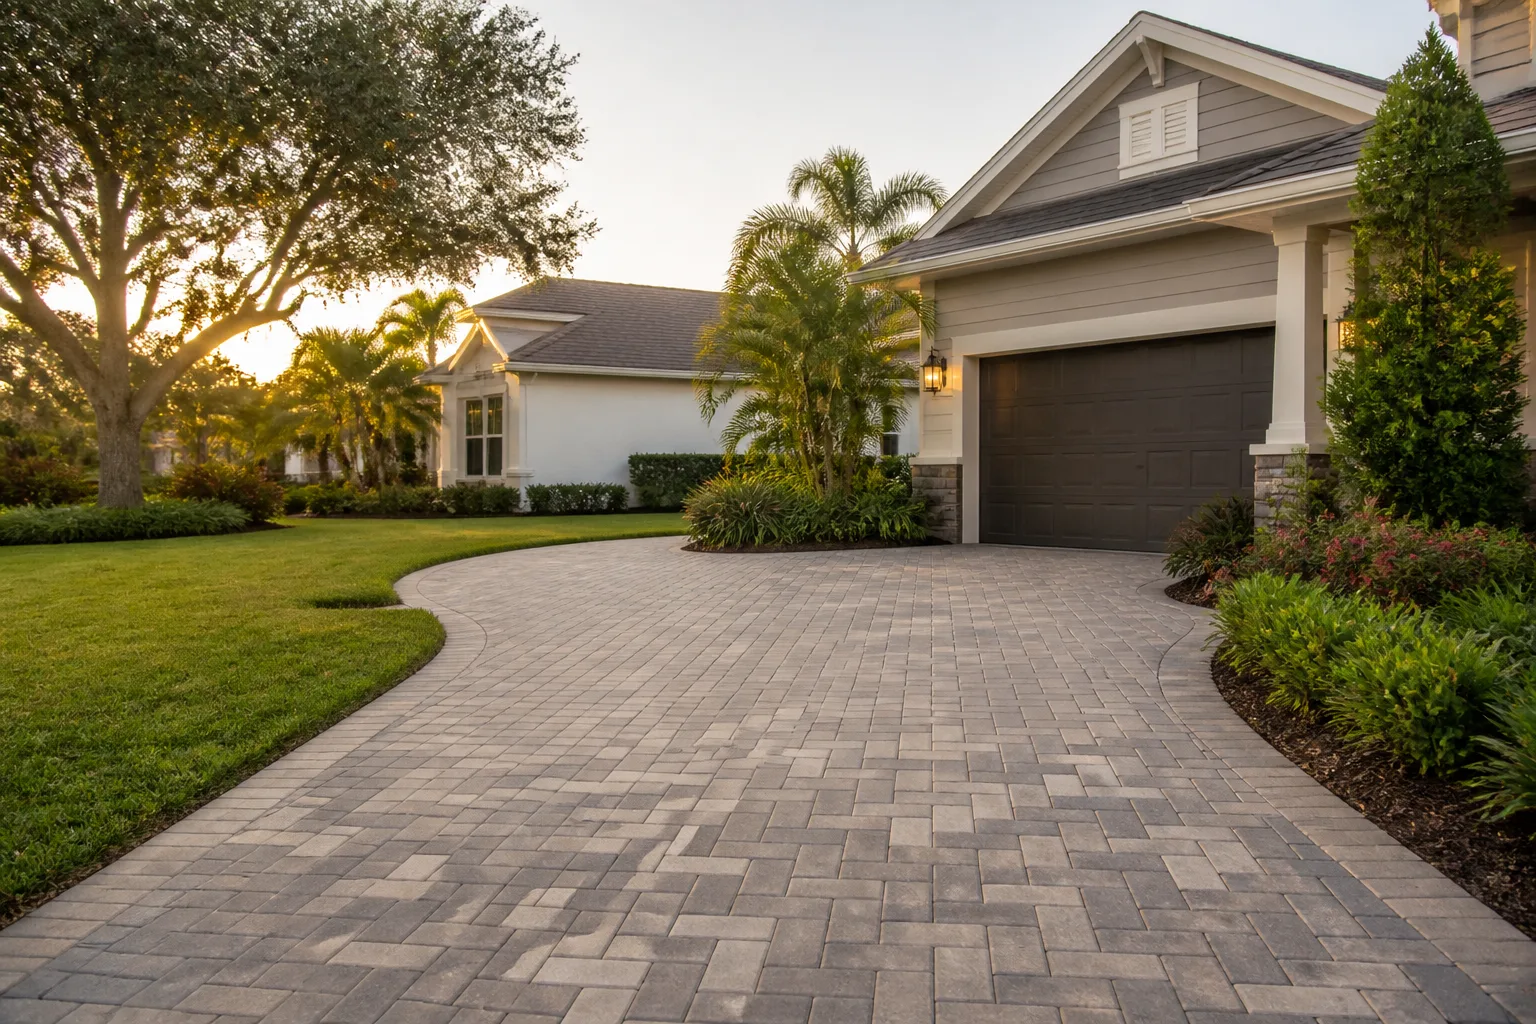
Sealing pavers in July in Nevada isn’t just ineffective. It can ruin the surface. When pavement temperatures push past 140°F, sealant skins over before it bonds, bubbles form, and moisture gets trapped underneath. Timing isn’t a suggestion here; it’s the job. A paver driveway in Spring Valley survives on a calendar built around two forces most national maintenance guides ignore: late-summer monsoon moisture pushing into open joints, and eight months of unrelenting UV that oxidizes sealers from March through October. Follow a generic schedule copied from a wet-climate website and you’ll do the right task at the wrong time. What follows is the month-by-month calendar we actually use, the temperature and humidity windows that govern sand and sealant, and the line between what you can handle and what voids the warranty if you touch it.
Quick Answer
A paver driveway in Spring Valley needs sealing in late spring or early fall when surface temperatures stay below 90°F and no rain is forecast for 24 to 48 hours, joint sand topped up after every monsoon season, and a full inspection each spring and fall that includes rotating which zones you check. The worst time to seal is mid-summer and the worst time to ignore joints is right after an August storm.
Styles & brands we work with
- Kitchen remodeling
- Bathroom remodeling
- Home additions & ADU
- Roofing
- Windows & doors
- Driveway & pavers
- Fence
Table of Contents
- Why Spring Valley’s Climate Rewrites the Rulebook
- The Month-by-Month Maintenance Calendar
- Sealing and Polymeric Sand: The Correct Windows
- Post-Monsoon Joint Inspection
- Vehicle Load Patterns and Inspection Zones
- What You Can Do vs. What Voids the Warranty
- Common Mistakes to Avoid
- When to Call a Professional
Why Spring Valley’s Climate Rewrites the Rulebook
National paver guides are written for a climate that doesn’t exist here. They assume a mild summer, regular rain spread through the year, and a winter freeze that drives the frost-heave conversation. Spring Valley operates on a different clock. Our rain arrives in concentrated bursts during the July-to-September monsoon, and the rest of the year is dry. That single pattern reshapes almost every maintenance decision.
The dry stretch matters because pavers don’t fail from too much water in a slow, even way. They fail when water gets into a joint that has lost its sand, sits there during a storm, and then freezes and expands in a cold snap or simply washes the bedding layer loose over a few seasons. A joint that stays full sheds water the way it was designed to. A joint that’s down half an inch becomes a channel.
The UV side is the half that homeowners underestimate. From March through October, our sun does to a paver sealer what it does to a car’s clear coat: it breaks down the film, dulls the color, and slowly turns the surface chalky. A sealer that would last three years in a cooler, cloudier market may need refreshing in two here. It’s not a product defect. It’s the light.
We see this play out block by block. In the older neighborhoods near Spring Valley’s established core, where driveways were laid years ago, faded pavers with dry, sandy joints are the standard picture by late summer. In the newer builds on the valley’s edges following the Driveway & Pavers in Spring Valley work we do, a proper calendar from day one is what keeps that same fade from setting in early. The sun treats every driveway the same. The only variable is whether someone is maintaining it on our schedule or someone else’s.
One more local factor: our soil and the way driveways shed toward the street. Water needs somewhere to go. If the grading tips toward the garage rather than the street, no amount of sealing will save the joints, because the problem isn’t on top of the pavers. It’s underneath and behind them.
The Month-by-Month Maintenance Calendar
Here’s the calendar we hand to homeowners in Spring Valley. It’s built for our seasons, so some months are busy and some are quiet. The quiet months are the point. Do the hard work in the shoulder seasons and the summer takes care of itself.
January to February. Cold, dry, low sun angle. Do a visual walk of the whole driveway and photograph any low spots or rocking pavers, because bare winter light shows them better than summer glare. Clean out any sand the winter wind piled against the garage door threshold. No sealing; it’s too cold for the product to cure.
March to April. The UV season starts. This is your first real window for cleaning and inspection. Sweep, spot-weed the joints, and pull any paver that rocks underfoot to check the bedding. Surface temps are still workable for repair. If a seal refresh is due, you can start planning it but hold the trigger until you’re sure of a dry stretch.
May to early June. The best sealing window of the year. Warm days but surface temps still under the product’s ceiling, and the monsoon hasn’t started. Do the full clean, re-sand the joints, and apply sealer if you’re on the every-two-to-three-year cycle.
July to September. Monsoon season. This is inspection and repair only. No sealing. Watch the joints after every storm, and re-sand as needed once a dry stretch returns. Keep a bucket of joint sand on hand so you can top up the worst spots before the next round.
October. The second great sealing and repair window. The monsoon is done, temps are falling back into range, and you have a clean surface going into winter. This is also the time to do a full post-monsoon joint audit (more on that below).
November to December. Wind and leaf debris season. Sweep regularly, check the transition where the driveway meets the street for sand loss, and leave the heavy work for the spring. Clean drains and gutters so winter runoff doesn’t back up onto the pavers.
One Spring Valley caveat on the calendar: our shoulder seasons can spike. A 90°F October day happens. Check the forecast before you commit to any sealing day; a single hot afternoon mid-application is enough to cause the bubbling problem that opened this guide.
Sealing and Polymeric Sand: The Correct Windows
Polymeric sand is the joint material that locks pavers together and keeps water where it belongs. It’s a cement-like binder that activates when it gets wet. That activation is both its strength and its weakness: if the surface is too hot when you apply or wet it, the binder can cure too fast, crack, and fail within a season.
The parameters we work within:
- Surface temperature: below roughly 90°F for the paver surface, ideally 50 – 80°F. In Spring Valley that rules out most of July and August for application.
- Air temperature: above 50°F and not climbing hard during the day. Cold stops the binder from curing; heat makes it cure unevenly.
- Moisture: no rain forecast for 24 to 48 hours after polymeric sand activation, and a dry surface before the joint is filled. Even a light drizzle in the cure window can wash the binder out of a fresh joint.
- Saturation: the paver base and the pavers themselves must be dry going in. Wet pavers under fresh polymeric sand trap moisture and the joint fails from the inside.
Sealer has its own rules. Most sealers want a surface temperature under 90°F, a completely dry paver, and a two-day dry window. Our best spring window is late May to early June and our best fall window is late September into October. That’s why the guide opens where it does: a July seal is not just wasted money, it can require stripping and redoing the surface the following year.
The order of operations matters as much as the timing:
- Deep clean the pavers and let them dry completely, typically 24 to 48 hours in low humidity.
- Re-sand the joints with fresh polymeric sand, sweeping it deep into the gaps.
- Activate the sand per the manufacturer’s specification, usually a light misting.
- Wait for the sand to cure fully before sealing over it.
- Apply the sealer in even coats, watching for pooling in low spots.
Skip a step and the sealer seals in a problem instead of sealing it out. That’s a costly redo. If your driveway uses Belgard pavers, follow their surface spec, because the sealant compatibility differs by product. We keep those specs on hand when we quote a full clean, sand, and seal on a Spring Valley driveway.
Post-Monsoon Joint Inspection
After every monsoon storm, do a joint walk within the first dry day or two. Not the next dry week. The goal is to catch displaced sand before the next storm pushes more water into the gap.
Here’s the sequence we recommend, twice per week through the storm season if you can manage it:
- Walk the full edge to edge of the driveway and look for sand pooled at the bottom of any joint. A gutter-shaped groove means water is moving through it.
- Run a screwdriver or a joint tool along the joint lines. If it sinks more than a quarter inch before it hits pack, the joint has lost sand and needs topping up.
- Press on any paver that rocks. A rocking paver has a hole or a soft spot under it, and every rainstorm widens it.
- Check the low spots, the transition to the street, and the corner near the garage apron first. Those are where Spring Valley storms attack hardest.
- Photograph anything you find. Comparing photos across storm seasons shows slow shifts that are easy to miss in person.
If you find a displaced joint and the next storm is two days out, top the joint up with fresh polymeric sand and let the mist from the next storm activate it, or activate per spec yourself. Leaving a gap open through a monsoon cycle is what turns a small joint repair into an underlayment and bedding repair. The difference in cost between the two is not close.
Spring Valley’s monsoon storms can dump a month’s worth of rain in an hour. The drainage paths on your driveway were designed for our rainfall pattern, not a slow drizzle, and the joints are what hold that design together. A driveway that looks fine in June can be showing full joint failure by September, in the same stretch, because the storm loads fell in the wrong weeks.
Vehicle Load Patterns and Inspection Zones
Pavers don’t wear evenly. Nobody drives over all of them the same way. A car parked in the same spot every night loads a specific set of pavers on a specific set of joints, day in and day out. A decade of that pattern produces localized settling, joint-sand loss, and the visible dip in front of the garage door you’ve probably noticed in any older driveway in Spring Valley.
The trick to catching this before it’s structural is to rotate which zones you inspect first. Most homeowners check the same two spots over and over. Instead, split your driveway into four zones and give them attention in a set order:
- Zone 1: the apron in front of the garage door, the highest-load area.
- Zone 2: the center lane where the wheel path runs, both sides.
- Zone 3: the street transition and curb approach, where water moves fastest.
- Zone 4: the outer edges and any corner joints.
Make one zone the “star” of each inspection cycle. Measure the depth of the three worst joints in that zone with a ruler or a joint tool. Write it down. Rotate the star every cycle so all four get checked evenly, and the depth numbers become your early warning system. A joint that drops from a half inch to a full inch over two cycles needs professional attention, not more sand.
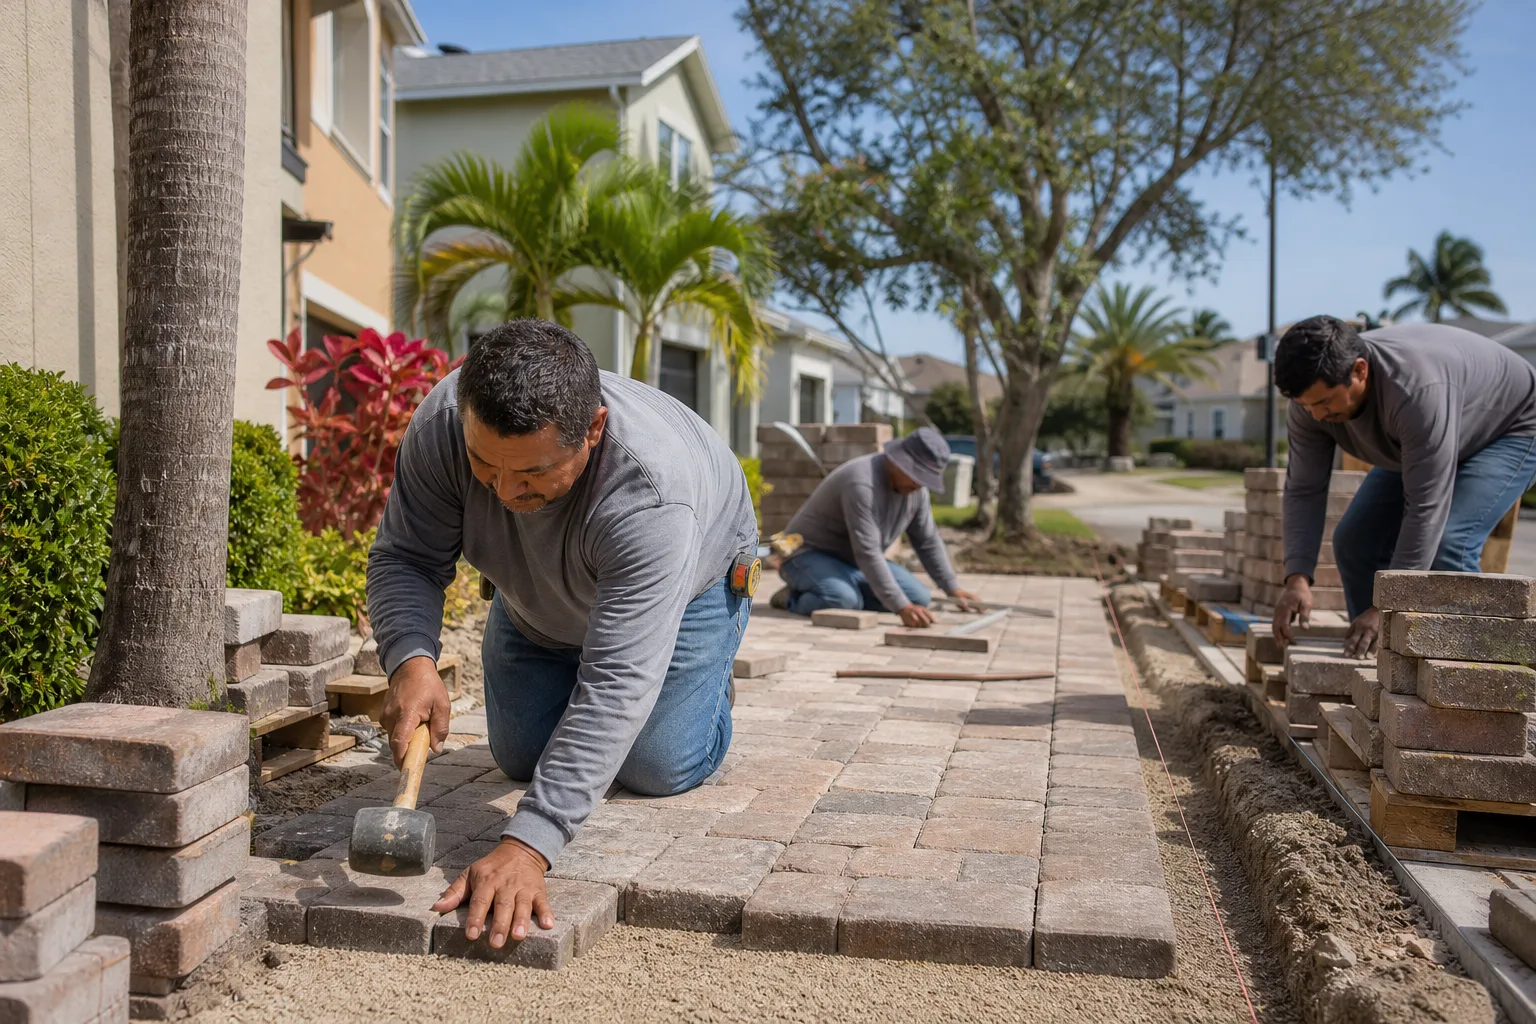
Heavy vehicles speed this up. A delivered appliance, a contractor’s loaded truck, a camper parked over winter: each one stresses a specific wheel-path pattern. If you have a heavy vehicle or a trailer that sits in the same spot, put a small board or paver-riser under the tongue or pull it into a different position each season. If you’re planning a driveway rebuild or replacing a section, tell the crew about your parking habits and the heaviest thing you park on the driveway. That information changes where the base course needs extra compaction. Our team factors that in on every driveway and paver project in Spring Valley, and it’s the difference between a driveway that sits flat for its lifespan and one that dips in three years.
What You Can Do vs. What Voids the Warranty
The line between homeowner maintenance and professional work isn’t about how hard it is. It’s about what the manufacturer will cover if a joint fails, a sealer peels, or a paver cracks. Most paver and sealer warranties have exclusions for improper application, and “I did it myself and it failed” is the most common way a warranty gets denied.
Here’s the honest split:
Safe for homeowner maintenance:
- Sweeping, blower-clearing, and leaf removal
- Weed pulling in the joints (by hand, not by herbicide over the whole driveway, which can stain)
- Visual inspection and depth checks with a joint tool or ruler
- Photographing and logging the rotation-you inspection zones
- Top-dressing snow or salt at a minimum, with the products the paver spec recommends
Better handled by a trained crew, or warranty risk:
- Applying polymeric sand, especially the activation step, which is where the most failures come from
- Applying any sealer; the wrong product, temp, or cure window voids the sealer and can void the paver warranty
- Pulling and resetting a rocking paver, which requires digging out and rebuilding the bedding
- Any repair that touches the base course or the underlayment
- Cutting or trimming pavers at the curb or edge restraint
The warranty point isn’t a scare tactic. It’s the same reason you hire a roofer for a GAF shingle system rather than installing it yourself: the manufacturer’s guarantee is tied to a proper install and maintenance. When we quote a driveway job in Spring Valley, we hand you a written line-item maintenance schedule as part of the package, so you know what you’re responsible for and what you should call us for. The upfront price covers the install, and the maintenance guide keeps you from accidentally voiding it.
A quick note on the base course: if you’re in a newer construction home and your driveway abuts an ADU slab, a home addition or ADU in Spring Valley, or a new fence installation in Spring Valley, the transition where those structures meet the pavers is a common weak point for water. That’s a call-us item, every time.
Common Mistakes to Avoid
- Sealing in summer. A July or August seal in Spring Valley is the single most common avoidable mistake. Surface temps can top 140°F, the sealer skins over, and moisture gets trapped. Wait for late spring or early fall.
- Sealing right before a monsoon. If a storm is in the ten-day forecast, don’t start. The two-day cure window is real, and an afternoon shower in late August will ruin fresh sealer and polymeric sand.
- Skipping the post-monsoon joint walk. The days after a storm are the cheapest time to fix a joint. Wait a month and you’re looking at a repair, not a top-up.
- Adding sand without cleaning the joint first. Sand added over leaf litter or old, crumbling polymeric binder won’t key in. The joint fails from the bottom up.
- Using a pressure washer on high to “clean” pavers. High pressure strips the sealer and blows the joint sand out. In Spring Valley, where UV already weakens the sealer, one aggressive wash can take months off its life.
- Parking the same heavy vehicle on the same pavers forever. Rotate the parking position or lift the trailer each season; the wheel-path dip in front of garage doors is entirely predictable and entirely avoidable.
- Treating a grade issue as a sealing issue. If water pools against the garage or runs toward the house instead of the street, no sealer will fix it. That’s a drainage and grading correction, not a maintenance step.
When to Call a Professional
Call us when the driveway stops being maintenance and starts being structural. Specifically: any paver that rocks underfoot when you press it, any joint that sinks more than an inch in a single monsoon season, any pooling water that isn’t gone within a day of a storm, any dip at the garage apron that’s gotten deeper than half an inch, or any crack in a paver that runs more than a few inches. Those are all signs that the base or bedding under the surface needs attention, and no amount of topping up joints or resealing will fix them.
The other call-us moment is the warranty question. If you’re planning a clean, re-sand, and seal as part of a larger project, or you’re worried a previous “handyman seal job” voided your manufacturer warranty, get a professional assessment before you spend more money on surface products. A worked surface that needs stripping and redoing is cheaper to fix in the shoulder season than in a monsoon scramble.
Groundwork Construction Co. of Spring Valley offers free estimates in Spring Valley – call (888) 329-9414. We’ll walk the driveway with you, tell you honestly which tasks you can keep doing yourself, and quote the ones that need a trained crew with upfront pricing, no surprises. Every project we touch is backed by our 730-Day Done Right Promise, and if the paver surface we installed doesn’t hold up to our schedule, we make it right.
See the difference
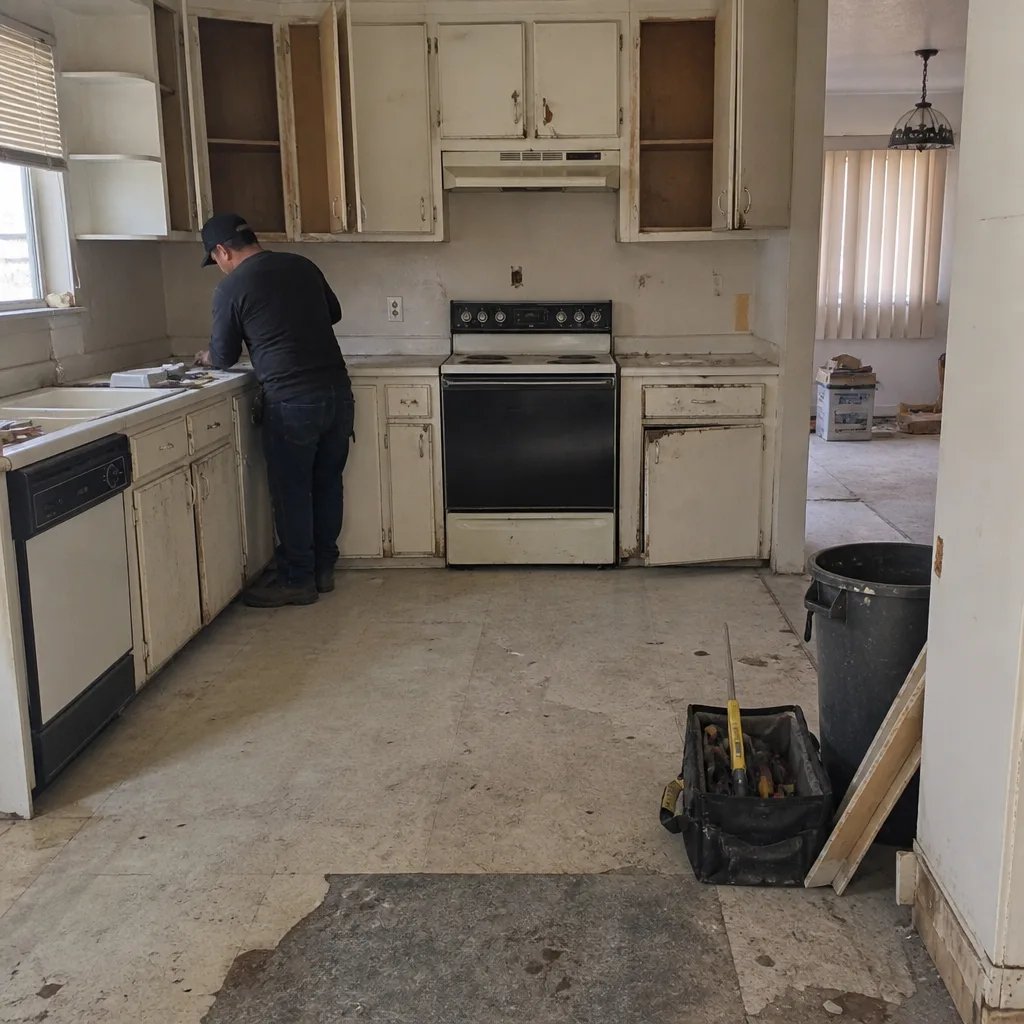 Before
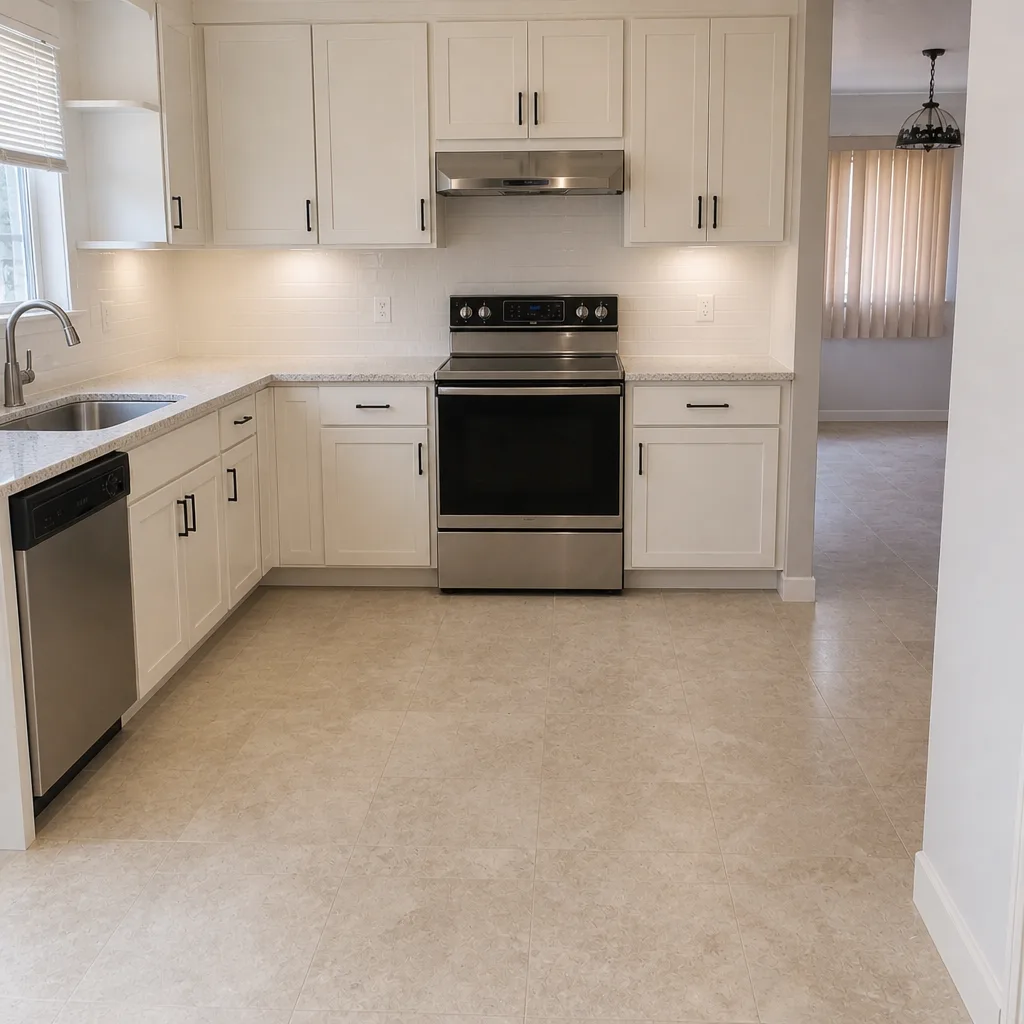 After
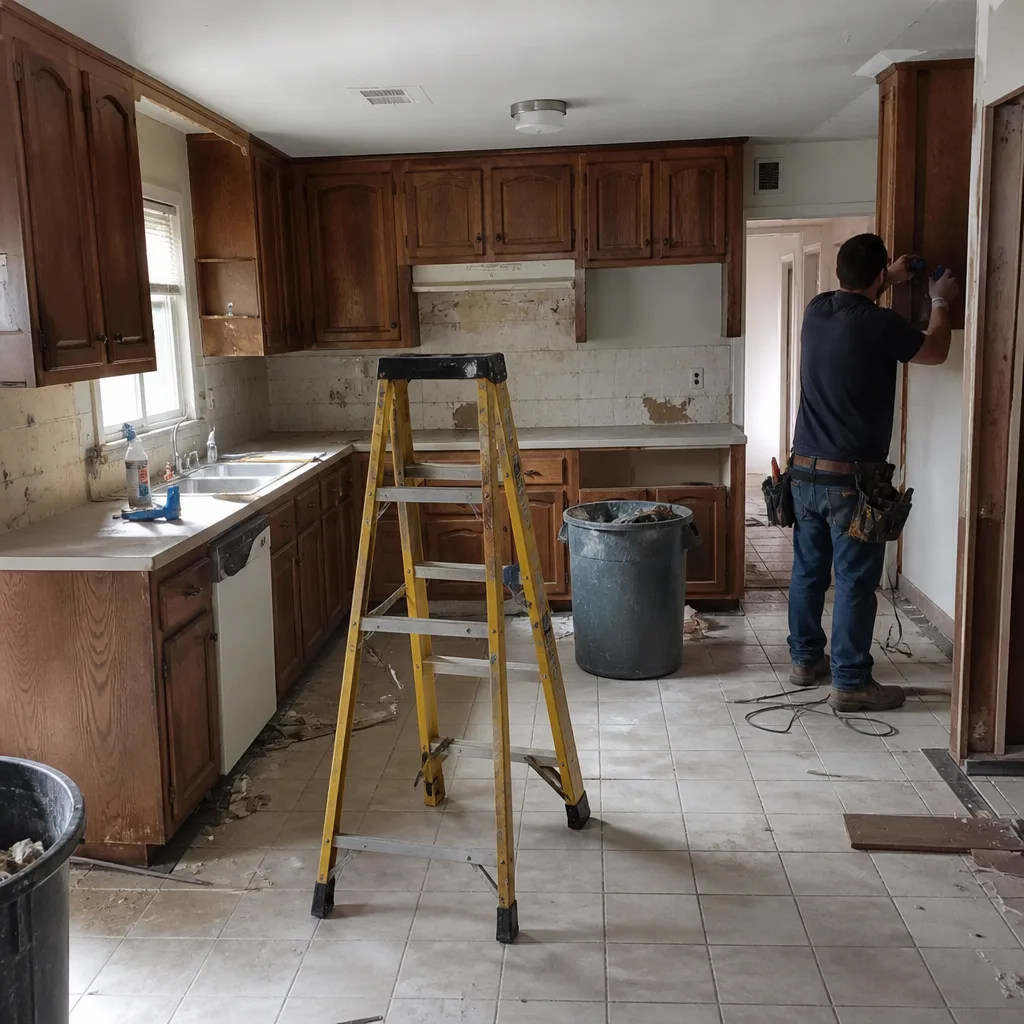 Before
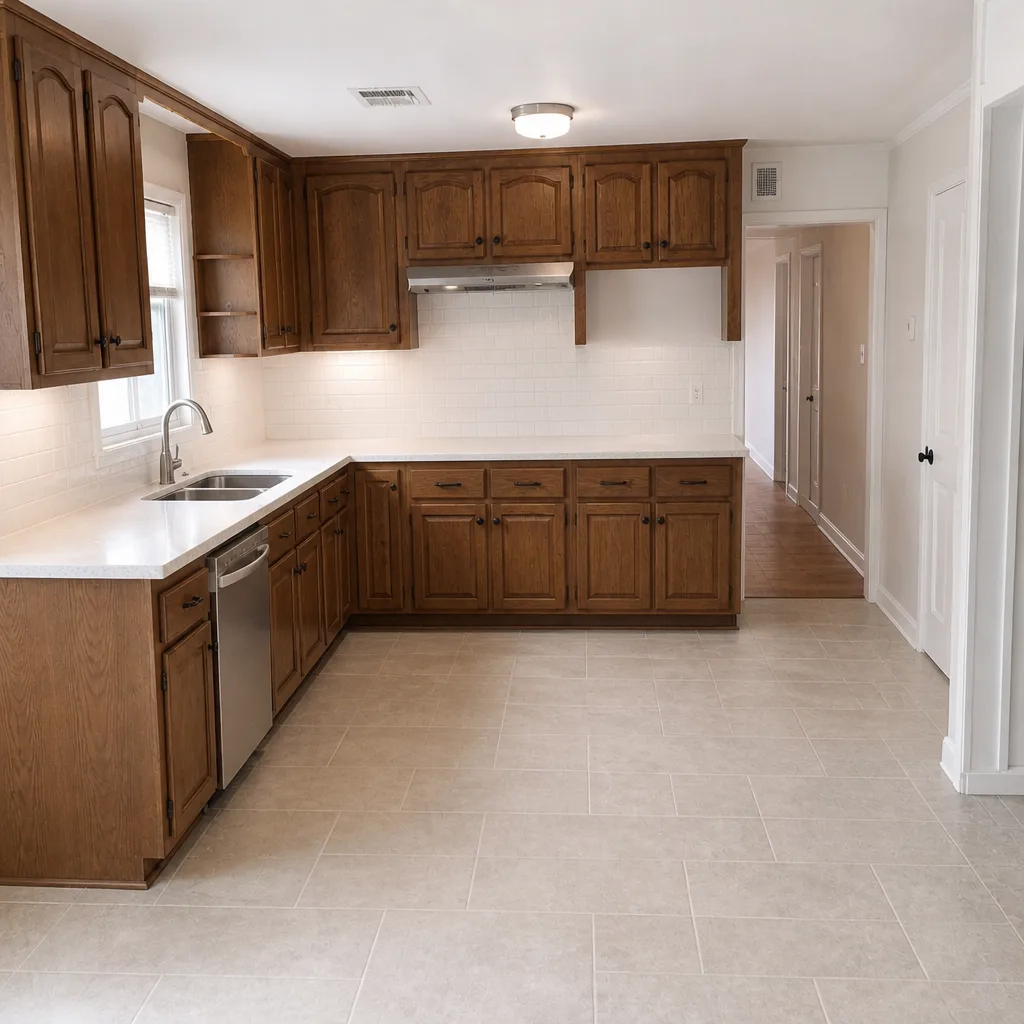 After
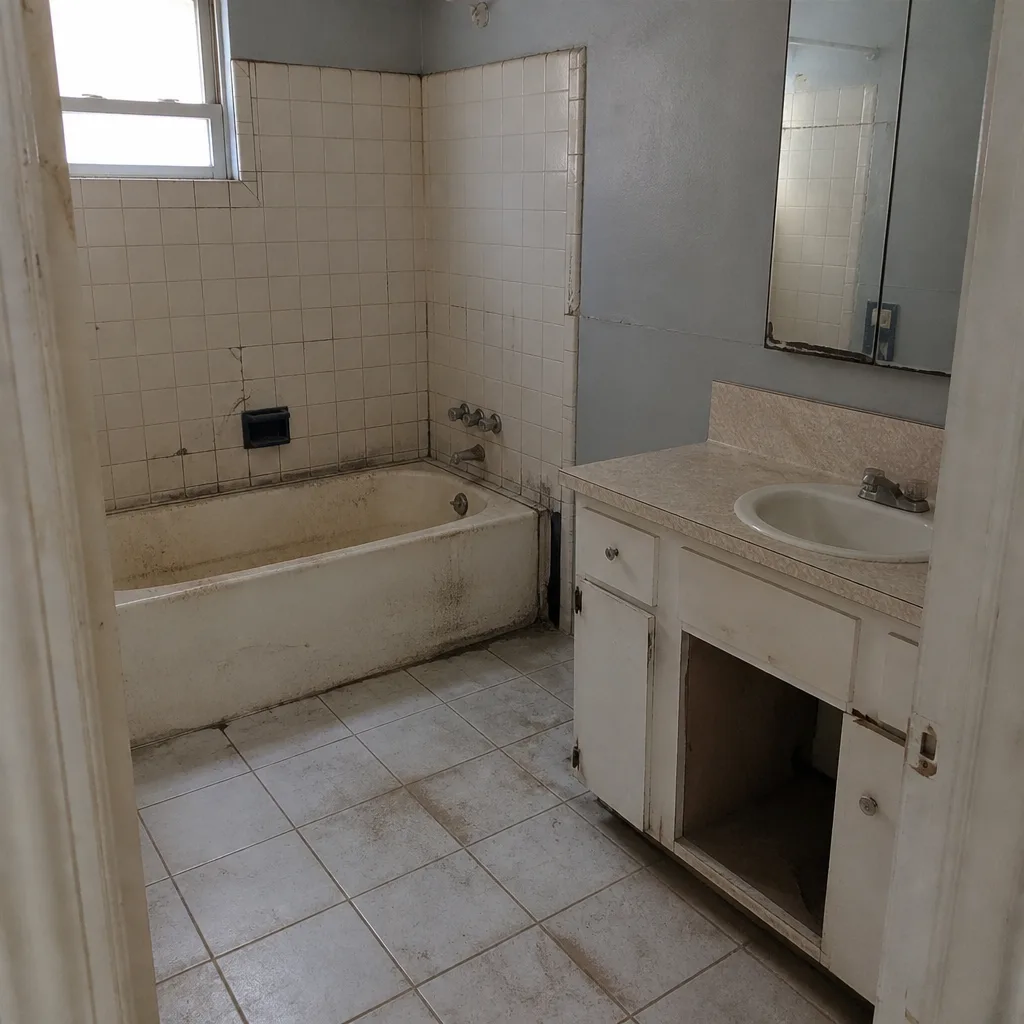 Before
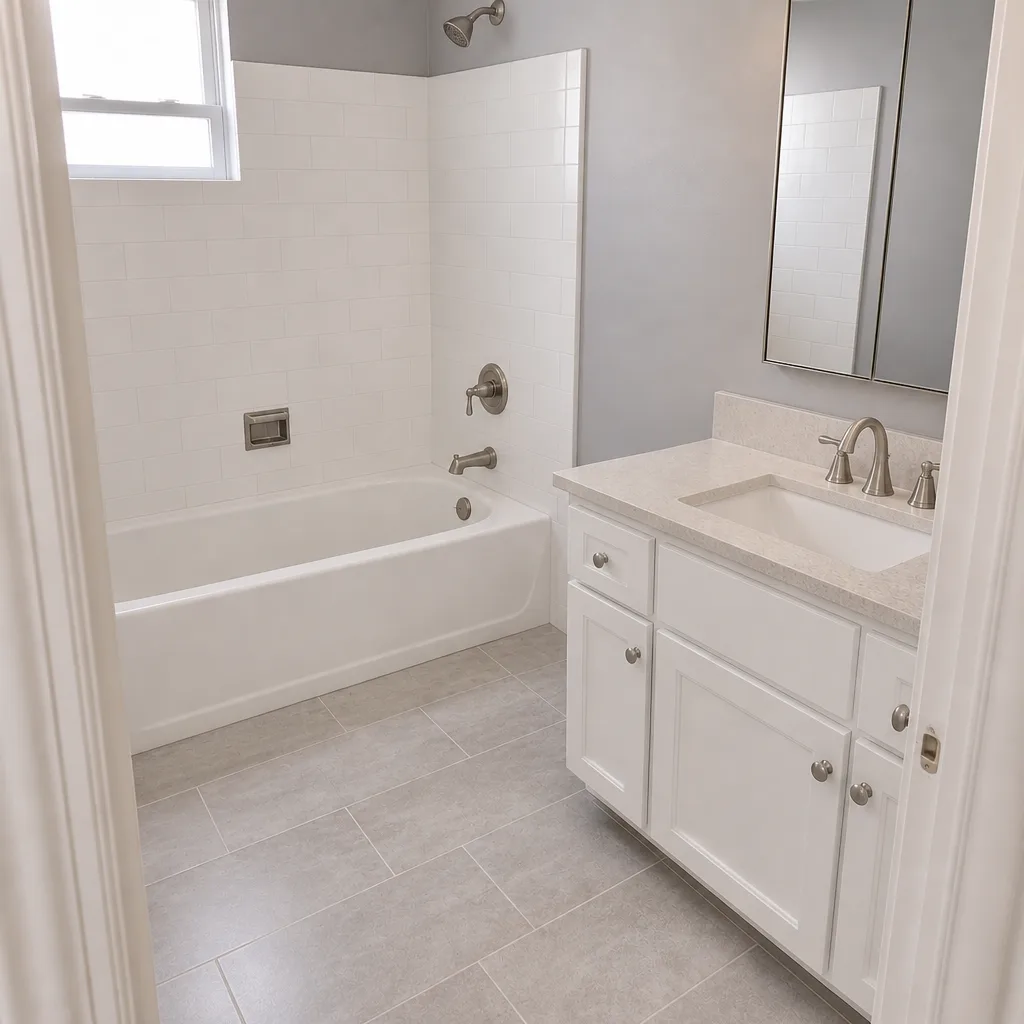 After
Frequently Asked Questions
Every two to three years is the working range, and in Spring Valley’s UV climate, lean toward two on a full-sun driveway and three on a shaded one. Sealing too often wastes money and adds film thickness that can look cloudy. The right test is visual: when the surface starts to look chalky or the color fades, it’s due. If it still has depth and the water beads, it’s fine for another season. Call (888) 329-9414 for an inspection if you’re unsure.
No, not safely. Surface temperatures in July routinely exceed the 90°F ceiling most sealers require, and the result is bubbling, trapped moisture, and a film that fails within a season. Late May into early June and late September into October are the correct windows here. Doing it in July means you may have to strip and redo the surface the following year, which costs more than waiting. Call (888) 329-9414 to schedule a shoulder-season seal before the calendar fills.
Walk the joints within the first dry day and check the depth of any joints that look full of sand or washed out. Top up the worst joints with fresh polymeric sand once a dry stretch returns. Don’t seal for at least a week after a significant storm, even if it looks dry, because the base and pavers hold moisture. If you find a rocking paver or a joint that’s lost more than an inch, call (888) 329-9414 – that’s a repair, not a maintenance step.
Possibly. Most manufacturer warranties exclude damage from improper application of polymeric sand or sealer, and the activation step is where most homeowner failures happen. A properly applied product by a trained crew keeps the material warranty in force, while a failed DIY seal can void it. Ask for a written maintenance schedule when you get a quote; we include one with every driveway job. Call (888) 329-9414 to have us review what your warranty covers.
Visually, if the joint is down a quarter inch or less, it’s maintenance and you can top it up. If it’s down an inch or more in a single season, or a paver rocks, the base is probably moving and it needs professional attention. The depth-check rotation described in this guide is how you catch it early. Call (888) 329-9414 for a free inspection if the numbers are dropping fast.
Yes, we serve homeowners across our local markets – the schedule and the sealing windows in this guide are calibrated for Spring Valley’s climate, and the same timing logic applies across our surrounding service area. If you’re planning a driveway replacement, a new paver surface, or a full clean-sand-seal on an existing driveway, the estimate is free and includes a written line-item quote. Call (888) 329-9414 to schedule.
The Bottom Line
The right maintenance schedule for a Spring Valley paver driveway is a calendar, not a task list. Seal in late spring or early fall, never in July. Inspect the joints within days after every monsoon storm, before a small top-up becomes a base repair. Rotate your inspection zones so the wheel-path dips don’t sneak up on you. Keep the homeowner-safe tasks for yourself and hand the polymeric sand, sealing, and paver-resetting to a trained crew that keeps your manufacturer warranty intact. Do that, and a properly installed driveway will hold up to our sun and our storms instead of looking tired by year five. When you’re ready to plan a new driveway or get a professional assessment of an existing one, see our Groundwork Construction Co. of Spring Valley home page for the full picture of how we work, and call (888) 329-9414 for a free estimate. From foundation to finish line, built to last and backed in writing.
Written by the team at Groundwork Construction Co. of Spring Valley.