Last updated November 17, 2026
Free written scope consultation - allowances, timeline, and change-order rules on paper before a single trade is scheduled
Driveway & Pavers Troubleshooting: Common Problems and How to Fix Them
If you’ve re-sanded paver joints more than once in two years, you haven’t fixed the problem. You’ve been managing a drainage failure you haven’t found yet. That’s the uncomfortable truth behind most driveway paver repair in Spring Valley. The sand washes out, you top it off, and six months later it’s gone again. Nine out of ten paver problems we diagnose – sinking, shifting, efflorescence, joint erosion – trace back to one of three root causes: a base that was never built right, water being directed into the pavers instead of away from them, or the wrong joint sand installed from day one. Treat the symptom and the problem returns. Diagnose the cause and it stays fixed. This guide walks you through how to tell the difference, what to check before you spend a dollar, and when a repair is a real fix versus a signal that the whole base needs rebuilding. We’ve done this work across Spring Valley long enough to know exactly where the local failures show up.
Quick Answer
Most driveway and paver problems in Spring Valley come down to three root causes: base failure, drainage misdirection, or the wrong joint sand. Cosmetic issues like efflorescence can be cleaned and are not structural. But sunken, shifted, or rocking pavers almost always mean a sub-base problem that a surface repair won’t solve. Diagnose the cause first – if pavers are moving more than 3/8 inch vertically or the joints keep washing out within 12 months of re-sanding, the base is failing and needs to be repaired or rebuilt, not patched.
Styles & brands we work with
- Kitchen remodeling
- Bathroom remodeling
- Home additions & ADU
- Roofing
- Windows & doors
- Driveway & pavers
- Fence
Table of Contents
- The Three Root Causes Behind Almost Every Paver Failure
- Efflorescence vs. Structural Moisture: How to Tell the Difference
- Why Sunken Pavers in Nevada Often Point to Irrigation Lines
- Joint Sand: Why the Type You Use Matters More Than You Think
- The Correct Sequence for Resetting a Sunken Section
- Repair vs. Rebuild: When Patching Is Enough and When It Isn’t
- Spring Valley Climate and Soil: What Makes Local Pavers Fail Differently
- Preventive Maintenance That Actually Prevents Something
The Three Root Causes Behind Almost Every Paver Failure
When a homeowner calls us about a paver driveway that’s sinking, heaving, or washing out, we can usually trace the problem to one of three things before we even walk the property. Here’s what each one looks like in the field.
Root Cause 1: Base Failure
A paver driveway is only as good as what’s under it. The standard for a residential driveway is 4 to 6 inches of compacted aggregate base (usually class II or class V), placed in 2-inch lifts and compacted to 95% density. When a contractor skips compaction, uses fill dirt instead of aggregate base, or lays pavers over an existing concrete slab without proper drainage, the base will fail. In Spring Valley, we regularly see spring failures on driveways installed over caliche or fill soil without proper base preparation – the pavers move as the soil expands and contracts.
Signs of base failure:
- Pavers rocking or shifting underfoot
- Multiple low spots, not just one
- Joint sand washing out repeatedly within 12 months
- Pavers heaving upward in the same areas that sink elsewhere
- Visible water pooling on the surface after rain
Root Cause 2: Drainage Misdirection
Water has to go somewhere. If your driveway slopes toward the house, toward a low corner, or toward a joint line with no outlet, it will find its way under the pavers. The base erodes from below, the pavers settle, and you get the failure pattern that looks exactly like a bad base but is actually a water management problem. The fix isn’t re-sanding or re-leveling – it’s redirecting the water.
Root Cause 3: Improper Joint Sand
Not all joint sand is created equal. Regular mason sand or play sand, which is what some installers use because it’s cheaper, will wash out in one or two wet seasons. The correct material for a residential paver driveway is a polymeric sand or a properly graded, angular joint sand that locks the pavers together and resists washout. If your joints are eroding within a year, ask what was installed. We’ve seen this specific mistake in Spring Valley more than once: contractor uses regular sand, homeowner gets joint erosion, homeowner re-sands with regular sand, cycle repeats.
Efflorescence vs. Structural Moisture: How to Tell the Difference
Efflorescence is that white, powdery, salt-like deposit that shows up on the surface of concrete pavers. It looks alarming and it’s usually harmless. But it can also be a signal of something deeper: water moving through the pavers from below. Knowing the difference saves you from overpaying for a repair you don’t need – or ignoring a problem that will cost more later.
The Visual Test
- Rub the white powder with a dry fingertip or a stiff brush. If it comes off easily as a dry powder, it’s surface efflorescence.
- Wet the area lightly. If the white deposit dissolves or disappears and reappears as the pavers dry, that confirms airborne salts moving to the surface.
- Look at where the efflorescence appears. Is it random across the driveway, or concentrated at the edges, low spots, or near a specific joint line?
- Check for joint deterioration underneath the white patch. If the sand is intact and the pavers are tight, it’s cosmetic. If the sand is gone and the pavers are loose, the efflorescence is being driven by water intrusion.
Efflorescence concentrated at the low point of the driveway or along the joint line nearest a downspout is a drainage signal, not a cosmetic one. The salt is coming from water moving through the base and evaporating at the surface. In Spring Valley, we see this pattern most often on driveways installed before 2010 that predate the drainage standards most contractors now follow.
What to Do About Each
Cosmetic efflorescence can be cleaned with a diluted white vinegar solution (one part vinegar to four parts water), scrubbed with a stiff brush, and rinsed. Do not use a pressure washer at full force on pavers – it strips the joint sand and makes the problem worse. If the efflorescence returns within three to six months of cleaning, that’s your sign it’s structural. Have someone assess the drainage and base moisture before spending money on any surface treatment.
Why Sunken Pavers in Nevada Often Point to Irrigation Lines
Here’s something the generic paver guides won’t tell you: in Spring Valley, sunken pavers are frequently not a base problem at all. They’re an irrigation problem. Most of the homes we service in this area have irrigation lines running under or adjacent to the driveway. When those lines develop a slow leak, the water saturates the base material on one side of the paver field. The saturated base loses compaction, the pavers settle, and you get a localized low spot that looks exactly like fill settling but keeps coming back.
How to tell the difference:
- The depression is localized and irregular. Base settlement shows up in broad, even areas. Irrigation-caused settlement shows up in a strip or patch that tracks a line direction.
- The affected pavers are soft or spongy when you step on them. Wet base material gives; dry base material doesn’t.
- The problem returns in the same spot after repair. If you’ve reset the same section twice, moisture is still reaching it.
- You see water pooling or damp patches near the depression even in dry weather. That’s a leak, not settling.
Before any paver reset in Spring Valley, we check for irrigation. A simple way to do it yourself: turn the system on and watch the affected area for five minutes. If you see water burbling up under the pavers or damp spots that don’t match the irrigation head locations, you have a leak to fix before you touch the pavers. Resetting over an active leak is guaranteed to fail.
Once the irrigation line is repaired, the reset can proceed with a base that’s been dried to at least 90% compaction before any new aggregate is added. Rushing this step – laying pavers over damp base – is the single most common reason a paver reset in Spring Valley fails within two years.
Joint Sand: Why the Type You Use Matters More Than You Think
Joint sand isn’t just filler. It does three jobs: it locks the pavers together and distributes load across the surface, it prevents weeds from germinating in the joints, and it channels water away from the base rather than letting it pool under the pavers. When the right material is used, a paver driveway can go five to seven years between top-offs. When the wrong material is used, you’re re-sanding every year.
The Three Types of Joint Sand (And Where Each One Belongs)
- Regular mason sand or play sand: Cheap, available everywhere, and the wrong choice for any driveway. It washes out, doesn’t lock the pavers, and attracts weeds. If you’ve been re-sanding annually, this is what’s in your joints.
- Polymeric sand: Sand mixed with a binding agent that, once wetted and cured, forms a semi-rigid layer in the joint. It resists washout, stays put, and blocks weeds. The correct choice for most residential driveways, but the installation matters – it needs to be installed in dry conditions and cured properly, or the polymer won’t activate. In Spring Valley, we install polymeric sand during dry months and avoid installs right after irrigation cycles.
- Stabilized joint sand (premium): A growing category, often marketed under brand names, that uses a binder mixed into the sand rather than a surface polymer. Higher cost, better long-term performance on driveways with heavy traffic or chronic moisture. Worth considering if you’ve failed with polymeric sand twice.
How to Tell What’s In Your Joints
Poke a joint with a screwdriver. If the material is loose and crumbly, it’s regular sand or degraded polymeric. If it’s firm and slightly rubbery, it’s polymeric that’s working properly. If it’s rock-hard and cracks when you probe it, it’s a stabilized binder – check the joint line for cracks and any pavers that have popped loose. The right response is different for each, so don’t assume a re-sand job fixes all three.
The Correct Sequence for Resetting a Sunken Section
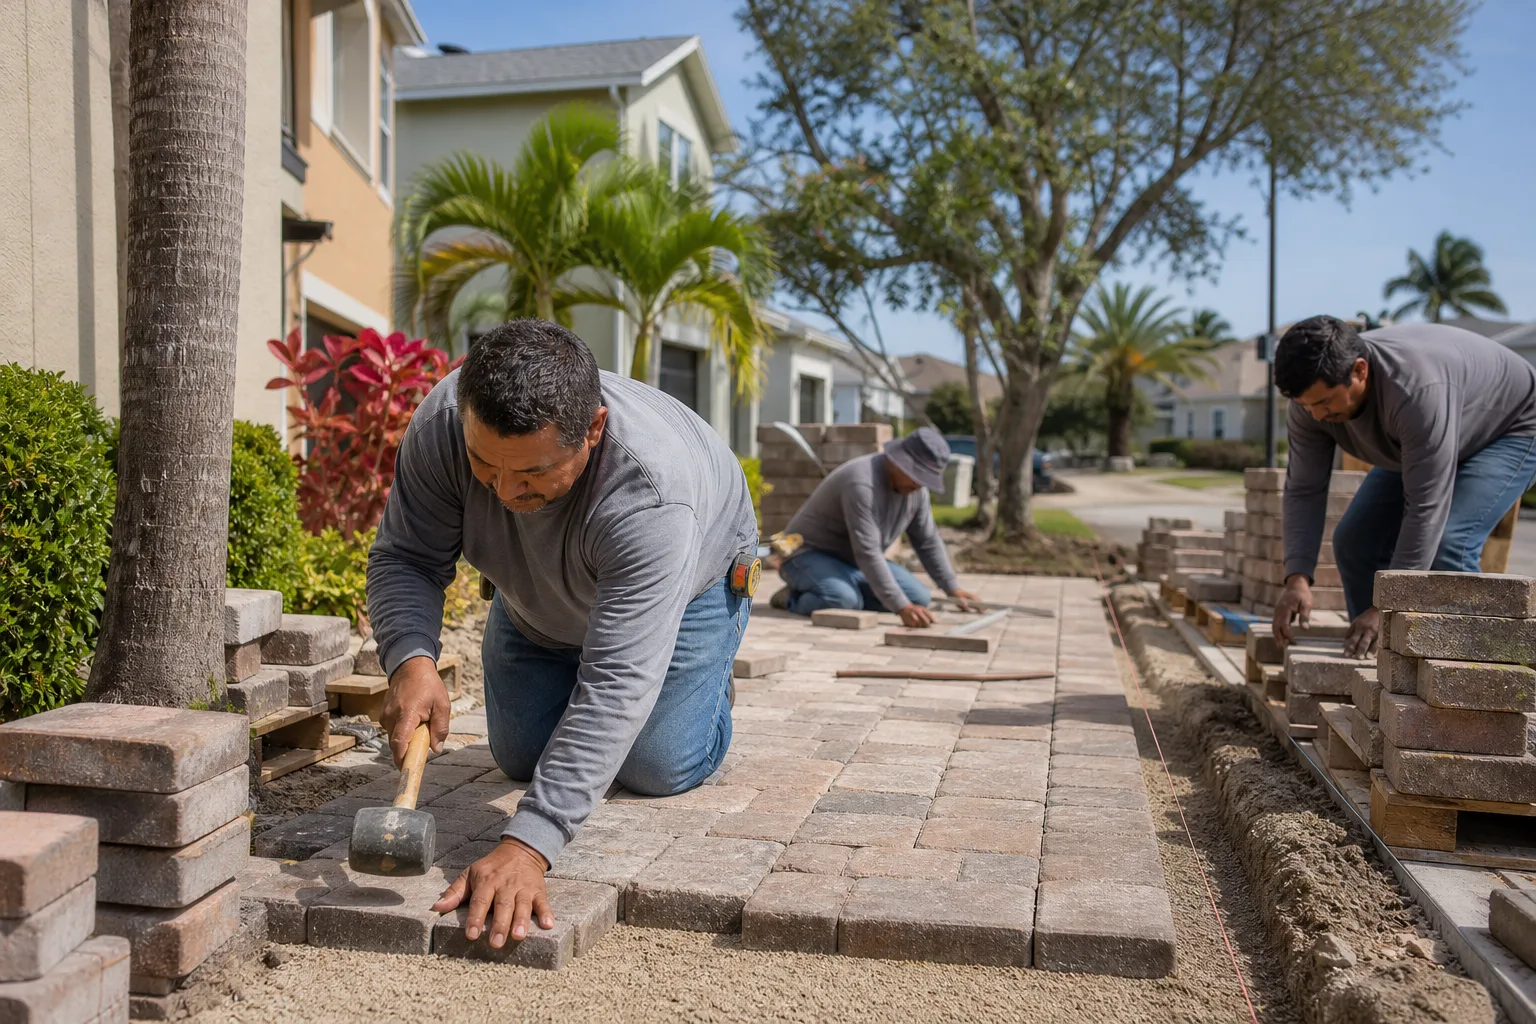
Resetting a sunken section of pavers is a genuine repair when done correctly – and a guaranteed future problem when done wrong. The most common error is lifting only the visibly sunken pavers, adding sand or aggregate underneath, and putting them back down. That approach destabilizes the adjacent pavers because the base they sit on is no longer continuous. Here’s the sequence that actually works.
- Identify the full affected area. Lift pavers out in a 2-foot radius around the visible depression. Do not stop at the loose pavers – the ones that haven’t moved yet are sitting on the edge of a failure and will move within a year if you don’t reset them now.
- Set the pavers aside in order. Lay them to the side in the same orientation they came out so you can reinstall them in the same pattern. Note that if any are cracked or chipped, this is the moment to replace them, and matching the exact color and blend is much easier while you’re already in the process.
- Determine the actual base depth. Remove the bedding sand down to the base aggregate and check how thick it is and how compacted. If the base is under 4 inches or you can push a screwdriver into it easily, the base is the problem – not the leveling.
- Look for the moisture source. Before you replace anything, find out why it sank. Run the irrigation test, check the drainage slope away from the section, look for a visible crack in the base slab if one exists. This is the step most DIY resets skip, and it’s the reason 60% of DIY resets fail within two years.
- Re-compact the base. Add aggregate if needed to bring it up to level, then compact in 2-inch lifts with a plate compactor. This is not a hand-tamping job if the repair is more than 4 inches deep.
- Reinstall bedding sand at 1 inch. Screed it to a consistent depth, using 1-inch PVC rails as a guide if you’re doing this yourself.
- Reinstall pavers, checking level every 3-4 pavers. A 4-foot level across the surface is your best tool here. The reset section needs to be level with the adjacent field, not just flat within itself.
- Re-sand joints and compact. Use polymeric sand or stabilized joint sand, fill the joints fully, compact with the plate compactor, top off, and wet to cure per the manufacturer’s instructions.
- Check for moisture one more time. Run a hose for 10 minutes over the reset area and watch for pooling. If water sits anywhere on the surface, the slope is wrong and it needs to be corrected before the polymeric sand fully cures.
If you’re in Spring Valley and you’ve had the same section reset twice, stop trying to reset it a third time. That’s an indicator of a drainage problem or a failed base that no amount of re-leveling will address.
Repair vs. Rebuild: When Patching Is Enough and When It Isn’t
The hardest call in paver troubleshooting is knowing when a repair is a legitimate fix versus when it’s a signal that the entire base needs to be rebuilt. Here’s how to make that call.
A Repair Is Legitimate When:
- The affected area is under 25% of the total square footage.
- The base material under the affected area is intact – you can’t push a screwdriver into it more than an inch.
- There’s no moisture intrusion driving the settlement (irrigation leak, drainage issue fixed).
- The pavers themselves are in good condition and can be reinstalled or matched.
- The base is thick enough (4+ inches compacted) and you have room to re-compact and level.
A Full Rebuild Is the Right Call When:
- The problem is widespread – more than 30% of the driveway shows settlement, heaving, or joint loss.
- You’ve had the same section repaired twice and it’s failed again.
- The base is under 4 inches, or is made of soil or fill rather than aggregate, or has visible evidence of no compaction (loose material, root intrusion, significant depth variance).
- Drainage is fundamentally wrong – the pavers slope toward the house, or there’s no drainage outlet at all.
- Pavers are 15+ years old and the color has faded or the surface has spalled – a rebuild is the moment to upgrade to a modern paver profile.
A full driveway rebuild in Spring Valley typically runs $12-$22 per square foot depending on access, base depth, and paver choice. A repair of a 100-square-foot section runs $1,500-$3,500 in most cases. The math on repeat repairs is worth doing: if you’ve spent more than 40% of a rebuild cost on repairs in the last five years, the rebuild is the cheaper long-term decision. And if you’re planning a rebuild, this is also the moment to consider whether the driveway pavers will tie into a fence installation in Spring Valley or a home addition and ADU in Spring Valley you’ve been planning – coordinating the work is more efficient than doing it in phases.
Spring Valley Climate and Soil: What Makes Local Pavers Fail Differently
Spring Valley has an unusual combination of soil and climate conditions that drives specific failure patterns you won’t see in most of the country. Our climate evaporates 80+ inches of water a year – which sounds like dry conditions but actually pulls moisture up through the pavers and evaporates it at the surface. That’s why efflorescence is so common here even on driveways that aren’t getting direct irrigation.
Caliche is the wildcard. Many homes in Spring Valley and the surrounding areas sit on caliche, a hard, calcium-carbonate-rich layer in the soil that doesn’t drain the way typical soil does. When a driveway is installed over caliche without proper base preparation, water can’t drain down and instead sits at the base level, softening the aggregate. The pavers settle, the joints wash out, and the failure pattern looks identical to a bad base – because it effectively is.
We also deal with a unique local issue: irrigation backflow. Many Spring Valley homes were built with irrigation systems that pre-date the pavers, and the backflow preventers aren’t always well-positioned. When the pressure release valve activates after an irrigation cycle, water sprays up onto the driveway edge and erodes the base at the perimeter. If you see erosion on the edge closest to the street or the house, look for the backflow valve – that’s the first suspect.
Freeze-thaw cycles hit Spring Valley too, usually front-loaded in January and February. Driveways that hold moisture (because of a failing base or poor drainage) are especially vulnerable: the water freezes in the joints, expands, and pops pavers loose. If you see more joint damage after a freeze than before, moisture is the driver, not temperature. The fix is drainage, not more sand.
If you’re planning a driveway project, it’s worth reviewing the Driveway & Pavers in Spring Valley service overview to see how a new install is spec’d to handle the local climate – proper base depth, caliche prep, and drainage design for our evaporation and freeze-thaw patterns.
Preventive Maintenance That Actually Prevents Something
Most paver maintenance advice tells you to “re-sand annually and power-wash occasionally.” That’s generic, and some of it actively damages the driveway. Here’s what actually helps in Spring Valley.
- Re-sand only when the joints are actually low. Check them once a year with a screwdriver. Polymeric sand that’s still firm and full doesn’t need topping off. Re-sanding prematurely loosens the existing lock and creates a mixed-material joint that fails faster.
- Skip the pressure washer. Or if you must, use a low-pressure tip no stronger than a garden hose on a 30-degree nozzle, and never aim it directly at the joints. Pressure washing strips joint sand at a rate ten times faster than the driveway loses it naturally.
- Check irrigation annually. Especially in Spring Valley, where irrigation-caused settlement is common. A 10-minute check in spring catches the leaks before they cause settlement.
- Keep water off the driveway edges. Look at your downspouts. If any outlet within 10 feet of the driveway, redirect it. This is the single highest-impact maintenance step for any paver driveway in a wet-dry climate.
- Do a post-freeze check in February. Walk the driveway and note any pavers that have popped or joints that have cracked. Catching them in March is far easier than catching them in July.
- Keep a file of install details. If the driveway was installed in the last 10 years, know the base spec, paver manufacturer, joint sand used, and installer. This matters for warranty and for any future repair’s material matching.
For homeowners thinking about a larger property improvement, coordinating paver work with other projects on the property is often more efficient than doing it piecemeal. If you’re considering a new fence or a home addition, review our Groundwork Construction Co. of Spring Valley home overview to see how the full-scope project gets planned.
Common Mistakes to Avoid
- Re-sanding without finding the drainage failure. If your joints wash out within 12 months, re-sanding is just managing a problem that will keep coming back. Find the water first, sand second.
- Power-washing the driveway at high pressure. This is the fastest way to destroy a polymeric sand joint. A high-pressure washer will strip the joint material out at 3-4 times the natural loss rate, and you’ll be re-sanding within a year.
- Lifting only the visibly sunken pavers. The pavers around the depression are already destabilized. Lift and reset the surrounding 2-foot radius at the same time, or the repair will fail.
- Adding sand or aggregate over a wet base. If the base is soft or damp, do not add material and reset. Find the moisture source, fix it, and dry the base before adding aggregate. Spring Valley’s irrigation-heavy residential layouts make this the most common cause of repeat paver failures in the area.
- Using regular mason sand for joint fill. It costs less and lasts one-tenth as long. Polymeric sand or a stabilized joint sand is the only correct fill for a residential driveway in our climate.
- Ignoring efflorescence that returns after cleaning. Cosmetic efflorescence stays gone after cleaning. Efflorescence that comes back within three to six months is driven by water intrusion from below, and the correct fix is drainage, not another cleaning.
- Resetting pavers over caliche without proper base prep. If the driveway is in an area of Spring Valley with heavy caliche subsoil, the base needs to be prepared with a compacted aggregate layer that isolates the pavers from the caliche. Otherwise the base will move with the caliche as it expands and contracts through the seasons.
- Repairing when the base is fundamentally failing. A repair on a base that was never built right is a first-year fix followed by a third-year correction. The smart shortlist: repair if the base is intact, rebuild if it isn’t.
See the difference
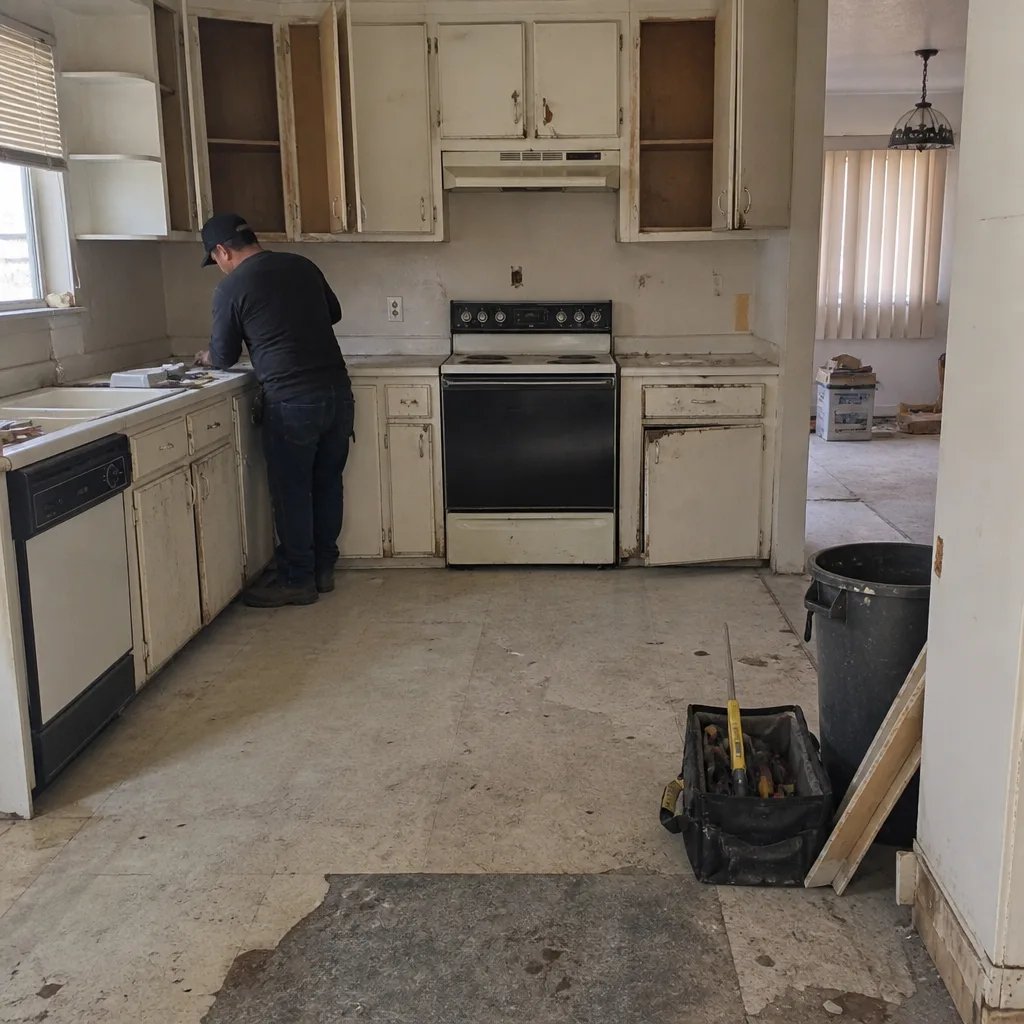 Before
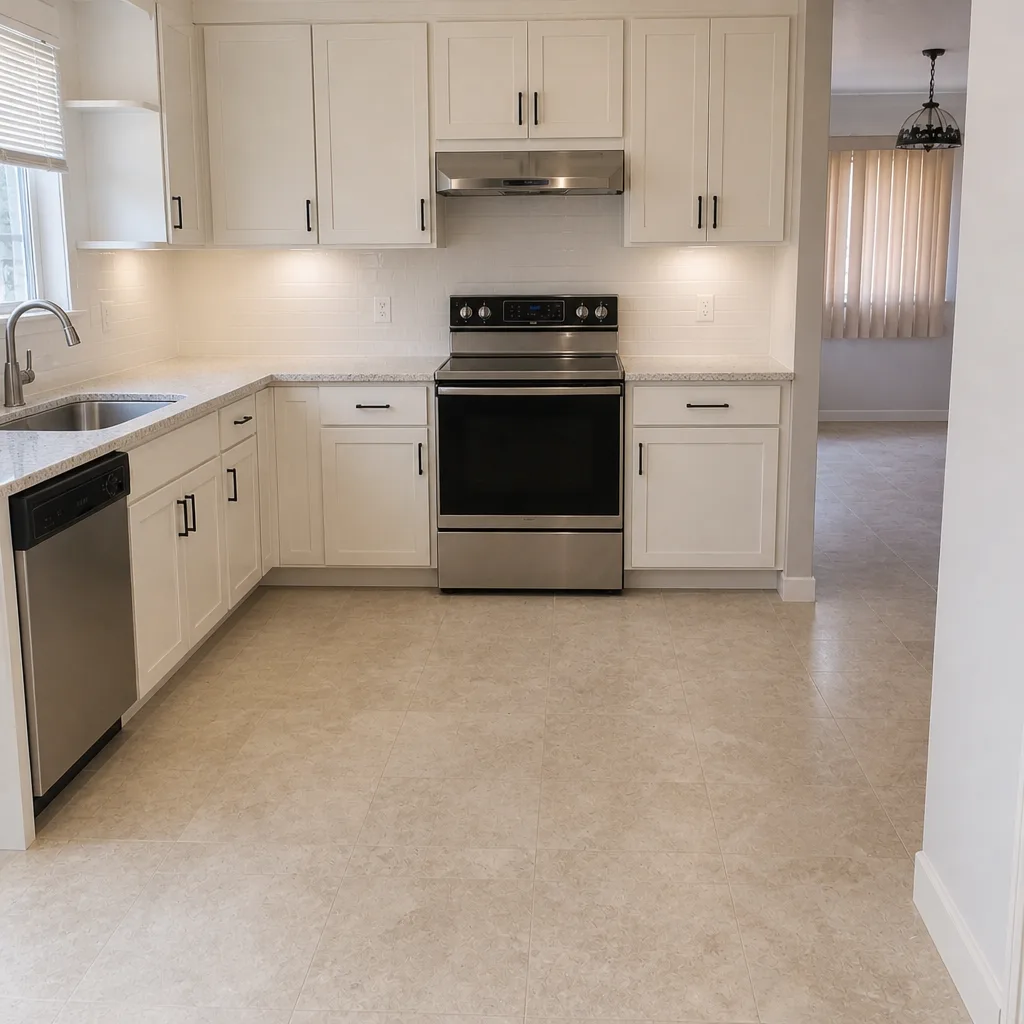 After
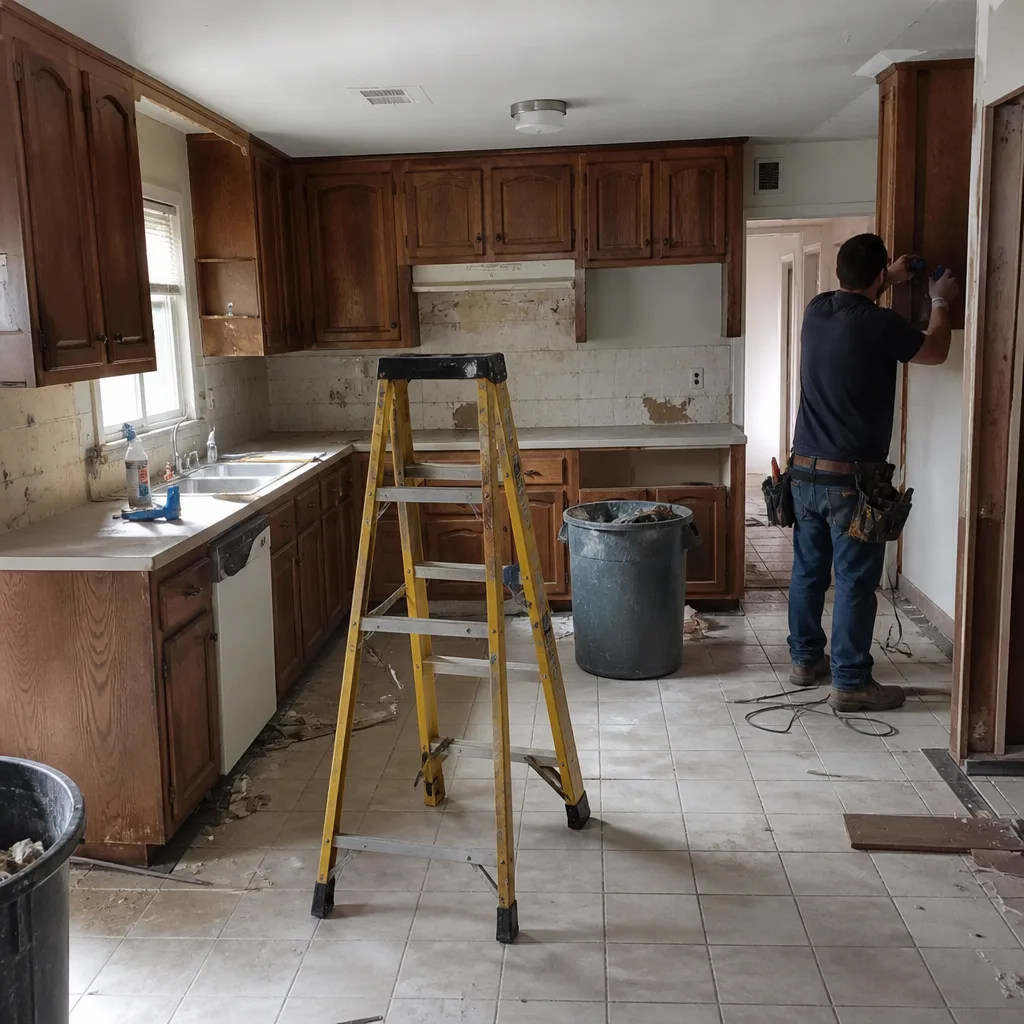 Before
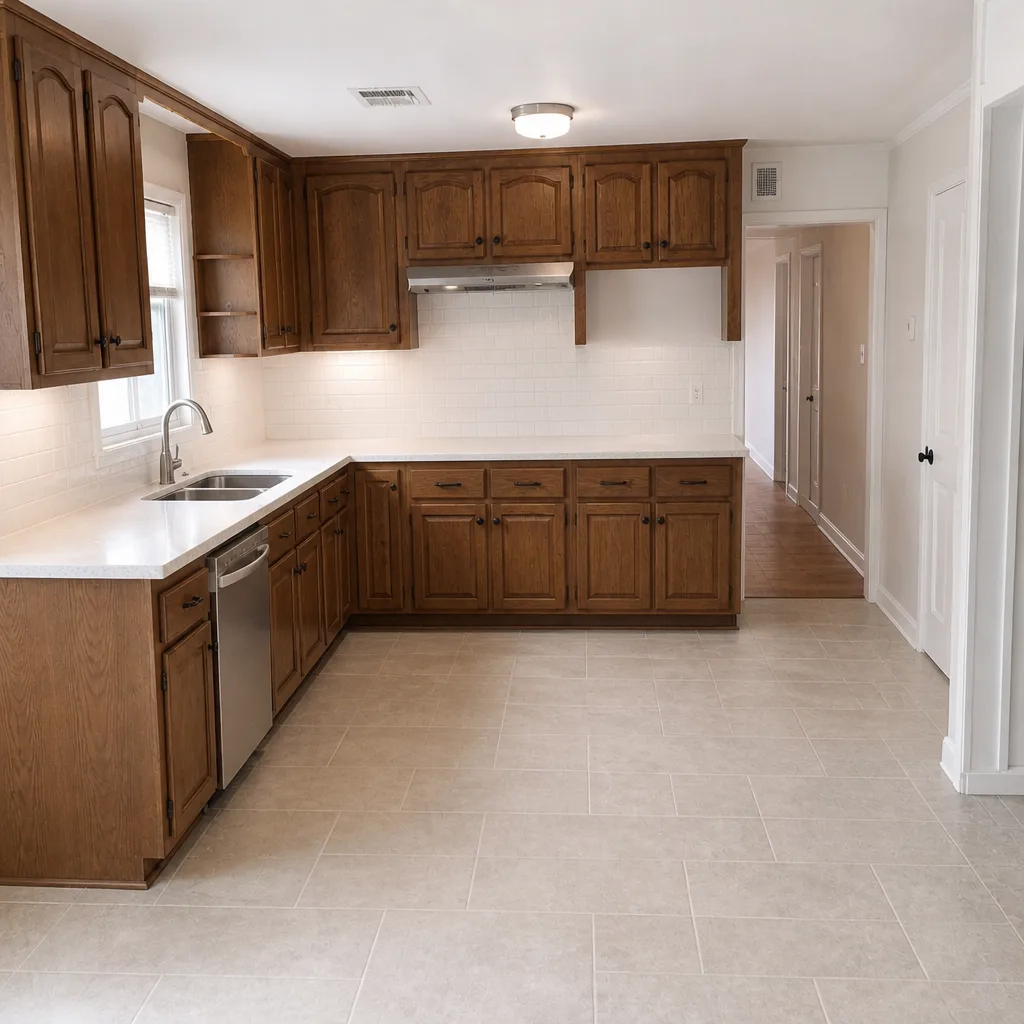 After
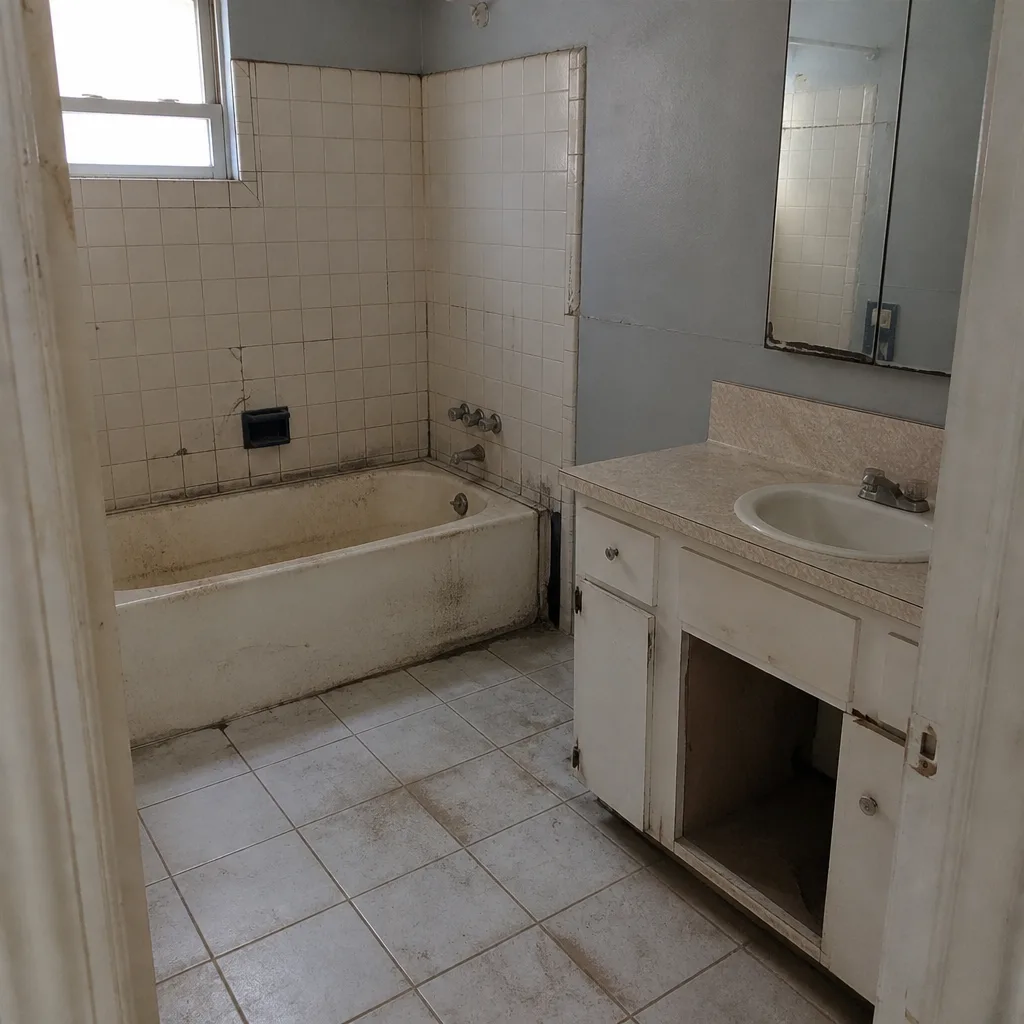 Before
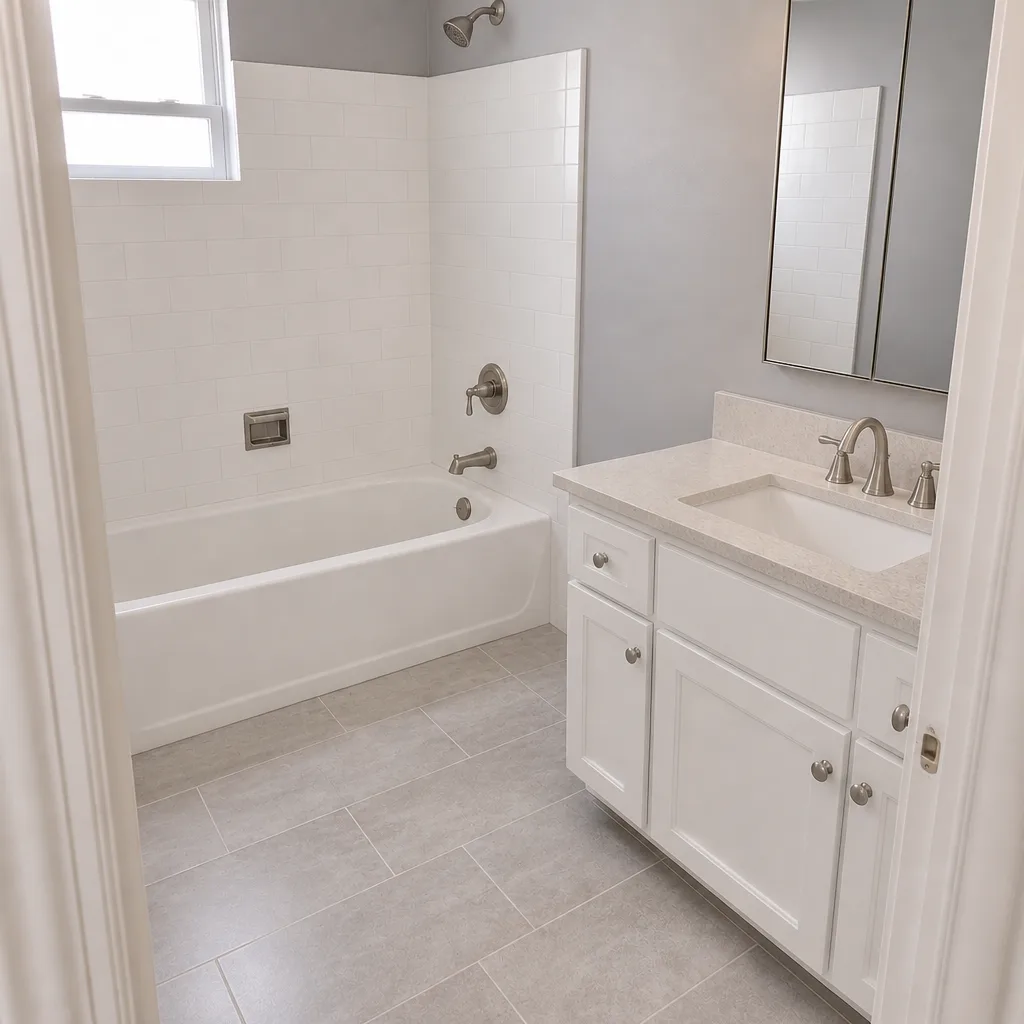 After
When to Call a Professional
Some paver issues are a homeowner fix: cleaning cosmetic efflorescence, topping off a single low joint, redirecting a downspout. Other problems call for a trained eye and the right equipment. You should call a professional when:
- The same section has sunk twice – this is a base or moisture problem, not a leveling problem.
- More than 25% of the driveway shows movement, settlement, or joint loss.
- You’re seeing surface water pooling where it can’t drain off the driveway edge.
- Pavers are cracked, chipped, or spalling at the surface, which often signals a correctly built base but a material failure or heavy load issue.
- The driveway is 15+ years old and the base hasn’t been inspected during the life of the install.
- You’ve noticed efflorescence that returns within months of every cleaning.
Groundwork Construction Co. of Spring Valley offers free estimates in Spring Valley – call (888) 329-9414 to schedule a driveway assessment. We walk the property, run the irrigation and drainage checks, and give you a written line-item diagnosis of what’s actually failing and what it costs to fix. If a repair is the right call, we’ll tell you. If it’s a rebuild, we’ll explain exactly why, with the spec and pricing on paper before any work begins.
Frequently Asked Questions
Paver repair in Spring Valley typically runs $1,500-$3,500 for a localized reset of 100 square feet or less, and $12-$22 per square foot for a full driveway rebuild. The range depends on base depth, pavers to match, and access to the affected area. A single joint re-sand job starts around $300 for a small driveway. Call (888) 329-9414 for a free estimate on your specific driveway – we’ll give you a written line-item before any work begins.
Annual joint washout almost always points to one of two issues: regular mason sand was installed instead of polymeric or stabilized joint sand, or water is being directed into the driveway from a drainage or irrigation source. Re-sanding with the same material without finding the drainage cause guarantees the same result next year. Polymeric sand installation plus a drainage fix stops the cycle.
A single isolated paver or two can be reset by a homeowner with a plate compactor and the right joint sand – but expect to lift and reset a 2-foot radius around the visible depression, not just the sunken pavers. Larger resets, or any repair where the base is over 4 inches deep, need professional equipment to achieve proper compaction. And in Spring Valley specifically, always check for irrigation leaks and confirm the base is dry before resetting. Resetting over wet base is the fastest way to give yourself a repeat problem.
It’s almost certainly efflorescence, not mold. Efflorescence is a calcium salt deposit that comes to the surface as moisture evaporates through the pavers, and it’s common in Spring Valley specifically because our dry climate pulls moisture up through the material. Rub it with a dry finger: if it comes off as a powder, it’s efflorescence and it’s cosmetic. If it returns within three to six months of cleaning, it’s a sign of water intrusion from below, and the fix is a drainage assessment. Call (888) 329-9414 if you want us to run the diagnostic.
The key test: how deep is the base, and what is it made of? If you can push a screwdriver into the base material more than an inch, the base isn’t compacted and a repair won’t hold. If the base is 4+ inches of compacted aggregate and the affected area is under 25% of the total square footage, a repair is usually the right call. If the affected area is over 30%, or the same section has failed twice, rebuild the base. We assess this in the free estimate for any Spring Valley driveway.
Two reasons: the soil type (some neighborhoods have heavy caliche that doesn’t drain) and the age of the installation relative to local drainage and irrigation standards. Older driveways in Spring Valley were often built before modern drainage standards, and irrigation systems installed afterward can introduce water that the base wasn’t designed to handle. Also worth knowing: driveways built over fill dirt without proper base preparation sink more readily than those built over original soil. A free estimate from Groundwork Construction Co. of Spring Valley will identify which factor is at play on your specific property.
Re-sanding a typical residential driveway in Spring Valley runs $500-$1,500 depending on square footage and whether the old sand needs to be removed first. Polymeric sand installs at the higher end of that range; stabilized joint sand costs more but lasts longer on high-traffic driveways. Call (888) 329-9414 for a free estimate – we’ll also tell you if re-sanding is the right fix versus a base or drainage repair, because re-sanding a driveway with a failing base is money thrown at a symptom.
The Bottom Line
Most driveway paver problems trace to three root causes: a base that wasn’t built to spec, water being directed into the pavers, or the wrong joint sand. Efflorescence is usually cosmetic, but if it returns after cleaning, it’s water driving it up from below. Sunken pavers in Spring Valley need an irrigation check before any repair, because the water is often coming from a leak you haven’t found yet. When you reset a section, lift the full 2-foot radius, confirm the base is dry and compacted, and re-sand with polymeric or stabilized joint sand. When the affected area exceeds 30%, or the same section has failed twice, a repair is a delay tactic, not a fix. The honest call is the rebuild – and it’s usually the cheaper one over five years.
Groundwork Construction Co. of Spring Valley builds driveway and paver projects across our region with the correct base preparation, drainage design, and joint sand for the local climate. Our technicians have up to 12 years of experience, our calls are answered by a live person 24/7, and every project is covered by our 730-Day Done Right Promise – if it isn’t done right, we make it right. We offer no-hassle upfront pricing, the number you see is the number you pay, and we carry a curated set of trusted brand partners, including Belgard, for paver material selection. To see the full range of driveway and paver work we handle, visit our Driveway & Pavers in Spring Valley page.
Call (888) 329-9414 to schedule your free estimate in Spring Valley. We’ll walk the property, run the diagnostic checks, and give you a written line-item – the diagnosis you need to decide between a repair and a rebuild, without any pressure to spend on either.
Written by the team at Groundwork Construction Co. of Spring Valley.