Last updated November 17, 2026



Free written scope consultation - allowances, timeline, and change-order rules on paper before a single trade is scheduled
Fence Installation Troubleshooting: Common Problems and How to Fix Them
If your fence post is leaning within two years of installation, don’t straighten it – dig it out. What you’ll find is either a post set too shallow or concrete that was backfilled before it cured, and neither problem fixes itself from the top. A leaning post, a warped vinyl panel, and a rusting gate hinge look like three different failures, but in Spring Valley they usually trace back to the same two installation shortcuts. This guide gives you the diagnostic logic to find the real cause before you spend money on symptoms, built from what we actually see on jobs across Spring Valley.
Quick Answer
Most fence problems that show up within the first few years aren’t material failures – they’re installation failures, most often a post set too shallow for its load or concrete that cured under pressure from backfill. Diagnose the root cause first: check post depth, check how the concrete set, and check whether the movement is isolated or systemic. Isolated failures can be repaired section by section; systemic post failure usually makes replacement the smarter math.
Styles & brands we work with
- Kitchen remodeling
- Bathroom remodeling
- Home additions & ADU
- Roofing
- Windows & doors
- Driveway & pavers
- Fence
Table of Contents
- Why Is My Fence Post Leaning? Diagnosing the Three Causes
- Why Do Vinyl Fence Panels Warp and Gap in Spring Valley?
- Gate Sag: Hinge Failure vs. Post Movement vs. Frame Twist
- Repair or Replace? The Section-by-Section Assessment
- How to Replace a Panel Without Disturbing the Posts
- The Concrete Cure Problem Nobody Talks About
- Spring Valley Soil, Wind, and Heat: What the Local Climate Does to Fences
Why Is My Fence Post Leaning? Diagnosing the Three Causes
A leaning post has three possible root causes, and each one has a completely different fix. Misdiagnose it and you’ll spend money straightening a post that will lean again by next summer. The diagnostic starts with a simple question: did the post move, or did the ground around it move?
Cause 1: Soil heave. In Spring Valley, the shrink-swell clay common in many neighborhoods expands when it absorbs irrigation water and contracts in the dry season. A post set in clay without proper footing depth gets pushed and pulled by that cycle. The tell is soil mounding or a visible gap at the base of the post, and movement that appears seasonally rather than suddenly. The fix is a deeper footing – typically 24 to 36 inches depending on frost line and load – with a wider concrete collar, not a cosmetic straightening.
Cause 2: Concrete failure. If the post wobbles in all directions and the concrete at the base is cracked, crumbly, or sitting above grade like a mushroom cap, the concrete didn’t set correctly. This happens when a crew backfills soil against wet concrete before it cures, or when the hole was dug too narrow and the concrete has no mass to grip the surrounding soil. A post that rocks in its own footing needs to come out.
Cause 3: Wind racking. Spring Valley sits in a wind corridor, and a fence built without diagonal bracing or with posts spaced too far apart will rack – the whole run leans in one direction rather than a single post. Check the run, not the post. If several posts lean the same way, you have a bracing and spacing problem, not a footing problem.
To diagnose quickly, our technicians use a three-step check:
- Grab the post at hip height and rock it. Movement only at the soil line points to soil or footing; movement across the whole run points to racking.
- Dig down 6 inches at the base. If you find loose, dry, sandy fill instead of a solid concrete collar, the footing was improperly backfilled.
- Look at the concrete. Crumbling or a cap sitting proud of the soil means the pour failed; clean, solid concrete below grade means the footing held and the problem is elsewhere.
For a fence installation in Spring Valley done right the first time, the footing spec is the whole game. If you want to see what proper post-setting looks like, our Fence Installation in Spring Valley page breaks down the build sequence.
Why Do Vinyl Fence Panels Warp and Gap in Spring Valley?
Vinyl fence panels in Spring Valley warp and gap because the installer gave them nowhere to move. Vinyl expands and contracts with temperature – in Spring Valley, surface temperatures routinely swing more than 40 degrees between a July afternoon and a January morning. A panel installed tight between two posts has no room to breathe, so it bows, cups, and pulls away from its channels.
The correct allowance is roughly 1/8 to 1/4 inch of expansion room per panel, depending on panel length and manufacturer spec. Most vinyl manufacturers publish an exact number, and a crew that skips the spec sheet will set panels tight because it looks cleaner on installation day. Two summers later, the homeowner is looking at a wavy fence and calling someone to fix it.
You’ll see three classic warp patterns:
- Horizontal bowing: the top rail bows outward or inward. Usually a rail channel installed too tight, or a post spacing that exceeds the manufacturer’s maximum span.
- Panel cupping: the middle of the panel dips or bulges. That’s expansion with no allowance, plus a rail that’s nailed rather than floating in its channel.
- Vertical gapping at posts: panels pull away from the post channel. Often caused by the panels being set hard against the post instead of leaving a gap, in combination with rail fasteners that don’t allow slide.
Fixes depend on severity. Minor bowing can sometimes be relieved by loosening fasteners and re-gapping. Panels that have already taken a permanent set need replacement. The important point is this: if the same warp pattern repeats across the whole run, the install was wrong and patching one panel at a time just kicks the problem down the road. For more on how we spec expansion allowance and post spacing on a new build, the Groundwork Construction Co. of Spring Valley home page covers our approach to materials and installation standards.
Gate Sag: Hinge Failure vs. Post Movement vs. Frame Twist
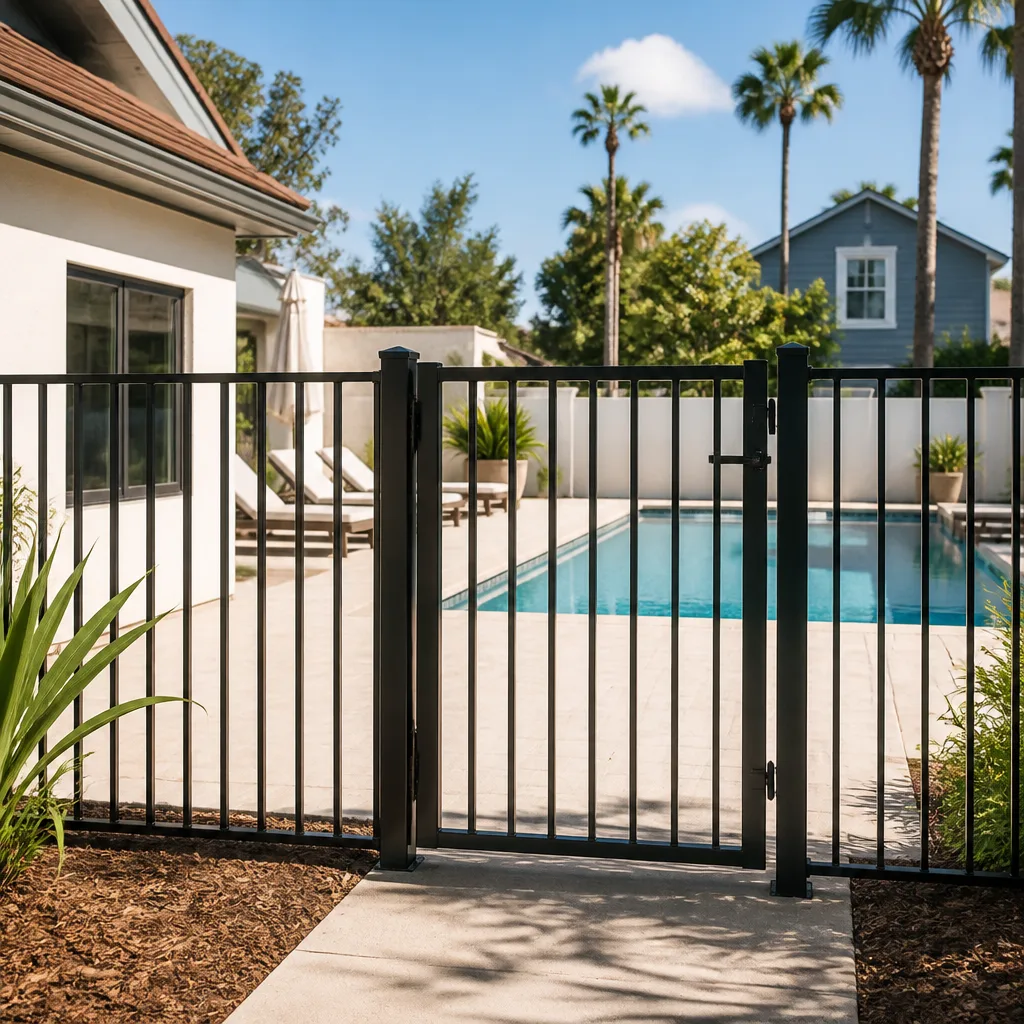
A sagging gate is the most misdiagnosed fence problem there is, because the symptom (the gate drags) is the same no matter which of three components failed. Fix the wrong component and the sag returns in weeks. The diagnostic has a specific order, and doing it in sequence saves you from replacing a gate frame that was never the problem.
Step 1: Check the hinge post. Open the gate and push on the hinge post itself. If the post moves, that’s the problem – the gate is fine, but the post is failing, and no hinge work will fix it. Post movement in Spring Valley is usually the footing failure described above, and it almost always means the gate post needs to be reset or replaced.
Step 2: Check the hinges. With the gate closed, look at each hinge. Rust, wallowed screw holes, or a hinge that’s pulling away from the post means hinge failure. UV degradation and rust are common on cheaper hardware, and Spring Valley’s summer sun accelerates both. Replacing hinges with a heavier, rust-resistant grade often restores a gate that homeowners thought was done.
Step 3: Check the frame for twist. Lay a straightedge across the gate frame diagonally. If the frame is out of square – the classic sign is a gate that torqued because it has no diagonal brace – no hinge adjustment will fix it. Frame twist requires either a rebuild with a proper diagonal or a replacement gate.
The right repair sequence is: post first, hinges second, frame third. That order exists because a failing post will destroy new hinges within a season, so there’s no point replacing hardware on a wobbly post. For families planning a full fence and gate upgrade alongside other exterior work, our Driveway & Pavers in Spring Valley page covers how exterior projects sequence when you’re tackling more than one at a time.
Repair or Replace? The Section-by-Section Assessment
Repair makes sense when failures are isolated. Replacement makes sense when post failure is systemic. The way to tell the difference is to walk the fence line and grade every post, not just the ones that look bad.
Here’s the assessment we run on a fence we didn’t install:
- Count the total posts. Then count the posts that fail the wiggle test.
- If less than 15% of posts are failing, and they’re scattered, repair is usually the right call – reset or replace the failed posts and re-level the affected sections.
- If more than 30% fail, or if failures cluster in one stretch, the run has a systemic footing problem, and section repairs will just move down the line as each post gives out.
- Check the rails and pickets independently. If posts are sound but panels are warped, you can often replace panels only.
- Add up the repair estimate and compare it to a replacement. When repairs hit 50 – 60% of replacement cost, replacement is usually the better long-term math because you get new footings and a written workmanship warranty on the whole assembly.
There’s a hard truth homeowners don’t like hearing: patching a fence with systemic footing failure is spending money twice. The repairs hold for a season, then the next week post goes, and you’re back on the phone. When a Spring Valley fence shows movement across more than a third of the run, replacement typically pays for itself in avoided callbacks and in the added safety of a fence that actually stays upright.
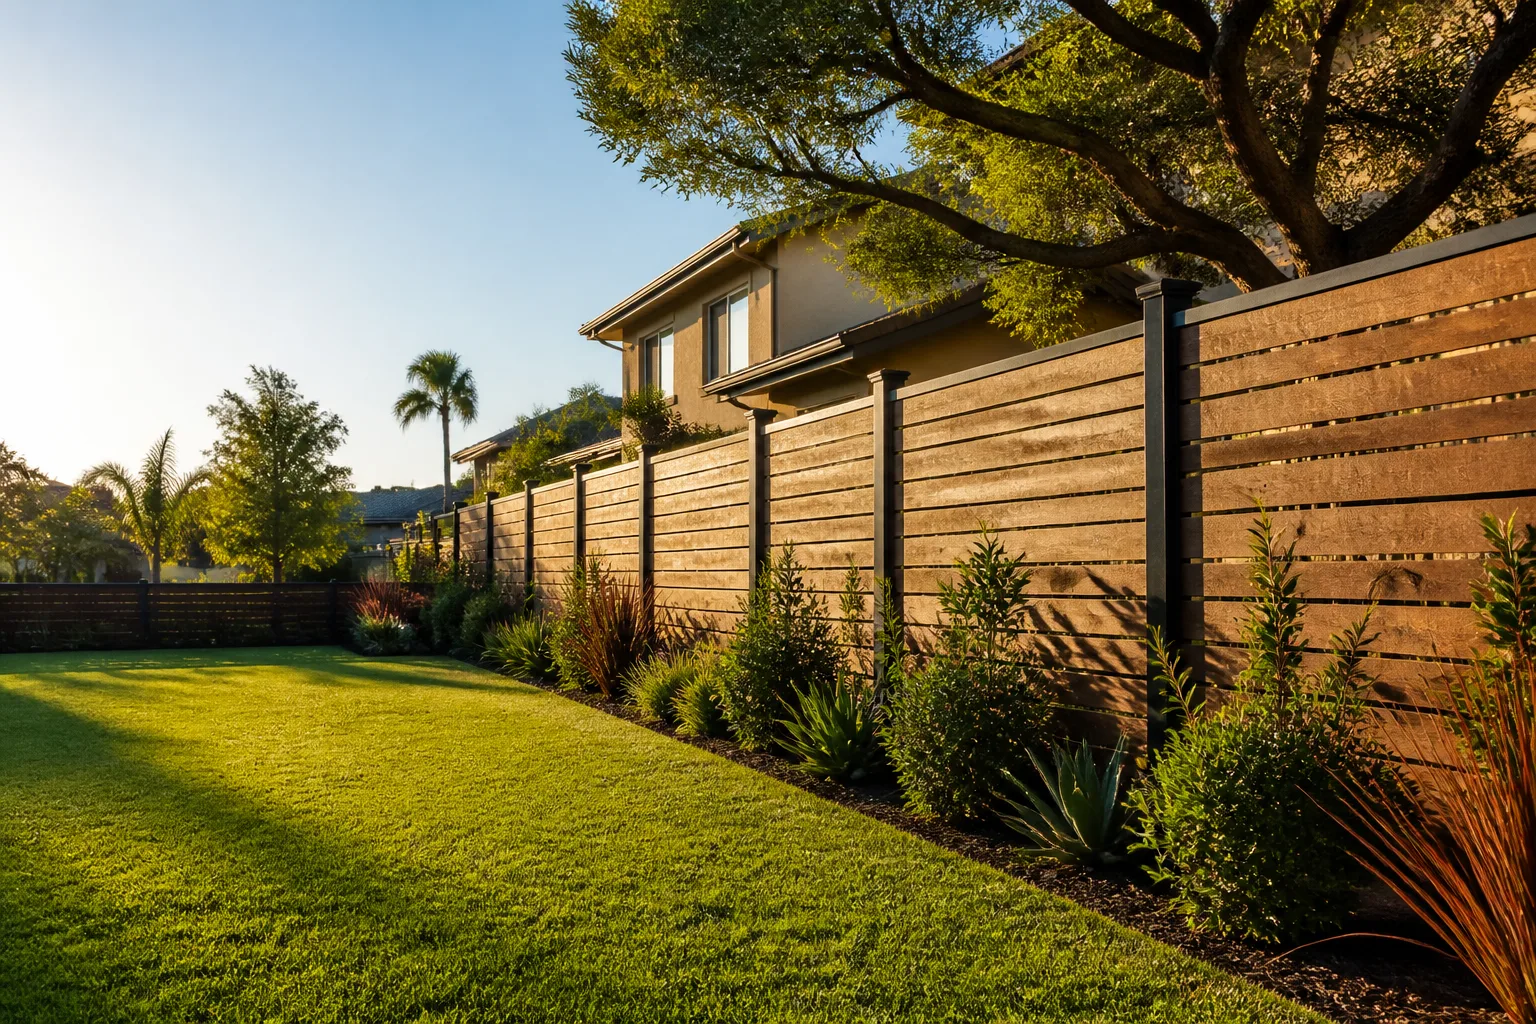
Materials matter here too. A properly installed wood or composite fence, or a vinyl build spec’d to your local wind load, outlasts patch-on-patch repairs by a wide margin. “Built to last, backed in writing” is a phrase we mean literally – the specification has to match the climate and the load.
How to Replace a Panel Without Disturbing the Posts
Replacing a single fence panel without disturbing the posts is a matter of releasing the correct fasteners first, and the technique most homeowners don’t know is that the top rail usually comes off in a controlled way before the panel does. Pull the panel first and you risk moving the post and cascading damage down the run.
The sequence:
- Identify the fastener system. Vinyl uses rail channels and often hidden screws; wood uses nails or screws through the rails; composite uses a mix. A quick visual inspection tells you which.
- Remove the top rail or the top channel of the section you’re replacing, working from the panel nearest the failed one.
- Slide the damaged panel out from the bottom or the side, depending on how the section was set. Never pry on a panel bolted hard against a post.
- Set the new panel with the correct expansion gap on both sides – 1/8 to 1/4 inch for vinyl in Spring Valley heat, per manufacturer spec.
- Reinstall the top rail and check the whole section for square before you tighten down. A section that was slightly out of square before you started will look worse once it’s fastened.
The reason this matters: a post that’s already marginal gets pushed out of plumb by amateur panel removal, and then you’re replacing a post you didn’t need to touch. If you’re replacing more than two adjacent panels, or you notice the post moves during removal, stop and call someone with the equipment to reset it properly. That’s the moment when a small fix can turn into a bigger structural job, and a trained eye saves you the cascading damage.
The Concrete Cure Problem Nobody Talks About
Concrete that gets backfilled before it cures is a silent failure – the fence looks perfect on installation day and fails within a year or two. This is one of the two core failures we started this guide with, and it deserves its own section because it causes most of the post lean homeowners blame on “bad soil.”
The problem works like this: a crew sets a post in a hole, pours concrete around it, and backfills soil against the wet concrete so the job site looks clean before they leave. Wet concrete that has soil pressed against it loses the bond it would have formed with the sides of the hole. The result is a concrete collar with nothing to grip, and a post that moves within the first season.
The correct method has two parts that most crews shorten for speed:
- Dig the hole properly. Depth should be a third of the post height above ground, or to the depth required for the post’s load and soil type. In Spring Valley’s clay-heavy areas, our technicians go to the deeper end of the range.
- Let the concrete cure before backfilling. That’s a small window – often a day – but it’s the window that makes the footing work for decades. A crew that skips the cure window has traded the fence’s lifespan for a fast cleanup.
When we install, the footing and cure sequence is part of the job, not a missed step, and it’s covered by our 730-Day Done Right Promise – if a post we set fails because of footings or cure timing within that period, we make it right. That guarantee works because the install method is specified correctly from the start. If you’ve inherited a fence with a footing problem, the same standard applies to a repair or replacement build. For anyone considering a larger outdoor project alongside the fence, our Home Additions & ADU in Spring Valley page covers the sequencing that keeps exterior work and building additions from fighting each other.
Spring Valley Soil, Wind, and Heat: What the Local Climate Does to Fences
Spring Valley’s climate puts three distinct stresses on a fence, and the installation has to be spec’d for all three. The first is shrink-swell clay – the same soil that widens hairline cracks in driveways also expands and contracts around post footings, which is why footing depth matters more here than in sandy or gravel-heavy soils.
The second is heat. Summer surface temperatures push vinyl to the edge of its expansion tolerance, and cheap hardware – hinges, latches, brackets – degrades faster in sustained UV than most manufacturers’ rated lifespans suggest. Using a hardware grade that’s rated for high heat and sun exposure is not an upsell; it’s the difference between a gate that works for ten years and one that sags in three.
The third is wind. Spring Valley sits in the path of gusty wind, and a fence with posts spaced wider than the load requires will rack. Post spacing is a specification, not a suggestion – a crew building a run with the wrong spacing can make it look perfect and still leave you with a fence that leans in the first big blow.
In our experience across Spring Valley, the installations that hold up are the ones where the footing, spacing, expansion, and hardware specs all get written down before the first post goes in. A good fence partner handles all four without the homeowner having to ask. If you want to spec a new run or replace a failing one, our fence installation team works with brands including Andersen, Pella, James Hardie, and Belgard across our full service line, and the fence build gets the same spec-driven attention as any other trade.
Common Mistakes to Avoid
- Straightening a leaning post from the top. If you pull a leaning post into plumb and brace it, you’re treating the symptom. The footing is the cause, and the post will lean again as soon as the load returns.
- Patching a fence with systemic footing failure. Repairs feel cheaper per section, but with more than a third of the run failing, replacement is the better math over the life of the fence – patching just spreads the failure over more years and more invoices.
- Installing vinyl panels tight with no expansion allowance. In Spring Valley heat, panels need 1/8 to 1/4 inch of room per panel, per manufacturer spec. Skipping that gap guarantees warp and gapping, usually within two summers.
- Replacing hinges on a wobbly hinge post. New hinges on a failing post will be destroyed within a season. Fix the post first, then the hinges, then the gate frame.
- Backfilling wet concrete to leave a clean job site. Cleanup is not worth the cure. A footing that can’t grip its hole has failed before the crew leaves, and the homeowner pays for it two years later.
- Spacing posts wider than the wind load allows. In Spring Valley, post spacing that looks fine on a still day can rack in a gusty week. Spacing is a specification, not a preference.
- Using hardware not rated for heat and UV. Cheaper hinges and latches degrade quickly in sustained sun, and the gate is the first thing to fail when hardware goes.
See the difference
 Before
 After
 Before
 After
 Before
 After
When to Call a Professional
Call a professional when the movement is structural rather than cosmetic. That means a post that rocks in its footing, a run of several posts leaning the same direction, a gate that sags after you’ve checked the hinges, or any situation where you’re replacing more than two adjacent panels and the post starts to move during removal. These are the scenarios where DIY repairs cause cascading damage. There’s also a safety layer: tall fence sections, gates on slopes, and anything built near a property line with load concerns can present fall risks and structural issues that a trained installer is equipped to handle safely. Groundwork Construction Co. of Spring Valley offers free estimates in Spring Valley – call (888) 329-9414 to get a written line-item quote. Calls are answered by a live person 24/7, and our technicians are background-checked and arrive in uniform. We work with 0% financing for 18 months and $1,000 off projects over $10,000 to make a full replacement manageable in one go.
Frequently Asked Questions
Fence repair in Spring Valley typically ranges from about $250 to $600 per section for post reset or panel replacement, and higher when a footing has to be dug out and re-poured. Replacement quotes vary widely by material and run length, so the only reliable number is a written line-item estimate for your specific fence. Call (888) 329-9414 for an exact quote – estimates are free.
It shouldn’t. A properly written bid specs the post depth, spacing, material, and hardware before the crew starts, so the number you sign is the number you pay. Upfront pricing with no surprises is a standard we treat as part of the job, not a courtesy. If a contractor’s bid is vague on the footing spec, ask for it in writing before signing, and call us for a comparison estimate.
Permit requirements for fences vary by height, location, and whether the fence is on a property line or in a front yard, so we confirm what applies to your specific lot before starting. On any job that requires a permit or inspection, we pull it and pass it as part of the project. Call (888) 329-9414 and we’ll walk you through what your build will need.
A single-section repair is typically a one-day job, and a full replacement run usually takes a few days depending on length and material; the footing cure window adds time to the schedule but is not skippable. We’ll give you a realistic timeline in the written estimate rather than a number designed to win the bid. Call (888) 329-9414 to get the timeline for your project.
A properly installed fence should last 15 to 20 years or more in Spring Valley, but the footing and cure method have more impact on that lifespan than the material choice. A fence installed with the correct post depth and expansion allowance outlasts a premium-material fence set with shortcuts. If you’re unsure whether your build was spec’d correctly, a free estimate will tell you before you commit to repairs.
Repair is for isolated failures – a few feet of panel or a single post – while replacement is the smarter math once more than about a third of the run shows post movement or footing failure. The section-by-section assessment is how you tell the difference, and it starts with a wiggle test along the whole run. Call (888) 329-9414 to have us walk your fence line and give you a straight answer.
The Bottom Line
Most fence problems trace back to two installation shortcuts: post depth and concrete cure time. A leaning post, a warped vinyl panel, and a sagging gate are symptoms of those two failures showing up in different places. The diagnostic order is always the same: check the post footing first, then the hardware, then the frame. Repair isolated failures section by section; replace when more than a third of the run shows movement. Whichever way you go, spec the footing, spacing, expansion, and hardware before the first post goes in – that’s the difference between a fence that lasts decades and one that keeps you on the phone.
Groundwork Construction Co. of Spring Valley has been in business since 2014, and we back every fence installation with the 730-Day Done Right Promise – if it’s not done right, we make it right. Our technicians have up to 12 years of experience, arrive in uniform, and every project gets upfront pricing with no change orders.
Call (888) 329-9414 for a free estimate and design consult on your Spring Valley fence project. We’ll walk the line with you, tell you whether it’s a repair or a replacement, and put the numbers in writing.
Written by the team at Groundwork Construction Co. of Spring Valley.