Last updated November 17, 2026




Free written scope consultation - allowances, timeline, and change-order rules on paper before a single trade is scheduled
Home Additions & ADU Troubleshooting: Common Problems and How to Fix Them
If the new addition in your home feels noticeably hotter or colder than the rest of the house, that’s not a minor comfort issue. It’s almost always evidence of an HVAC sizing or ductwork error that also signals the building envelope wasn’t closed properly, and those two problems compound each other over time. We’ve walked into Spring Valley homes where a two-year-old addition was already growing mold behind the drywall because a single flashing detail was skipped. In this guide, you’ll learn how to read the symptoms you’re seeing right now, trace them back to the decisions made during construction, and know exactly which problems you can live with and which ones need a licensed contractor at your door this week.
Quick Answer
Most home addition and ADU problems aren’t random failures. They trace back to the connection point between old and new structure, undersized mechanical systems, or envelope details that were cut short to save a day of labor. Water intrusion at roof transitions, floor level differences, and tripping breakers are the three most common symptoms, and each one points to a specific construction shortcut. Some fixes are cosmetic and livable; others, especially anything involving water or electrical load, need a licensed professional immediately.
Styles & brands we work with
- Kitchen remodeling
- Bathroom remodeling
- Home additions & ADU
- Roofing
- Windows & doors
- Driveway & pavers
- Fence
Table of Contents
- The Symptom-to-Cause Map: What Your Problem Is Really Telling You
- Why the Connection Point Is the Highest-Risk Zone for Water Intrusion
- Roof Leaks at the Transition: Flashing Done Right vs. Cut-Rate Work
- Floor Level Differences Between Addition and Original Home
- Electrical Circuits That Trip Under Normal Load
- ADU-Specific Mechanical Failures: Panels, Water Pressure, and Ventilation
- Your Diagnostic Hierarchy: Cosmetic, Urgent, or Emergency
- The Documentation That Makes Troubleshooting Faster
The Symptom-to-Cause Map: What Your Problem Is Really Telling You
A home addition rarely fails in a way that announces itself. It fails in small, deniable ways first: a door that sticks in July and swings free in January, a musty smell in a closet, a breaker that trips when the space heater and the microwave run together. Each symptom is a breadcrumb pointing to a decision somebody made during construction. Learning to read those breadcrumbs saves you money, because it stops you from paying a contractor to chase the wrong problem.
Here’s the map we use when we walk into a Spring Valley addition that’s misbehaving:
- Hot or cold room compared to the rest of the house: undersized HVAC, a duct run that’s too long or undersized, or return air that was never properly connected. Frequently pairs with envelope gaps at the connection wall.
- Water stain on the ceiling near where the addition meets the original roof: flashing failure at the transition, not “the roof is bad.” The roof could be perfect and still leak at that seam.
- Sticking doors, cracks at the drywall seam between old and new: differential settling, which happens when foundations aren’t tied together properly or the new slab was poured on soil that wasn’t compacted.
- Breakers tripping when a specific appliance cycles on: the new circuits were tied into an existing panel that was already near capacity, or the wire gauge is undersized for the run.
- Weak water pressure at the new fixtures only: incorrect line sizing. A 1/2-inch line serving a long run to a new bathroom will starve the fixtures even if the main pressure is fine.
- Condensation or musty air in a small ADU: the exhaust and ventilation system either wasn’t installed or is undersized for the tight footprint.
Notice what doesn’t show up on this list: paint, trim, flooring, and finish work. Those are the things homeowners worry about first, and they’re almost never the actual problem. The real problem is behind the wall. In our experience across Spring Valley, the symptom that looks cosmetic on the surface is the one that points to the deepest issue. That’s why we tell homeowners to start with “what’s the behavior?” before “what does it look like?” A cold room is a mechanical question. A wet ceiling is a water question. A tripping breaker is an electrical question. Each one leads to a different specialist and a different fix.
If you’re still planning your project rather than troubleshooting one, our Home Additions & ADU in Spring Valley page lays out how we approach the build from the start so these symptoms don’t appear.
Why the Connection Point Is the Highest-Risk Zone for Water Intrusion
The spot where a new addition ties into the existing house is the single most failure-prone location on the whole project. It’s where two structures that move differently meet, where two roof pitches have to be reconciled, and where the waterproofing has the most edges to get right. Most of the water intrusion calls we get in Spring Valley start here.
Here’s what proper work at the connection point actually requires:
- Stepped flashing, not caulk. Metal flashing should be layered shingle-style, so water always runs downhill over the next piece. Caulk is a sealant, not a flashing substitute, and it fails within a couple of seasons in our desert sun.
- A water-resistive barrier that laps correctly. The house wrap on the new construction must overlap the existing barrier so water drains outward, never inward. Get that lap backward and you’ve built a funnel.
- Kick-out flashing at the wall base. Without it, water runs down the wall face and straight into the siding or stucco at the bottom corner. This one small piece of metal prevents the rot we see most often on wall cavities.
- Ice-and-water shield in the transition valley. Spring Valley doesn’t get heavy snow, but monsoon-driven rain can back up under shingles at a low-slope transition just as badly. A peel-and-stick membrane under the shingles protects that seam.
- Correct headwall and sidewall details. Where the addition’s roof dies into the existing wall, the headwall flashing has to sit above the roof surface and behind the siding, with the siding held up off the roof deck. Siding that runs down and rests on the shingles wicks water inside.
Cut-rate work skips most of these. We regularly find additions in Spring Valley where the contractor simply ran the new shingles up against the old wall and smeared roofing cement over the seam. It looks fine for the first season. By the second rainy year, water is in the wall and the homeowner is calling us to figure out why the paint keeps bubbling. The fix for a failed transition is rarely cosmetic. It usually means removing the bottom course of siding, opening the wall, and rebuilding the flashing from scratch. That’s a day of labor a careful builder budgets for and a cheap one doesn’t.
Roof Leaks at the Transition: Flashing Done Right vs. Cut-Rate Work
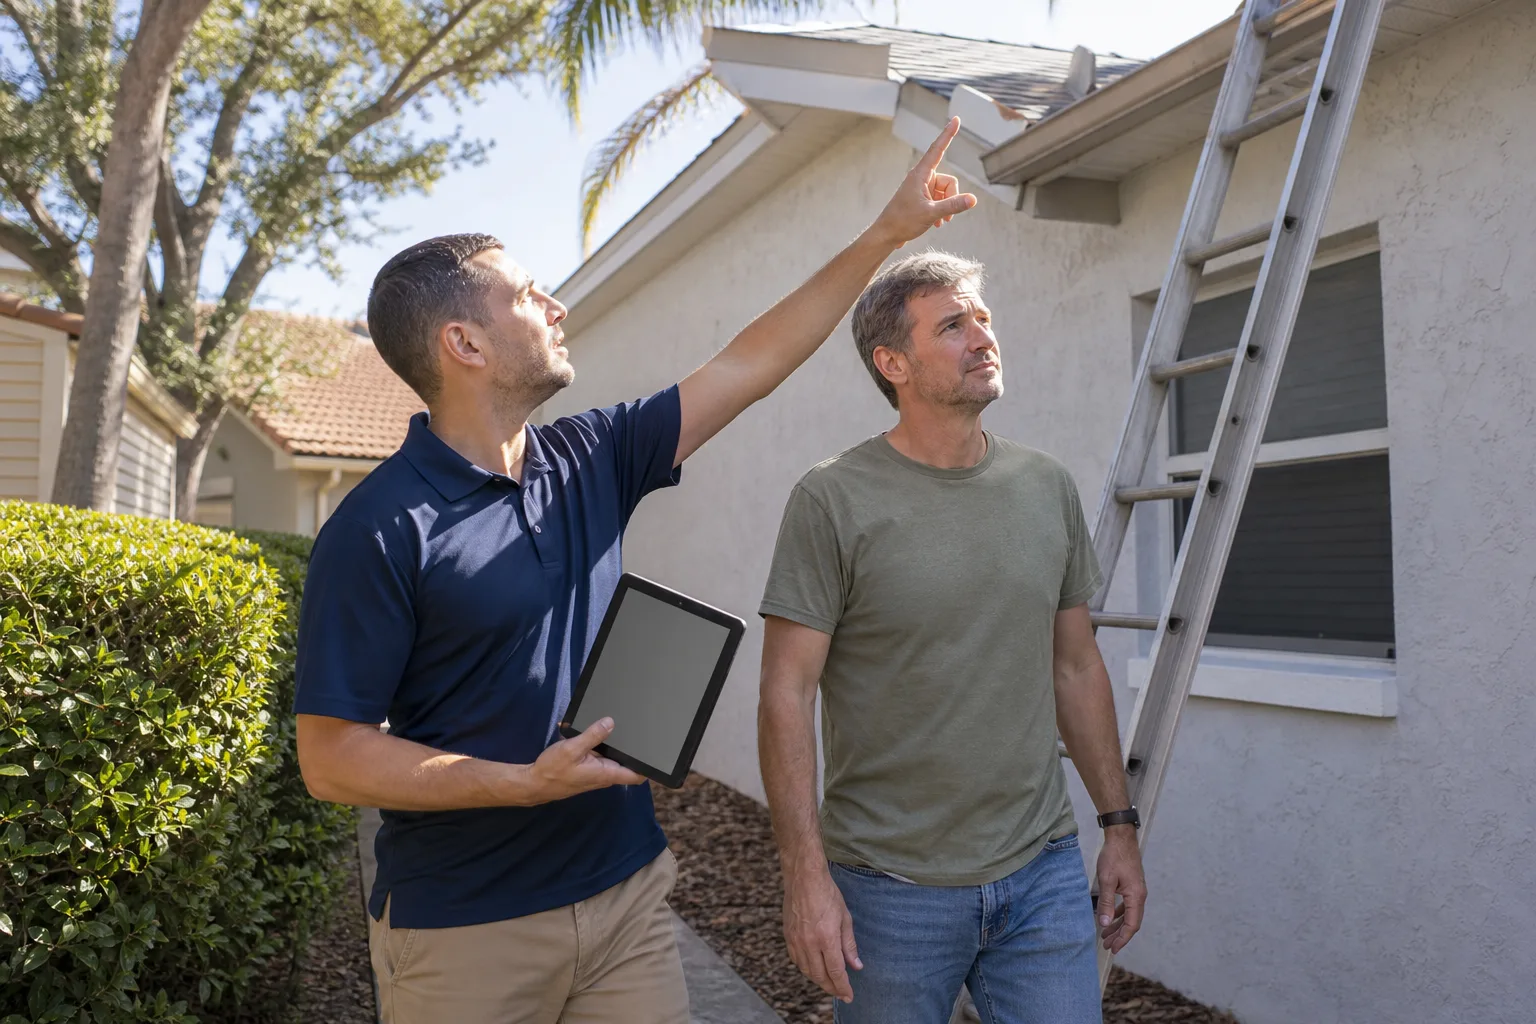
When a homeowner tells us there’s a water stain near the roofline of their addition, the first thing we check isn’t the shingles. It’s the transition. The shingles themselves are rarely the culprit. The seam is. And the difference between a proper seam and a shortcut is something you can sometimes identify yourself, even from the ground.
Here’s how to tell the two apart:
- Proper transition: metal flashing is visible, roof shingles are layered stepwise, and the siding stops above the roof surface with a visible gap or a metal kick-out at the base. Caulk is minimal or absent.
- Cut-rate transition: shingles touch the wall directly, there’s a thick bead of caulk or roofing cement running along the seam, no visible metal, and the paint or stucco at that corner is bubbling or stained.
The tricky part is that even a “proper-looking” transition can fail if the flashing was installed in the wrong order. Water follows the path of least resistance downward, and if the underlayment laps over the flashing instead of under it, the seam leaks no matter how clean the finish looks. In our experience, most transition leaks in Spring Valley show up in the second or third monsoon season, after the caulk has dried out and shrunk from the sun.
What to do about it: if you have an active leak, don’t climb up and start poking at the flashing yourself. Roof work is genuinely dangerous, and a misstep on a pitched roof is a serious injury. Call a roofing professional. If the leak is small and the cause is confirmed to be the transition, the fix usually involves removing the bottom shingle course at the seam, removing the failed flashing, installing new underlayment and new step or counter flashing in the correct lap order, and re-laying shingles. A house wrap and quality shingle system matter at this stage, which is why we specify brands we know will hold up. The point isn’t the brand logo on the package. It’s that the material is consistent underlayment-to-shingle and the assembly is designed to work together.
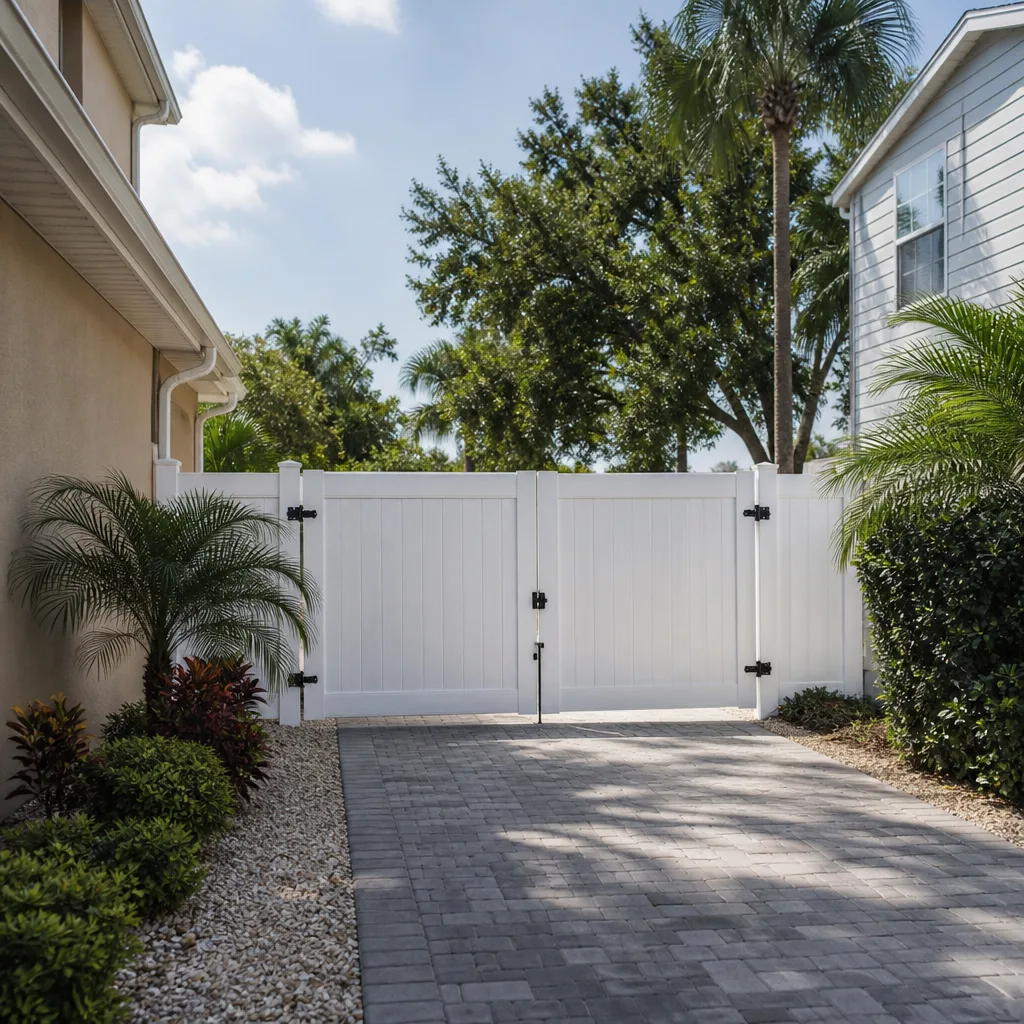
While you’re at it, the same kinds of transition detail matter on the other exterior edges of a Spring Valley property. Our Fence Installation in Spring Valley page covers how we handle fence lines and gate posts that integrate with an existing structure, and why post-footing depth and post waterproofing matter as much as the panels above grade.
Floor Level Differences Between Addition and Original Home
A threshold step between the original home and the addition that wasn’t there when the project finished is one of the clearest warning signs of differential settling. It doesn’t necessarily mean the project is unsafe. It does mean you need to know why it’s happening before you assume the problem will stay put.
Settling happens for a few reasons, and each one tells you something different:
- Different foundation types. A slab-on-grade addition next to a raised original foundation will move differently as soil moisture changes. That’s an architectural decision, not a failure, but the transition needs to be detailed to accommodate it.
- Improper soil preparation. The new slab or stem wall was poured on fill that wasn’t compacted in lifts. The addition drops.
- Foundation not tied to the existing structure. A properly tied foundation transfers load so the two halves move together. An untied one lets them separate.
- Drainage issues around the new foundation. Water sitting against the addition footer causes soil movement. In our Spring Valley climate, this is the subtle one, because a lot of the year the soil is dry, and one heavy rain season can pull the moister out of balance.
- Flooring difference, not a structural issue. Sometimes what feels like a step is just a change from carpet to tile or a different subfloor thickness. That’s cosmetic and not a problem.
Here’s the practical test: measure the difference now, mark the spot with a small piece of tape on the wall or door frame, and re-measure in three months. If the gap is stable, it’s likely a one-time settlement that can be taken care of with a transition strip or a self-leveler pour. If it’s still growing, that’s a foundation question and it needs a professional assessment before you spend money on finishes or flooring.
Floors, driveways, and pavers all share the same underlying truth: proper base preparation is everything. Our Driveway & Pavers in Spring Valley page walks through how base compaction and drainage details are handled for exterior hardscapes, and why the same principles drive what you see inside at the addition transition.
Electrical Circuits That Trip Under Normal Load
A breaker tripping under normal household load is not a “just reset it and move on” situation. It’s the panel telling you that the circuit is overloaded, and an overloaded circuit is a fire risk. This is one of the few problems on this list where the answer is almost always: call a licensed electrician now, don’t wait.
Here’s why additions are prone to this. When an addition or ADU is added to a home, the new loads (lights, outlets, HVAC, sometimes a water heater or mini-split) get wired into the existing panel. If nobody did a proper load calculation before the project started, the new circuits push the panel past what it can safely serve. The breaker does its job and trips. That’s the system working. The problem is upstream, in the design phase.
The warning signs to watch for:
- A breaker that trips repeatedly when a specific appliance runs, especially the microwave or space heater.
- Warmth at outlet plates or switch plates. That’s not normal, ever.
- Flickering lights in the addition when something else in the house turns on.
- A burning smell from the panel or from an outlet. That’s a call-now situation.
The fix isn’t usually “just add another breaker.” It’s a load calculation, an assessment of the panel’s total capacity, and often a service upgrade to a larger panel or a subpanel dedicated to the addition. That work is electrical, and it’s not something a homeowner should take on beyond checking that the breaker itself isn’t faulty. The safety risk is too high.
One note on the “don’t do this yourself” framing. We genuinely mean it for panel work. The reason we recommend a licensed electrician isn’t that we want the call, it’s that arc flash and shock risk in a residential panel can be fatal and there’s no shortcut that justifies the risk. The other problems on this list can sometimes wait a season. Electrical safety can’t. It’s the one part of this troubleshooting guide where we’d tell you to call today, not next month.
ADU-Specific Mechanical Failures: Panels, Water Pressure, and Ventilation
ADUs are their own troubleshooting category. They’re compact, they share utility connections with the main house, and the small footprint makes every design decision tighter and less forgiving. The failures we see in Spring Valley ADUs tend to cluster in three areas: electrical service, water pressure, and ventilation.
Undersized Electrical Panels
An ADU with its own kitchen, bathroom, water heater, and HVAC needs serious electrical capacity. Too often, an ADU is wired off a small subpanel that was sized for a guest room, not a full living unit. The result is breakers that trip when the tenant runs the microwave and the water heater at the same time. If your Spring Valley ADU trips under routine load, the answer is a load calculation and a panel upgrade, not a bigger breaker. Never let anyone upsize a breaker to stop tripping. That’s how you start a fire.
Water Pressure Drop Due to Incorrect Line Sizing
Water pressure loss in an ADU is almost always a line sizing problem, not a supply problem. A long run of undersized pipe to a detached ADU, or a shared line from the main house that has too many fixtures downstream of it, will lose pressure at the new fixtures even if the street pressure is fine. The fix is to run a dedicated, properly sized line to the ADU, or in a tight situation, install a booster system. In our Spring Valley projects, we size the line to the ADU’s worst-case demand, meaning all fixtures running at once, not the typical demand.
Exhaust and Ventilation Errors
ADUs have less air volume than a normal house, which makes exhaust and ventilation more important, not less. We routinely find ADUs where the bath fan exhausts into the attic instead of outside, or where the kitchen range hood was never connected to a duct at all. The result is moisture in the wall cavity and indoor air quality problems that build up over time. The fix is proper ductwork to the exterior with insulated flexible or rigid duct, not a recirculating filter pretending to be a vent.
Your Diagnostic Hierarchy: Cosmetic, Urgent, or Emergency
Not every problem on this list is a call-today problem. Sorting them into three tiers helps you avoid panic and helps you avoid the opposite mistake, which is ignoring something dangerous. Here’s the hierarchy we use when we’re evaluating a Spring Valley addition or ADU.
Cosmetic (Livable, Can Wait a Season)
- Hairline drywall cracks at the old-new seam that don’t grow when measured over three months.
- Paint flaking on an exterior wall where the moisture test shows it’s a sun-exposure issue, not water.
- A floor transition that’s stable but visually noticeable.
- Trim gaps that are stable.
Urgent (Fix Within Weeks, Get a Pro Involved)
- A growing gap at the floor transition or a door that’s now sticking and wasn’t.
- Water staining on a ceiling from the transition. It’s not emergency, but the longer it runs the more damage it does.
- Water pressure loss at the new fixtures only, with no leak.
- Ventilation that’s clearly not working (fans that don’t exhaust, musty smell in an ADU).
Emergency (Call Now)
- Any burning smell or warmth at an outlet, switch, or panel.
- Active water intrusion running into a wall or ceiling, especially near electrical fixtures.
- Significant foundation movement with visible structural cracks, doors that don’t open, or floors that are clearly failing.
- Gas smell. Call the gas utility first, then a licensed professional.
The hierarchy exists so you don’t call an emergency line for a cosmetic crack and so you don’t sit on an electrical issue for a month. If you’re not sure where your problem lands, the safest move is to have someone look at it.
The Documentation That Makes Troubleshooting Faster
The single most useful thing you can have when a problem appears is the documentation from the original build. When homeowners come to us with a problem and a full set of project docs, we can often diagnose in one visit what takes three visits otherwise. Here’s what we ask for, in order of importance.
- The stamped construction drawings and the permit set. These tell us exactly what was designed and approved, including the structural tie between old and new, the electrical load calculation, and the flashing details.
- The inspection record. Spring Valley inspections leave a paper trail. If the final inspection passed and was signed, that’s a data point. If some inspection was skipped, that’s the problem in plain sight.
- Material specifications and product warranties. Window specs (we often work with ES Windows, Therma-Tru doors, and similar quality lines) tell us the performance rating. Shingle and flashing specs matter for water intrusion questions. The warranty documents tell us what’s covered.
- Photos taken during construction. This is the most underrated document. Framing photos before drywall, flashing photos before shingles, electrical photos before wall cover, and waterproofing photos before tile show us exactly how the assembly was built.
- The written scope of work and any change orders. This tells us what was promised and what changed.
If you don’t have these, you’re not stuck. We can diagnose without them. But we ask for two things to accelerate: the permit record from the city (you can usually request it) and any photos you took during construction. Even a phone photo of the framing before drywall is worth more than a dozen spec sheets. The worst case is when the project was done without permits at all. In that case, the troubleshooting has to start with “what actually exists behind this wall,” which means opening things up, and the fix may also involve permitting and inspection retroactively. That’s slower and more expensive, but it’s the only honest path forward. Our goal in every case is to get to the real cause as fast as we can, and the documentation is what gets us there.
When you’re evaluating a contractor for a future project, ask them what documentation they’ll hand over at closeout. Any contractor who answers that question well – with a build photos package, permit record, and material specifications in writing – is telling you they expect to be around when their work is tested by time. That’s the contractor you want. And it’s the one whose work you’re less likely to need fixed later.
Common Mistakes to Avoid
- Caulking a roof leak instead of fixing the flashing. Caulk on a roofing seam is a temporary patch, not a repair. In Spring Valley’s sun, a bead of caulk dries, cracks, and shrinks within a single summer. If the leak is at a transition, the flashing assembly needs to be rebuilt properly.
- Upsizing a tripping breaker. A tripping breaker is telling you the circuit is overloaded. Putting a bigger breaker on the same wire is dangerous and doesn’t solve the actual load problem. Do a load calculation and fix the panel.
- Assuming a cold addition is “just how it is.” A room that runs hot or cold compared to the rest of the house isn’t a property of building an addition. It’s an HVAC or envelope problem that should have been caught in design, and it usually compounds moisture and air-quality issues if left alone.
- Skipping the final inspection to close out faster. A passed inspection is a data point you’ll want later if problems appear. We’ve seen Spring Valley projects where a skipped flashing inspection was the exact cause of a leak two years later. Nobody benefits from rushing past the sign-off.
- Letting a tiny floor gap go unmeasured. A small step at a threshold feels cosmetic. A small step that’s growing is a foundation issue. Measure the gap now, mark the spot, and compare in three months. That simple step tells you which one you have.
- Ignoring water pressure loss in an ADU. A weak shower in a new ADU is almost always undersized water line, and it usually gets worse, not better. Fixing it early is a line replacement; fixing it after you’ve built out landscaping around a trench is much more expensive.
- Not asking for a documentation package from your contractor. If you don’t have the permit set, framing photos, and material specs, you’re troubleshooting blind. Ask for the documentation before the project closes, not after a problem appears.
See the difference
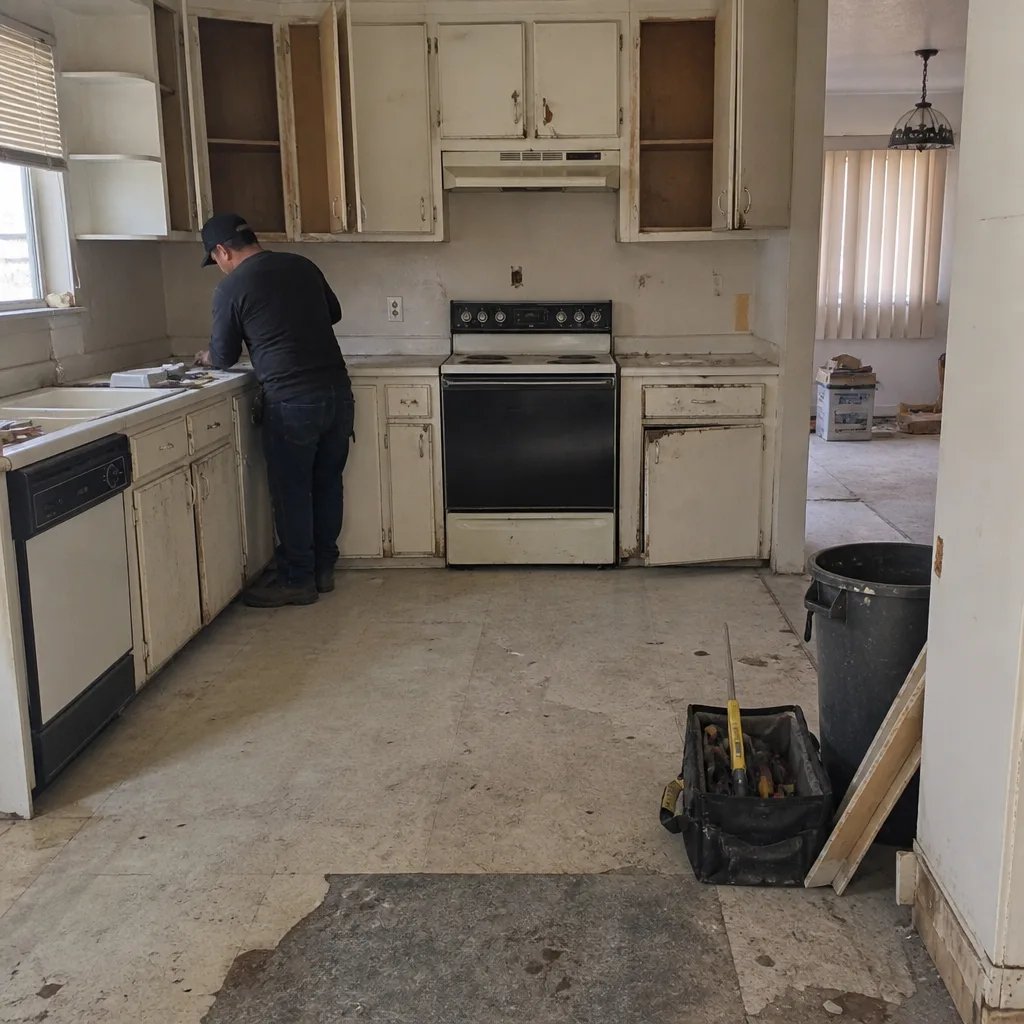 Before
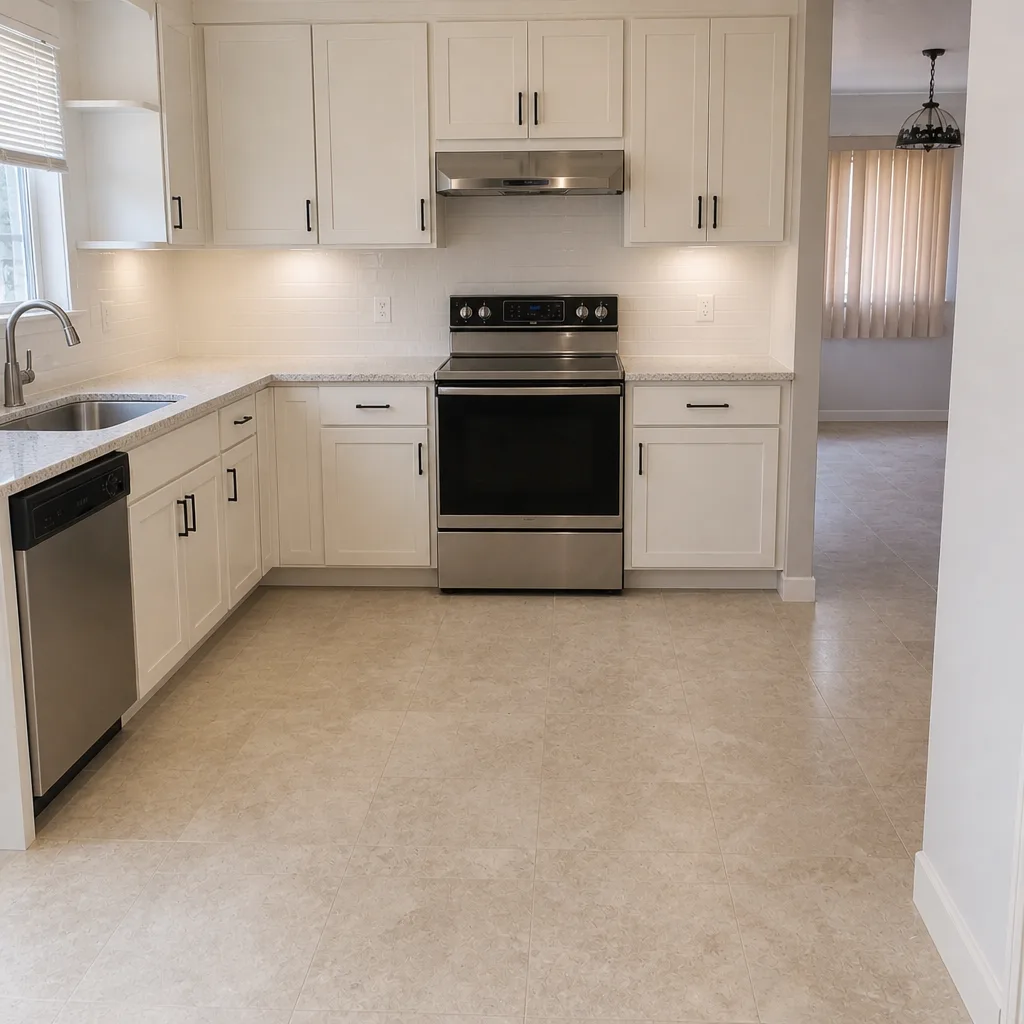 After
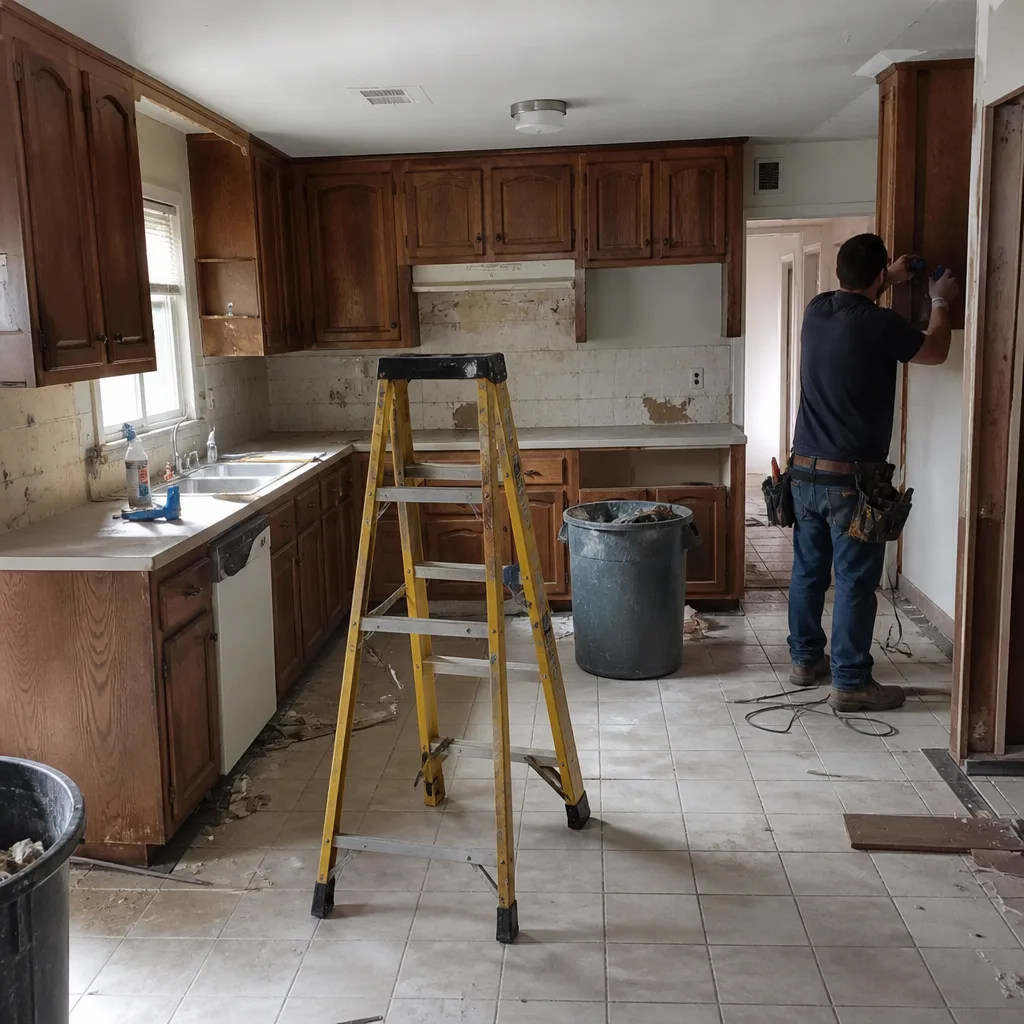 Before
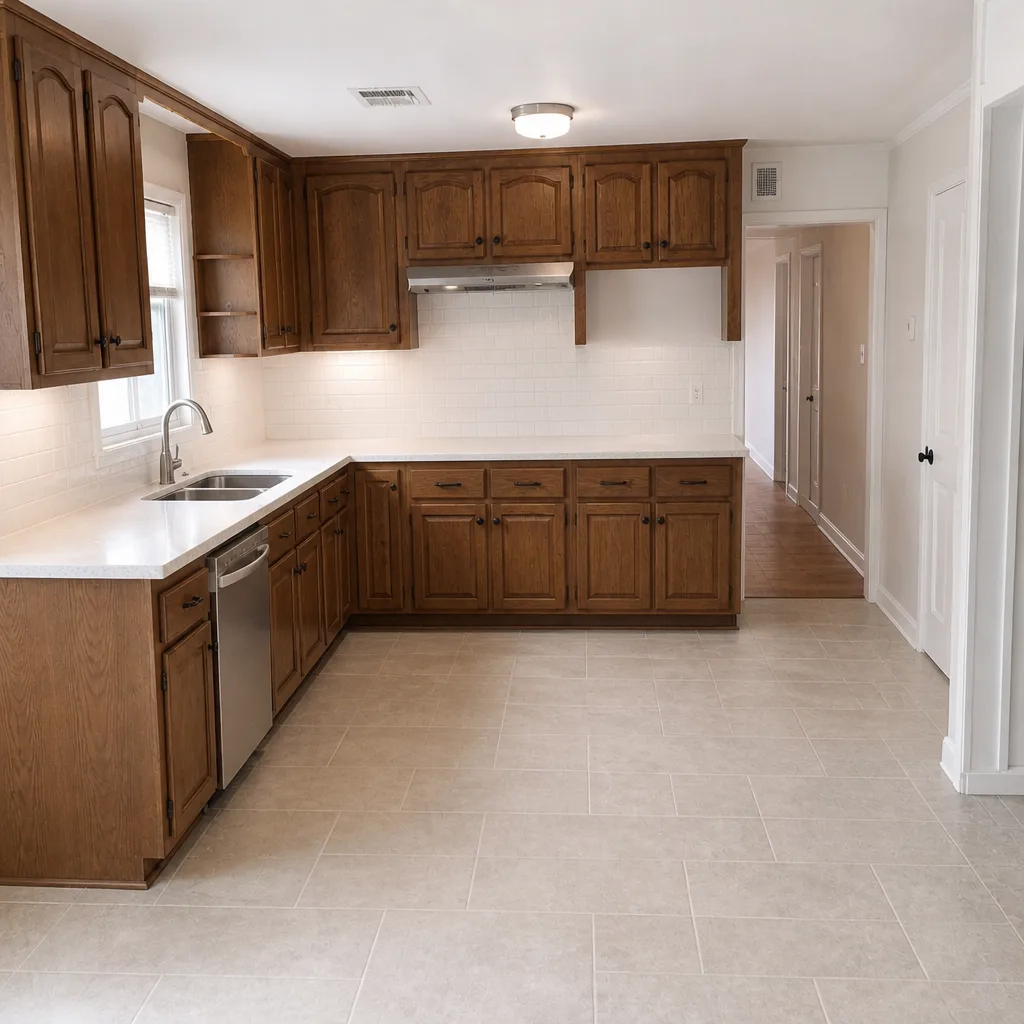 After
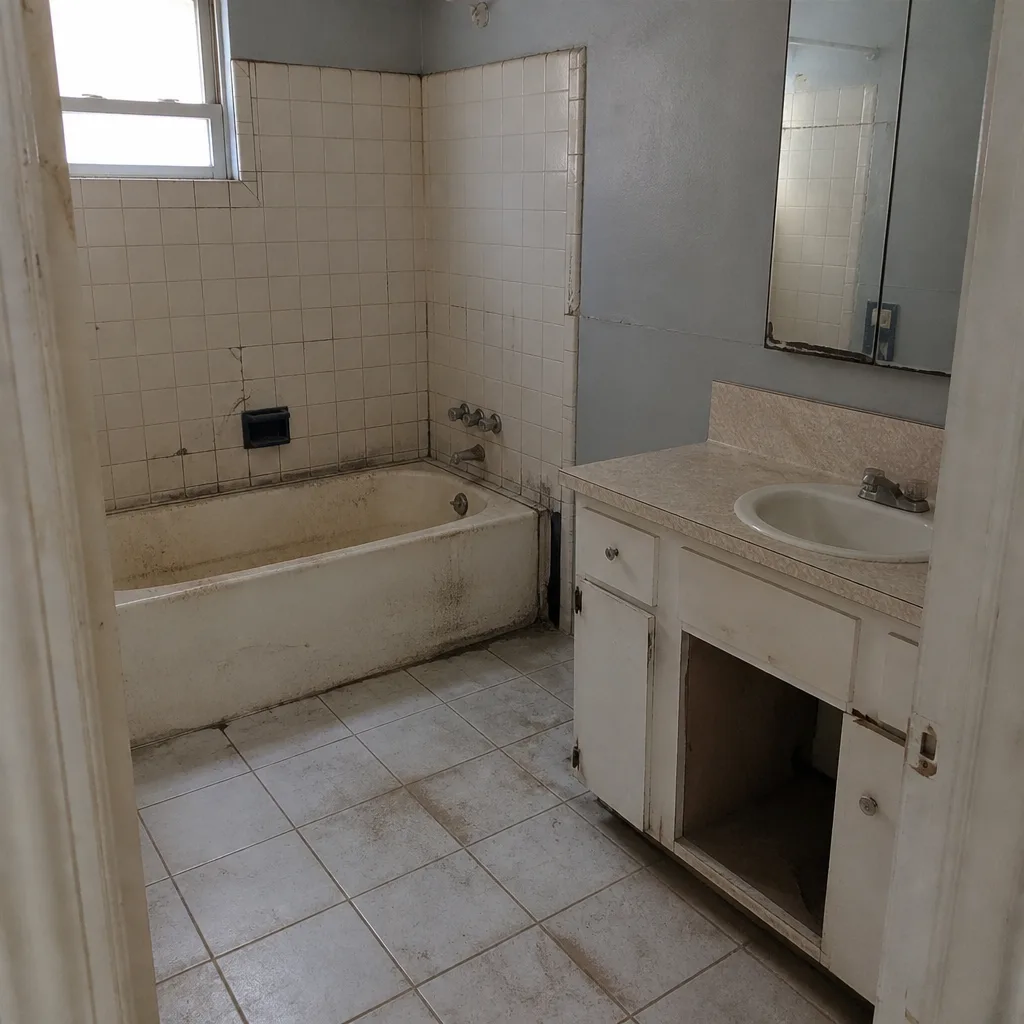 Before
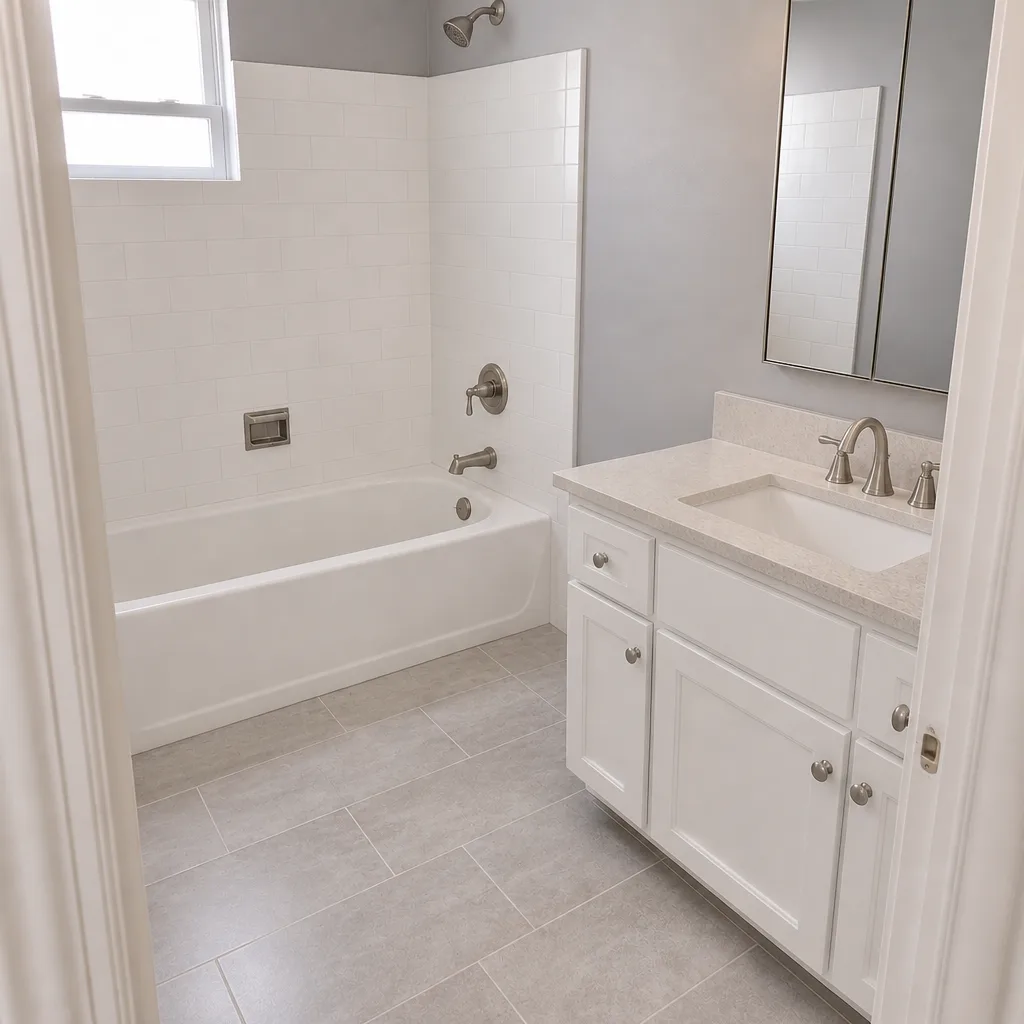 After
When to Call a Professional
Call a professional immediately for anything involving active water intrusion near electrical fixtures, burning odors at any outlet or panel, foundation movement that’s clearly progressing, or gas smell. Those aren’t DIY categories and they aren’t “next month” categories. Call now. For urgent non-emergency problems – a transition seam that drips during heavy rain, water pressure loss at a new ADU fixture, or a ventilation fan that doesn’t exhaust – get a professional scheduled within the next few weeks, because water and moisture problems get exponentially more expensive the longer they run. For the genuinely cosmetic stuff, you have time to plan. But that plan should include a professional evaluation of the underlying cause, because cosmetic symptoms often mask structural ones. If you’re not sure which tier your problem lands in, the correct answer is always to have it looked at. A free estimate costs nothing and saves a lot.
Groundwork Construction Co. of Spring Valley offers free estimates in Spring Valley – call (888) 329-9414. Our technicians have up to 12 years of experience and arrive in uniform, background-checked, and ready to diagnose. Every repair is backed by the 730-Day Done Right Promise.
Frequently Asked Questions

Most transition flashing repairs in Spring Valley run in the low-to-mid four figures, depending on how much siding and shingle has to be removed and how much wall cavity was affected. A clean re-flash with no rot is at the low end; a repair that includes wall sheathing replacement is at the high end. Call (888) 329-9414 for an exact quote – estimates are free and written line-item.
Almost always an HVAC sizing or ductwork problem, often compounded by an envelope gap. The system was sized for the original square footage and then had to serve the addition too, or the duct run to the new room is too long or too small. A load calculation and duct inspection will confirm which one it is. Call (888) 329-9414 to schedule your free estimate.
Sometimes yes, sometimes no. If the gap has been stable for months, it’s usually a one-time settlement that a transition strip or self-leveler can fix. If it’s still growing, that’s a foundation concern and needs professional assessment. Measure it, mark it, and re-check in three months. Call (888) 329-9414 if you want a professional look at it now.
Probably yes, or at minimum a subpanel upgrade. An ADU with a full kitchen, water heater, and HVAC needs its own electrical capacity, not just a circuit tapped off the main house. A load calculation will tell you exactly what’s needed. Call (888) 329-9414 for a free estimate on the electrical assessment.
Yes. An unpermitted addition isn’t a dead end, but it changes the troubleshooting path. We have to open up walls to see what actually exists, and then the fix usually involves retroactive permitting and inspection. It’s slower and more expensive than a permitted build, but it’s the only honest way to fix one. Call (888) 329-9414 to schedule the assessment.
Not with us. Upfront pricing, no surprises. The number we put on the written estimate is the number you pay. If we discover something mid-repair that genuinely changes scope, we stop, show you what we found, and get written approval before doing additional work. That’s what the 730-Day Done Right Promise and no-hassle upfront pricing mean in practice. Call (888) 329-9414 for your free estimate.
The Bottom Line
Most home addition and ADU problems don’t appear at final walkthrough. They show up 6, 12, or 24 months later, and they trace back to decisions made during construction. If you remember one thing from this guide, let it be the hierarchy: cosmetic problems can wait, urgent problems get scheduled, and anything involving electrical or active water intrusion gets the call today. The other thing to remember is documentation. If you’re building now, insist on a build photos package and a permit record at closeout, because they’re what make troubleshooting fast and cheap instead of slow and expensive. And if you’re planning a new project in Spring Valley, the time to get the details right is before the foundation is poured, not after the first leak. If you’re already past that point and you’re troubleshooting, we can help.
If you’re ready to troubleshoot or plan your project with a contractor who puts the details in writing, Groundwork Construction Co. of Spring Valley is the full-scope construction partner for homeowners who refuse to gamble on their biggest investment. From foundation to finish line, every project is backed by the 730-Day Done Right Promise, handled by background-checked, uniformed technicians, and priced with no-hassle upfront pricing. We offer a Free Project Estimate & Design Consult, 0% Financing for 18 Months, and $1,000 Off Projects Over $10,000. Call (888) 329-9414 for a free estimate – a live person answers 24/7, no voicemail. And when you’re ready to plan beyond the addition, explore our Fence Installation in Spring Valley, Driveway & Pavers in Spring Valley, or start at our Groundwork Construction Co. of Spring Valley home to see every service line.
Written by the team at Groundwork Construction Co. of Spring Valley.