Last updated November 17, 2026

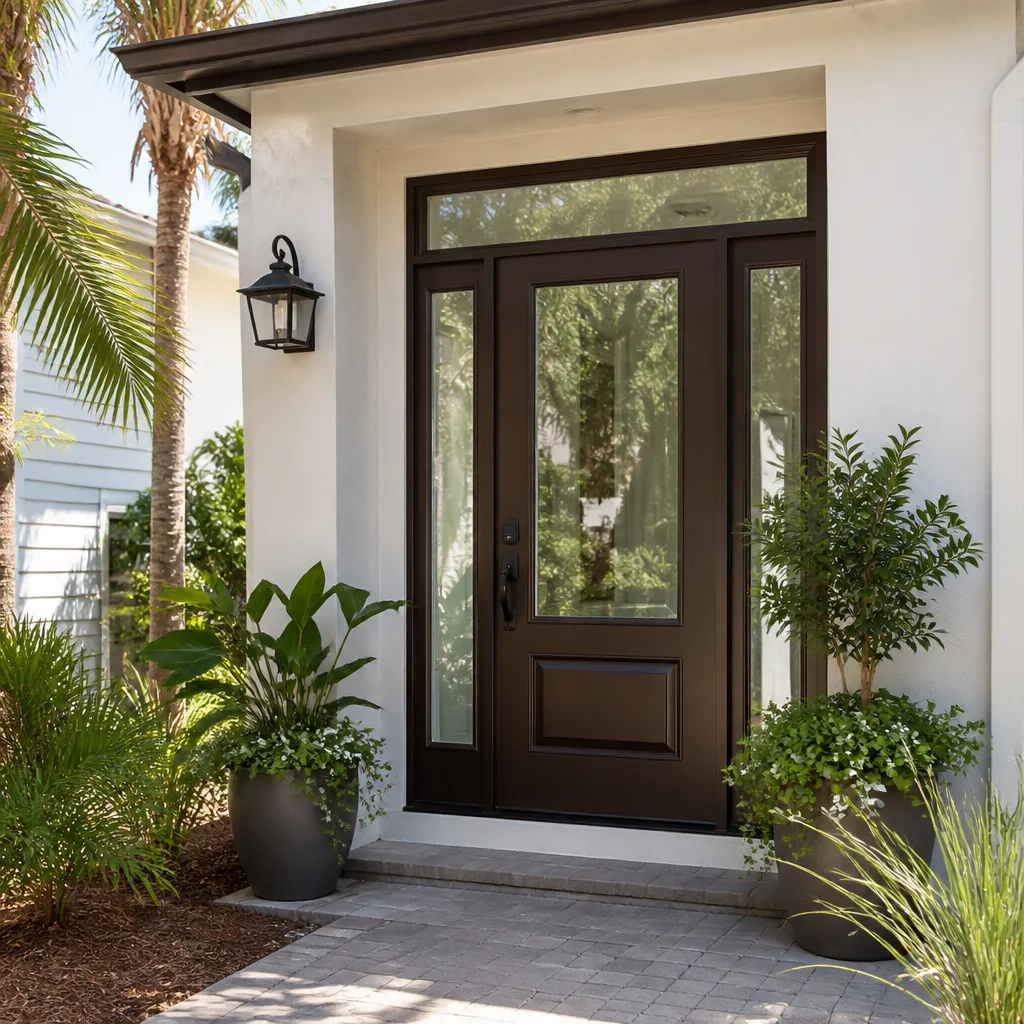




Free written scope consultation - allowances, timeline, and change-order rules on paper before a single trade is scheduled
DIY vs Professional Windows & Doors: What’s Safe to Do Yourself
A homeowner can install a pre-hung interior door competently with one afternoon and a basic tool set. That same homeowner installing a new exterior opening without a proper header inspection can void their homeowner’s insurance without ever knowing it. That gap, between “I can handle this” and “this could cost me everything,” is the whole conversation. We’ve walked into Spring Valley homes where a previous owner’s weekend window project turned into a $9,000 repair because flashing was skipped and stucco drank water for three summers. This guide draws the line honestly: what you can safely do yourself, what requires a professional, and where a hybrid approach protects a larger investment from becoming a total loss.
Quick Answer
Interior door hardware, weatherstripping, screen repair, and caulk refresh are safe DIY territory for most homeowners. Exterior window and door replacement is not. The tasks that require a professional aren’t about difficulty, they’re about air sealing, structural headers, and Nevada code compliance that has zero tolerance for approximation. If the job touches an exterior opening, a structural header, or a permit-required alteration, hire it out.
Styles & brands we work with
- Kitchen remodeling
- Bathroom remodeling
- Home additions & ADU
- Roofing
- Windows & doors
- Driveway & pavers
- Fence
Table of Contents
- The Clear DIY-Safe List
- Why Exterior Window Replacement Is Different
- Flashing: The Skill YouTube Tutorials Skip
- What Nevada Requires by Permit
- Air Sealing and Your HVAC in Spring Valley’s Climate
- The Cost Math on Hybrid Approaches
- Common Mistakes to Avoid
- When to Call a Professional
The Clear DIY-Safe List
Let’s give credit where it’s due. A lot of window and door work is genuinely within reach for a careful homeowner with the right tools and a willingness to read the instructions twice. Here’s what we tell neighbors in Spring Valley they can handle without a contractor.
Interior door hardware
Swapping a knob, deadbolt, or passage set is a 30-minute job with a screwdriver. The skill requirement is patience: don’t overtighten the strike plate screws and strip the jamb. If you’re replacing a full lockset, buy the same backset (typically 2-3/8″ or 2-3/4″) so the existing bore holes line up. No permit, no structural risk, no reason to pay anyone.
Weatherstripping replacement
Felt, foam, and V-strip weatherstripping on doors and operable windows wear out every few years in a desert climate. Replacement is cheap and the installation is forgiving. A $12 roll and a putty knife will cut your door draft noticeably. This is one of the highest-return DIY jobs on any home.
Screen repair
Re-screening a frame takes about 20 minutes per screen with a spline roller and a $10 kit. It’s tedious but not difficult. Spring Valley’s dust and wind load means screens take a beating, and staying ahead of small tears keeps insects and grit out of the house.
Caulk refresh
Old caulk around window and door trim cracks and pulls away. Scraping it out and laying a fresh bead of exterior-grade silicone or polyurethane is a genuine DIY job, with one caveat: you must actually remove the old caulk, not just smear new material over it. A bead laid over failed caulk traps moisture and makes the problem worse. If you see soft wood or bubbling paint behind the old bead, stop and call someone.
What’s borderline
Replacing a sliding glass door roller? Doable for a patient homeowner. Swapping a full pre-hung interior door in an existing frame? Doable if the frame is plumb and square. Anything that touches the rough opening itself, either interior or exterior, starts crossing into professional territory.
Why Exterior Window Replacement Is Different
Here’s the counterintuitive part: the reason exterior window replacement needs a pro isn’t that the work is harder than, say, tiling a backsplash. It’s that the tolerance for error is near zero and the failure mode is invisible for years. A tile job that’s slightly off looks slightly off. A window install with a 1/8″ gap in the flashing looks perfect on day one and rots the wall cavity by year five.
Three things make exterior windows and doors a different category of work:
- Structural headers. When a new opening is wider than the existing one, the load above it has to be carried by a properly sized header. In a single-story home, get it wrong and you get sagging drywall and sticking doors. In a two-story home, you get a genuine structural problem. This is inspection territory, not YouTube territory.
- Flashing and drainage. Every exterior opening is a hole in the water-shedding layer of the house. Flashing has to shed water down and out, in the correct sequence, with the correct overlaps. Get the sequence wrong and you’ve created a funnel.
- Code and permit compliance. Nevada requires permits for most exterior opening changes. Unpermitted work follows the house through every future sale, appraisal, and insurance claim.
In our experience across Spring Valley neighborhoods, the failures we see most often come from windows installed correctly to the manufacturer’s instructions but incorrectly to the home’s actual water-shedding sequence. The installer followed the manual. The manual was for new construction, not retrofit.
Flashing: The Skill YouTube Tutorials Skip
Search “how to install a window” and you’ll get a hundred videos, most of them correct on the basics and almost all of them skipping the part that actually matters: flashing integration with the existing wall assembly. That’s not because the creators are hiding anything. It’s because every wall assembly is different, and the retrofit case is the hardest one to teach on camera.
Flashing is a sequence, not a product. The order matters more than the material:
- Sill pan first. A sloped sill pan or flexible sill flashing goes in before the window, sloped toward the exterior. Without the slope, water pools.
- Window set and shimmed. The window is plumb, level, square, and shimmed at the correct points per manufacturer spec. Over-shimming or under-shimming both cause long-term failure.
- Jamb flashing second. The sides lap over the sill flashing, not under it. This is where most installers get the order wrong.
- Head flashing last. The top lap goes over the jamb flashing and behind the weather-resistive barrier above. The layering is a shingle sequence: every piece sheds over the piece below.
- Air seal on the interior. Low-expansion foam or backer rod plus sealant around the interior perimeter, with a small gap left for the window to move.
We’ve torn out windows in Spring Valley where the flashing was perfect on the south-facing side and completely reversed on the windward side, because the installer’s training was for new construction in a different climate. That house had been leaking for four years before anyone noticed. Flashing that’s wrong doesn’t announce itself. It just waits.
What Nevada Requires by Permit
This is where a lot of homeowners get tripped up. The rules vary by jurisdiction, and in the Las Vegas Valley, you’re dealing with either Clark County or the incorporated cities depending on where the property sits. Spring Valley is an unincorporated community in Clark County, which means Clark County Building Department handles most of the permits for residential work in the area.
The general framework:
When you need a permit
- Any new exterior opening, or enlargement of an existing one
- Replacement of an exterior window or door where the rough opening changes
- Any work that alters the structural header over an opening
- Egress window changes (bedroom windows especially, since egress is a life-safety requirement and the opening size matters)
- New exterior door inserts or conversions (for example, converting a window into a door)
When you’re legally in the clear
- Like-for-like window replacement in the same rough opening, in many cases (verify with the county before starting, since inspectors can and do vary on this interpretation)
- Interior door replacement including the slab and hardware
- Weatherstripping, caulking, screen repair, and other maintenance
- Cosmetic trim work that doesn’t alter the opening
One important line: unpermitted exterior opening work can jeopardize your homeowner’s insurance. If a claim later involves water intrusion or structural damage around an unpermitted opening, the carrier has a clear argument to deny. That’s the risk no YouTube tutorial will warn you about. A licensed contractor pulls the permit, schedules the inspection, and hands you the signed-off paperwork at the end. That paperwork is worth more than the contractor’s labor cost.
Air Sealing and Your HVAC in Spring Valley’s Climate
Spring Valley sits in the Mojave, and that fact changes the window equation in a way most DIY guides ignore. This is a cooling-dominated climate. The summer design temperature drives the HVAC, the ductwork runs through attic spaces that hit 150°F, and every air leak around a window frame works against the system for months at a time.
Here’s the compounding part. A small air leak around one window isn’t a small problem. It’s a permanent pressure imbalance that pulls outside air in through the leak, forces the HVAC to work harder to hit the thermostat setpoint, and drives up your electric bill every month between May and October. Multiply that across six or eight windows installed with imperfect air sealing, and you’re paying the difference in kWh every summer for the life of the installation.
In our experience, the energy penalty from poor air sealing runs $200 to $500 per summer in a typical Spring Valley home. That’s often more than the labor savings from a DIY install in less than five years. And unlike a flashing failure, which shows up eventually as rot or a water stain, air sealing failures are invisible. You just pay for them quietly, forever.
Professional installs include a specific sealing sequence: backer rod, low-expansion foam, interior sealant at the drywall return, exterior sealant at the trim line, and a check that the window opens and closes freely with the full seal in place. It’s the least glamorous part of the job and the one that most affects your monthly bill.
The Cost Math on Hybrid Approaches
You don’t have to choose between “do everything yourself” and “hire the whole job out.” There’s a middle path, and in our experience it’s where the smartest homeowners land. The idea is to hire out the parts that carry risk and do the parts that don’t.
Here’s a real-world hybrid split we’ve seen work well in Spring Valley:
- You do: interior trim and paint, removal of the old interior casing, hardware swap, screen and weatherstripping refresh on the windows you’re keeping, and caulk refresh after the installer is done.
- The pro does: removal of the old unit, rough opening prep, flashing and air sealing, window set and shim, exterior trim integration with the existing siding or stucco, permit and inspection.
- Shared: interior trim can go either way depending on the homeowner’s comfort level and how particular they are about the finished look.
The math is simple. On a typical Spring Valley window replacement, interior trim and paint represent perhaps 10 to 15 percent of the total cost. Skipping the trim work yourself saves that amount and puts it toward the pieces that actually determine whether the install holds up. The rough opening, flashing, and air seal are where the failure risk lives, and it’s a small fraction of the project value to have those done correctly the first time.
The other cost nobody talks about: the cost of redoing it. We’ve been called to redo half-finished DIY installs in Spring Valley where the homeowner got the window set but couldn’t handle the flashing sequence correctly. In every case, the redo cost more than the original professional install would have. Once the stucco or siding is opened up and re-closed, the labor doubles. That’s the gap between “I saved a few hundred dollars” and “I spent a few thousand I didn’t have to.”
If you’re budgeting the full picture, our team puts written line-item quotes in front of you before any work starts, so you can see exactly what the flashing and sealing line items run versus the trim. No surprises, no change orders, and it makes the hybrid math easy to run on your own. For a broader picture of what other exterior projects run in Spring Valley this year, our Driveway & Pavers in Spring Valley guide has current local pricing; the same cost discipline applies to windows and doors.
Common Mistakes to Avoid
- Trusting a YouTube tutorial for a retrofit install. Most window installation videos were made for new construction, where the wall isn’t finished and the flashing sequence is simple. Retrofit work is a different animal.
- Caulking over failed caulk. Spring Valley’s wind and dust load exposes this mistake fast. New caulk over old caulk traps moisture and accelerates rot instead of preventing it.
- Skipping the permit to save money. The short-term saving is a few hundred dollars. The long-term cost is a disclosure problem at sale and a potential insurance denial on any future water or structural claim.
- Ignoring the header on a wider opening. Widening an opening without engineering means the load above is now carried by drywall and hope. Get a structural review, every time.
- Sealing the interior before the exterior. The flashing sequence happens outside-in. Sealing the inside first hides the flashing failure that’s about to happen behind your wall assembly.
- Choosing the window before the installer. The install quality matters more than the brand. A quality unit installed badly will fail faster than a mid-grade unit installed correctly.
- Assuming a brand-name window fixes a bad rough opening. Andersen, Pella, and Marvin units are engineered to tight tolerances. If the rough opening is out of square, the best window on the market still performs poorly. The rough opening gets checked before the window gets ordered.
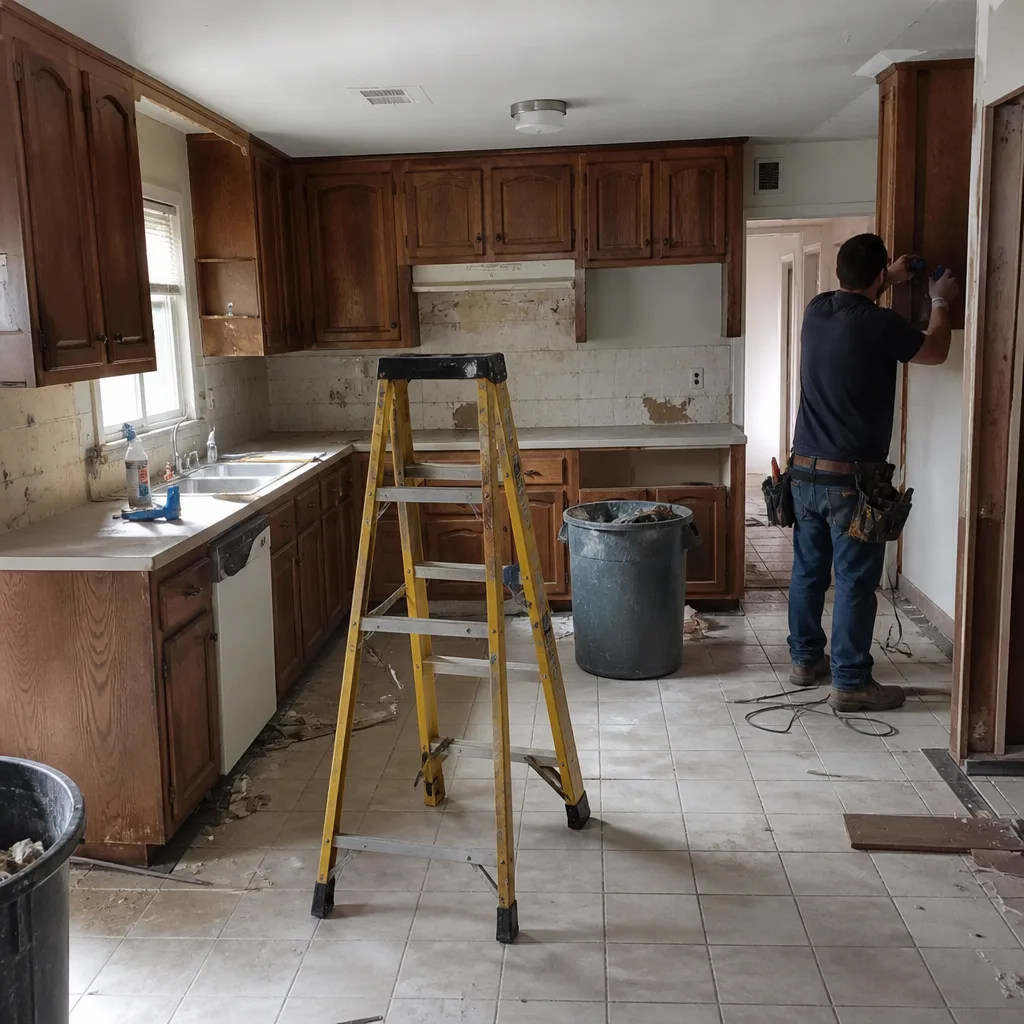
See the difference
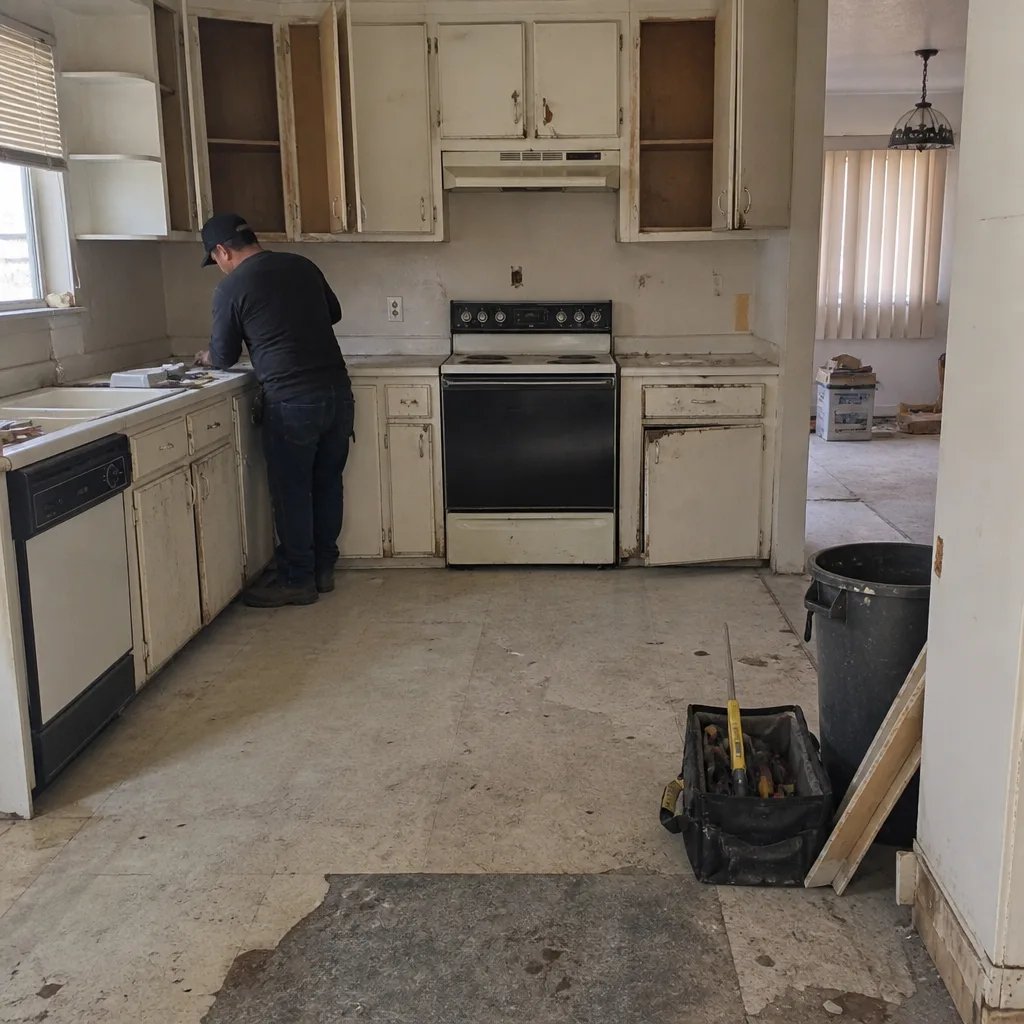 Before
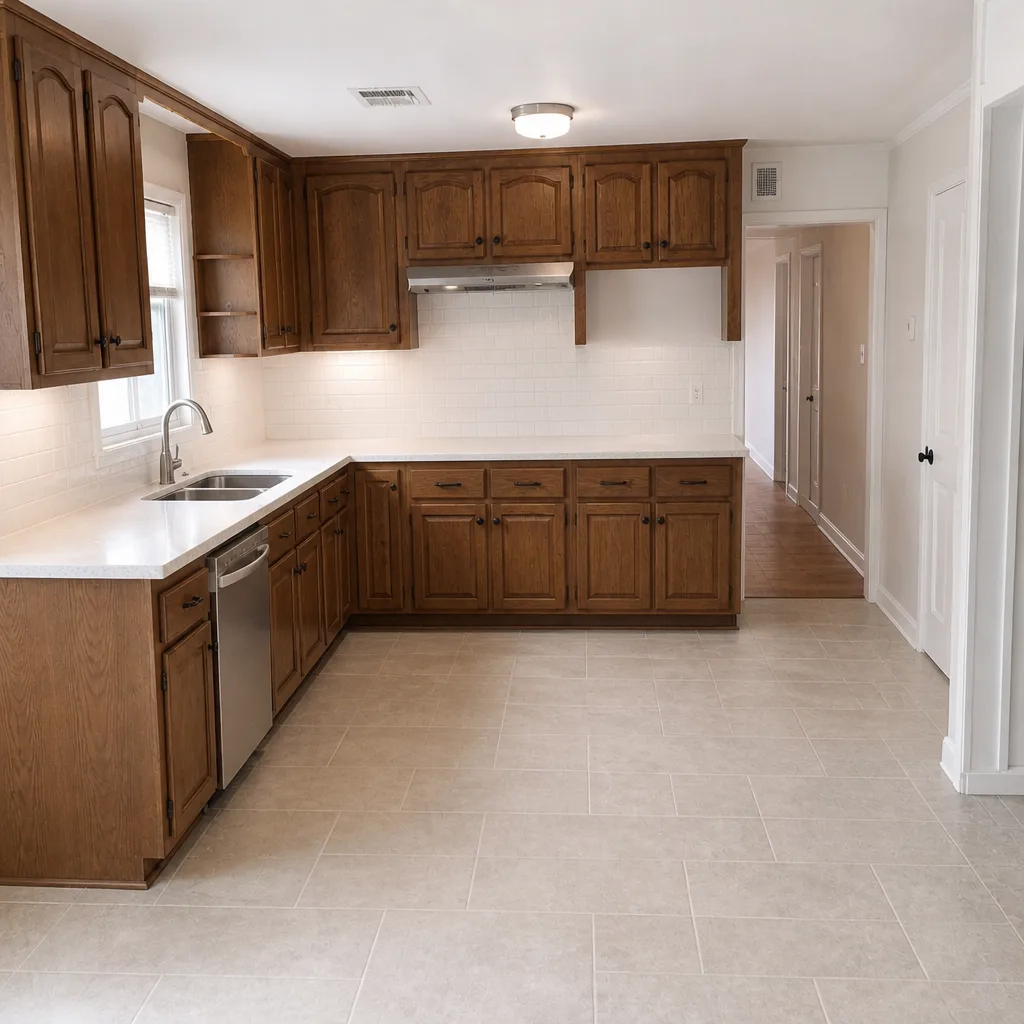
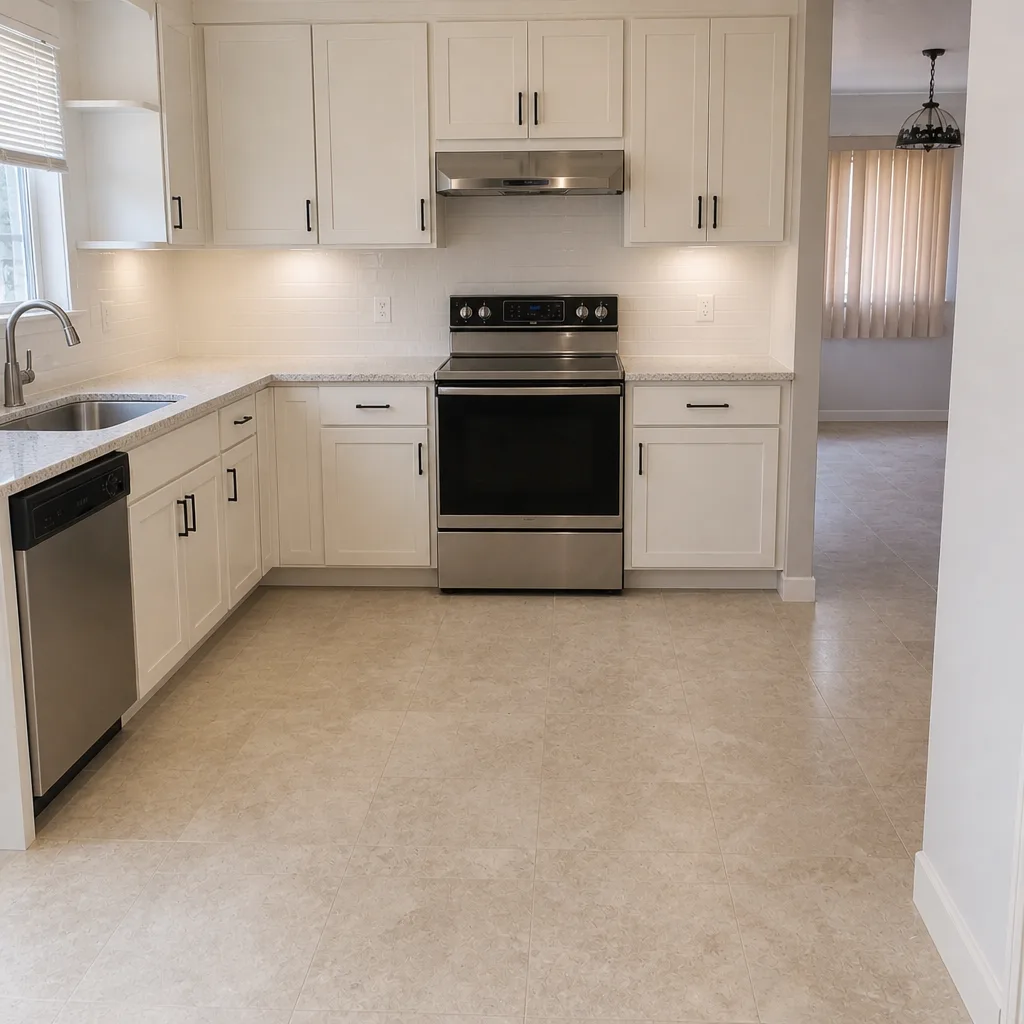 After
 Before
 After
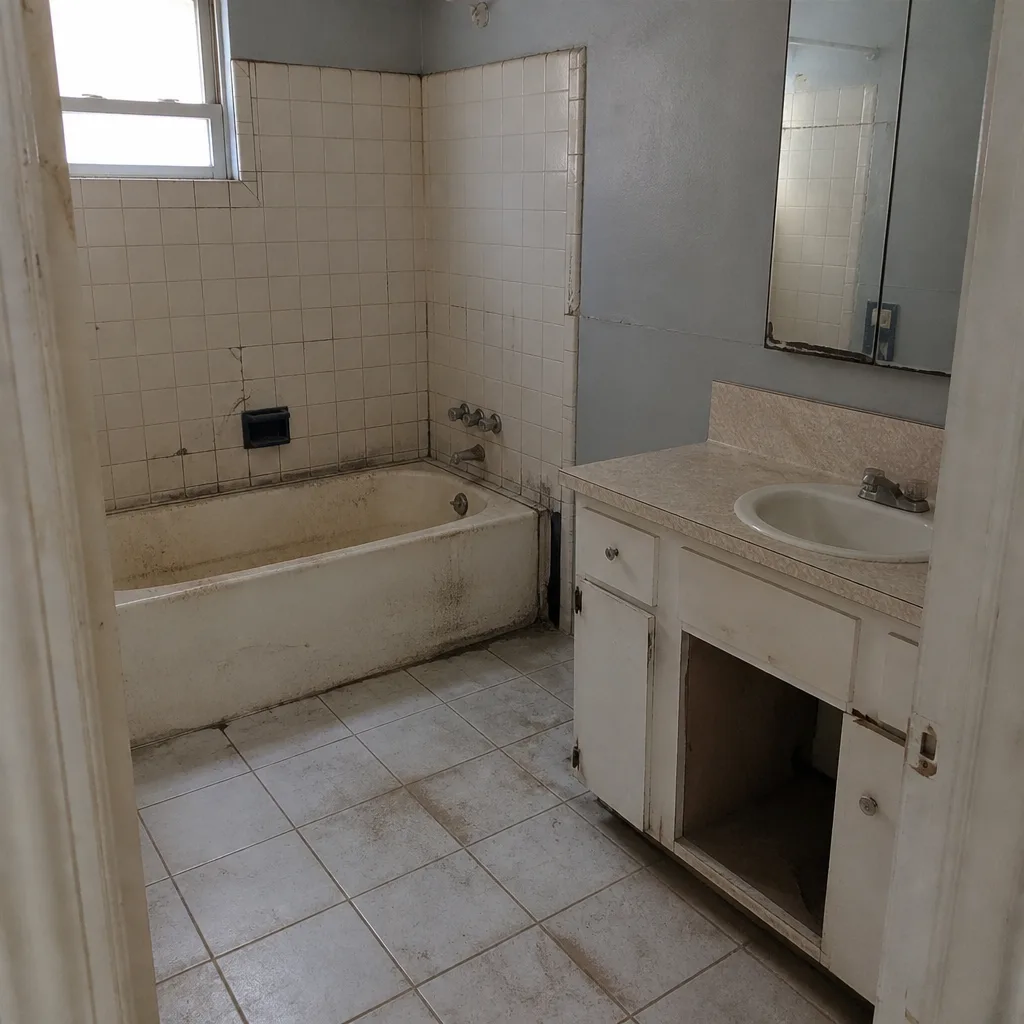 Before
 After
When to Call a Professional
Call a pro when any of these apply: the opening is exterior, the header will be altered, the rough opening is out of square by more than 1/4″, the wall assembly includes stucco or EIFS (common in Spring Valley, and unforgiving of flashing shortcuts), the opening is an egress window in a bedroom, or you don’t have a clear picture of the flashing sequence and the correct overlap order for your house. And if you’re replacing more than two exterior windows, the efficiency of a professional crew and the permit coverage are both worth having.
Groundwork Construction Co. of Spring Valley offers free estimates in Spring Valley. Call (888) 329-9414 and we’ll walk the openings with you, tell you honestly which ones you can handle yourself, and quote the ones that need professional work. Written line-item pricing, permits pulled and inspected, and the 730-Day Done Right Promise on every installation. Our technicians have up to 12 years of experience on installations in this climate, which means they know what a Spring Valley stucco detail actually needs, not just what a manufacturer’s manual says.
Frequently Asked Questions

Legally, in many cases yes, provided you pull the required permit for any rough-opening change. Practically, we don’t recommend it. The flashing sequence integration with Spring Valley’s stucco and siding assemblies is where DIY installs most often fail, and the failure is invisible for years. The air sealing also drives your HVAC performance in this cooling-dominated climate, so small mistakes compound into real monthly cost. Call (888) 329-9414 for a free estimate, and we’ll tell you exactly which parts of the job you can safely keep.
It depends on whether the rough opening changes. Like-for-like replacement in the same opening is often exempt in unincorporated Clark County, but you should verify with the county before starting, since inspectors vary on this interpretation. Any enlargement of the opening, new exterior opening, or header alteration requires a permit. Unpermitted exterior work follows your house through every future sale, appraisal, and insurance claim. Call (888) 329-9414 and we’ll help you sort out which permits a given job needs before any work starts.
Interior door hardware, weatherstripping replacement, screen repair, and caulk refresh are all safe DIY jobs for most homeowners. None require a permit, none involve structural or flashing work, and each has a generous margin for error. The one gotcha is caulk: you must remove the old bead completely, not just lay new material over it, or you’ll trap moisture. If you see soft wood under the old caulk, stop and call a pro.
Most Spring Valley window replacements run in the mid-hundreds to low thousands of dollars per opening depending on the window size, frame material, and wall assembly complexity. The line items that matter most for the total are flashing and air sealing, both of which are included in a professional install and both of which are where DIY savings usually cost more than they save. Call (888) 329-9414 for a written line-item quote on your specific openings, and we’ll show you exactly what each step costs so you can run your own hybrid math.
It can. Unpermitted structural or exterior opening work gives an insurance carrier a clear basis to deny a water intrusion or structural claim later on, especially if the damage traces back to the opening. The safe path is a permitted install with a signed-off inspection. If you’re unsure whether your existing install was permitted, we can walk it and tell you what we see. Call (888) 329-9414.
Yes, and it’s one of the smartest hybrid moves on a window or door project. Interior trim and paint typically account for 10 to 15 percent of the total cost, and it’s the part of the work with the most forgiving tolerance. The pieces you shouldn’t DIY are the rough opening, flashing, and air seal. Call (888) 329-9414 for a quote that breaks out the trim line item so you can decide what to keep.
The Bottom Line
DIY has real room in window and door work, and it’s worth being honest about that. Hardware, weatherstripping, screens, and caulk are all manageable. The line is exterior openings, structural headers, flashing, and air sealing, and it’s a line drawn by failure modes that stay invisible for years. In Spring Valley’s climate, those invisible failures compound into HVAC penalties and water damage long before they show up as a visible problem. Hire out the exterior side. Keep the interior trim, paint, and hardware work if you enjoy the weekend project. And if you’re unsure which side a given task falls on, the free estimate is the cheapest way to find out. Groundwork Construction Co. of Spring Valley offers free estimates: call (888) 329-9414 to schedule yours, and we’ll walk the openings with you.
Written by the team at Groundwork Construction Co. of Spring Valley.