
Last updated November 17, 2026








Free written scope consultation - allowances, timeline, and change-order rules on paper before a single trade is scheduled
Bathroom Remodeling Troubleshooting: Common Problems and How to Fix Them
Grout cracking within the first 12 months of a new bathroom tile job almost never means the grout was bad. It means the substrate underneath it moved, and the grout was the first thing honest enough to show it. Fix only the grout and you’ll be fixing it again next year, because the cause is still there doing its quiet work behind the tile. We’ve walked into Spring Valley bathrooms where a homeowner had recaulked the same tub-to-tile seam four times in two years, and the actual problem was a missing waterproofing layer that had been soaking the framing since month three. This guide is a symptom-to-cause map. You’ll learn what each failure is telling you, why it happened, and how to figure out whether it’s a weekend fix, a single-trade call, or a warranty conversation with the contractor who built it.
Quick Answer
Most post-remodel bathroom failures trace back to one of three root causes: skipped or failed inspections, unapproved material substitutions, or waterproofing that was done wrong and hid behind tile until the first year of real use exposed it. Grout cracks, hollow-sounding tiles, recurring drain odors, and fans that don’t clear steam are all symptoms pointing at those causes, not problems in their own right. Diagnose the cause before you patch the symptom, or you’ll pay for the same repair twice.
Styles & brands we work with
- Kitchen remodeling
- Bathroom remodeling
- Home additions & ADU
- Roofing
- Windows & doors
- Driveway & pavers
- Fence
Table of Contents
- The Symptom-to-Root-Cause Map
- Recurring Grout Cracks: Why They Come Back
- The Waterproofing Failure Sequence
- Tiles That Hollow-Sound When Tapped
- Plumbing Problems That Weren’t There Before
- Electrical Shortcuts You Can Feel and Hear
- Exhaust Fans That Don’t Clear Steam
- The Escalation Framework: DIY, Single Trade, or Warranty Call
The Symptom-to-Root-Cause Map
Here’s the reality of what we find when a homeowner in Spring Valley calls us about a bathroom that “just got done” and is already misbehaving: the thing they’re pointing at is rarely the thing that’s broken. Mapping symptoms to causes is the single most useful skill a homeowner can bring to the conversation, because it stops you from paying someone to treat the wrong problem.
Use this map to orient yourself before you call anyone:
- Grout cracking in straight lines along tile edges or corners: substrate movement, usually improper backer board installation or a missing movement joint.
- Grout cracking in a spiderweb across a floor field: deflection in the subfloor. The floor flexes underfoot and the grout can’t keep up.
- Persistent sewer or musty smell at the drain: a rough-in problem, a dry trap, or a failed wax seal – not a cleaning issue.
- Tiles that sound hollow when tapped: thinset didn’t bond. Could be a bad mix, a dusty substrate, or no back-buttering on large format tile.
- Recaulking that fails every 6-12 months at the tub: moisture moving behind the tile because the waterproofing layer is compromised or absent.
- Fan that runs but the mirror still fogs and the room stays damp: undersized fan, wrong duct routing, or the fan is venting into the attic.
- GFCI that trips under normal use: moisture intrusion into a circuit, or a shared circuit that shouldn’t be shared.
A lot of these show up in the first 12 to 18 months. That timing matters, because it sits right inside most workmanship warranties – and it’s the window where the original contractor still owns the problem. More on that in the escalation section.
Recurring Grout Cracks: Why They Come Back
Grout is rigid. Tile is rigid. The assembly between and beneath them is supposed to absorb every bit of movement in the room. When it doesn’t, the grout takes the hit and cracks. Patch it with more grout, and you’ve reset the clock on a failure that will repeat on the same schedule.
There are three fixes people try, and only one of them actually works:
- Regrouting the crack. Cosmetic. Buys you a few months. Fails again because nothing under it changed.
- Replacing the grout with caulk at the crack. Better on movement joints, wrong on field cracks. Caulk hides the crack without addressing deflection.
- Diagnosing and correcting the substrate. The only fix that holds. This can mean re-securing backer board to the studs, adding a movement joint where tile meets a different plane, or – in the worst case – removing tile to correct a deflection issue in the subfloor.
In Spring Valley, we see this a lot on second-floor bathrooms in two-story homes where the floor joist span is long and the tile was installed without an uncoupling membrane like Schluter Ditra. The desert climate makes it worse in a specific way: tile assemblies here go through bigger relative humidity and temperature swings than most of the country, and a floor that would have been fine in a stable climate starts telegraphing its movement through the grout joints. A properly built Schluter assembly on the same joist span usually holds up for years. The grout didn’t fail. The assembly did.
If your cracks are in a straight line along the wall-tile meeting or the corner of a shower, ask about movement joints. Tile-to-tile joints in those locations are supposed to be caulked, not grouted. When a contractor grouts a movement joint because it “looks cleaner,” you get a crack on the first temperature cycle.
The Waterproofing Failure Sequence
Waterproofing is invisible when it’s done right and invisible for 8 to 14 months when it’s done wrong. That’s why it’s so dangerous in a remodel – the job passes punch list, the bathroom gets used, and the failure builds slowly behind tile, grout, and backer board until it either shows through or the framing behind it has been wet long enough to smell.
Here’s the sequence we see, in order:
- Months 1-3: Nothing visible. Water enters behind the tile at a seam, a curb, or the tub-to-tile transition.
- Months 3-6: Caulk at the transition starts peeling or lifting. Homeowners recaulk. This is the first warning sign most people miss.
- Months 6-12: Grout in the shower floor or lower wall begins to darken or erode. A faint musty smell develops, often blamed on the drain or the fan.
- Months 10-18: Visible water staining on the ceiling below (if it’s a second-floor bath), efflorescence on the grout, or soft spots in drywall adjacent to the shower.
- Month 12 and beyond: Tile begins to debond, or the framing behind has held moisture long enough to swell. At this point, a surface fix is no longer enough – the assembly has to come apart.
The remediation scope depends entirely on how far it went. A properly built shower pan is a bonded waterproofing membrane (Schluter Kerdi, a liquid-applied membrane, or a sheet membrane) with a sloped mortar bed underneath. If the membrane is missing or mechanically damaged, the scope is typically: tear out the tile and backer board on the affected walls and floor, replace any compromised framing or drywall, rebuild a proper sloped pan, reframe, re-waterproof, retile. The drywall on the other side of the wall usually needs replacing too.
What a surface fix achieves: almost nothing. A “sealer coat” on the tile, a new layer of caulk at the seam, a new bead of grout – none of it addresses a wall that’s already soaked. In Spring Valley’s dry climate, a leak that would rot framing in a humid climate in 6 months might take 12 or more to show – but it’s still rotting, just quietly. A home inspector with a moisture meter will find it long before you will. That’s a phone call we get often, and it’s a scope conversation, not a handyman job.
Tiles That Hollow-Sound When Tapped
Tap a tile with the plastic handle of a screwdriver. A properly bonded tile gives a dull, solid thud. A hollow sound means the tile is tapped on a cavity instead of thinset – the tile is attached only at the corners or not at all, and it’s going to come loose.
Hollow sounds come from a few specific causes, and each has a different fix:
- Spot-bonding: The installer “dotted” thinset behind the tile instead of spreading it combed with a trowel. Common shortcut, especially on large-format tile. Fix: the tile has to come out and be reset with full coverage.
- Dusty substrate: Thinset won’t bond to dust, grease, or drywall compound. If the backer board wasn’t wiped down before install, the bond is a film, not an anchor.
- Skipped back-buttering: On 12×24 or larger tile, especially in showers, the tile needs thinset on both the wall and the back of the tile. Skipping this leaves large unbonded voids.
- Wrong thinset for the material: Modified vs. unmodified, porcelain vs. ceramic, glass tile. Using the wrong one gives partial bond that fails under normal movement.
- Subfloor deflection: On floors, hollow tiles often come with the spiderweb cracks described above. The floor is flexing and the bond is breaking.
One hollow tile on a shower wall is usually cosmetic – a single replacement. A field of hollow tiles across a floor, or hollow-sounding tile along a whole wall, is a re-install. If the work is less than two years old and you can demonstrate the hollow pattern, that’s a workmanship issue and belongs in the contractor conversation. In our experience, a contractor who did the job right will want to see it. A contractor who spot-bonded 40 tiles is going to try to talk you out of looking.
Plumbing Problems That Weren’t There Before
If your drain was fine before the remodel and it’s slow now, or the hot water takes noticeably longer to reach the new fixtures, the remodel introduced it. Plumbing issues that appear right after a bathroom rebuild are almost always rough-in decisions, not worn parts.
The three most common, and what they mean:
- Slow drain that wasn’t slow before. Common causes: the rough-in plumbing was rerouted with a shallower fall than code allows, a P-trap was installed with too shallow a depth (short standing water, gurgles), or a vent was capped off or improperly re-routed because the new layout pushed the drain too far from the existing vent stack. That last one is the classic “wasn’t slow before” root cause.
- Pressure drop at new fixtures. Usually a PEX or copper line that was undersized for the fixture it feeds, or a shared line serving a shower and vanity when they should be separate. A rain shower head in a 12-inch American Standard setup needs its own properly sized line; if the contractor reused the old vanity feed, you’ll feel it the first time you shower.
- Longer hot water wait. Two causes. First, the water heater didn’t move, but the new bathroom did – typically an addition or a relocated bath that now sits further from the heater. Second, and more common: the new fixture is a lower-flow model that uses a smaller pipe, but the line feeding it wasn’t upsized for distance, so cold water in the line takes longer to purge. A recirculation loop or an on-demand heater solves it, but it’s a plumbing decision, not a swap-out.
Persistent sewer smell is its own category. A wax ring that failed on install, a floor drain that dried out (common in Spring Valley where humidity is low and secondary baths go unused for months), or a venting issue in the rough-in. Try pouring a cup of water down any floor drain first – if the smell goes away, it was a dry trap. If it comes back, it’s rough-in.
Electrical Shortcuts You Can Feel and Hear
Bathroom electrical work is heavily regulated for exactly one reason: water plus electricity kills people. Every shortcut in bathroom electrical work is a safety shortcut, and several of them are detectable without opening a wall.
GFCI that trips under normal use. A GFCI interrupting the circuit when you turn on a hair dryer is doing its job. A GFCI that trips when nothing unusual is happening – while the fan runs, or while the room is just sitting – is telling you moisture is reaching the circuit. Causes: a bathroom receptacle installed without a proper weather-resistant cover plate near the shower, moisture inside a wet-location box that wasn’t sealed, or a shared circuit that pulls in a load from elsewhere in the house – sometimes a bathroom GFCI ends up downstream of a garage or exterior circuit, and every exterior outlet triggering the bathroom.
Exhaust fan on a shared circuit. The fan code requires its own dedicated circuit in most modern bathrooms; the light and fan on the same switch is fine, but the circuit itself shouldn’t be shared with a bedroom or hallway light under current code. A fan on a shared circuit that occasionally drops out when the light is switched on another circuit is an indicator that the electrical rough-in took a shortcut.
Lights that dim when the fan runs. This is a load or wiring indicator. Either the fan is on the same undersized circuit as the vanity lighting, or the neutral connection is loose in the junction behind the wall. It matters, because loose neutrals arc and arc causes fires. This is a licensed electrician call, full stop.
One safety caveat worth stating plainly: do not open a bathroom electrical box to look. Even with the breaker off, a shared neutral can stay hot. Bathroom electrical work should be done by a licensed electrician, inspected if the scope warrants it, and verified with a meter before anything is touched.
Exhaust Fans That Don’t Clear Steam
An exhaust fan that runs but doesn’t clear the mirror is failing its only job. Bathroom fans are rated in CFM (cubic feet per minute), and the correct size depends on the room. A 100-square-foot bathroom needs somewhere around 100 CFM. The problems almost always fall into one of five buckets:
- Undersized fan. A 50 CFM builder-grade fan in a 120-square-foot bathroom with a rain shower. You can’t vent 120 square feet with a 50 CFM fan no matter how long you run it. Replacing the fan with a properly sized one is the fix.
- Ducted into the attic. Illegal, common, and dangerous. The fan blows steam into the attic space, where it condenses on the sheathing and rots the roof structure over years. Verify where the duct actually goes – not just that it exists.
- Long, saggy, or under-sized duct run. A duct over 25 feet, with 3 bends, and no smooth interior pipe can drop effective CFM to a fraction of the fan’s rating. A 4-inch duct running 30 feet through the attic might move half the air the fan says it does.
- No makeup air. A fan can’t move air out of a sealed box. In a tight modern bathroom with a solid-core door, some gap at the door bottom or a transfer grille is required for the fan to work.
- Fan on a timer or switch that nobody uses. Fan needs to run 20 minutes after a shower. A fan on the same switch as the light goes off when you leave the room.
In Spring Valley, the attic space gets to 140°F-plus in summer. A fan ducted into the attic there rots the sheathing faster than anywhere else and also pours heat back into the bathroom through the fan housing. Any sign of moisture staining on the drywall ceiling above the fan is a strong indication the duct is not going outside. That’s a same-week call.
The Escalation Framework: DIY, Single Trade, or Warranty Call
Not every problem deserves the same response. Getting the escalation level right saves money and often saves the warranty claim itself, because some interventions void coverage. Here’s the framework we walk homeowners through:
Level 1: DIY-fixable
Small things that don’t affect the assembly and don’t involve water behind a wall or electricity.
- Recaulking a tub-to-tile seam that’s lifted but the caulk behind it is dry. Use 100% silicone, not painter’s caulk.
- Pouring water down a floor drain to restore the trap seal.
- Replacing a fan grille, a light bulb, or a shower head (torque separately – do not use thread sealant on a shower arm unless the manufacturer calls for it).
- Cleaning and resealing grout with a penetrating sealer as routine maintenance.
Level 2: Single-trade call
One discrete trade, qualified and licensed, fixes it without involving the general contractor.
- Slow drain traced to a hair clog: plumber.
- Undersized fan needing replacement: electrician or HVAC.
- GFCI tripping that traces to moisture in one receptacle: electrician.
- Single hollow tile on a shower wall, if the rest is solid: tile setter.
Level 3: Warranty call to the original contractor
Failures that trace to the way the assembly was built – waterproofing, substrate, rough-in plumbing, electrical rough-in, tile that was spot-bonded. These are workmanship issues, and the original contractor should be the first call. The 730-Day Done Right Promise on our work exists precisely because we want to be the contractor that homeowner calls, and because failures like these belong to the builder, not the homeowner’s wallet.
Before you call, document. Take photos of the failure, note the date you first noticed it, and keep every text and email from the original build. A contractor who is going to own the problem will want the history. A contractor who is going to dodge will use a gap in the record.
Common Mistakes to Avoid
- Patching a symptom without finding the cause. Recaulking a seam every 6 months feels proactive, but it hides the moisture trail the contractor needs to see. Photograph the failure before you touch it.
- Accepting a “we’ll deal with it at the one-year mark” answer. A waterproofing failure left 11 months doesn’t get better. In Spring Valley’s climate, framing that’s been wet for a year is a rebuild, not a reseal.
- Installing a fan rated for a smaller room than you have. Most homeowners replace a 50 CFM fan with another 50 CFM fan because that’s what was there. Pull the room’s square footage first; a 120-square-foot bath needs more CFM, especially with a steam-generating rain shower.
- Skipping the inspection on a minor repair. A substrate fix, a drain reroute, and any replacement of electrical in a wet location all trigger permit and inspection requirements in most Spring Valley-area jurisdictions. A repair without a permit can void the warranty on the original work.
- Letting someone “seal” a shower to fix a leak behind it. Sealers and topical membranes cannot stop a leak that originates behind the wall – they only slow the visible symptom. If the failure is behind the tile, the fix is behind the tile.
- Not specifying brand and material before signing the bid. “Tile setter will select tile” is a substitution waiting to happen. Specify the exact Schluter membrane, the exact Toto or American Standard fixture model, in writing, before work begins.
- Ignoring dimming lights or intermittent outlet trips. These feel like annoyances. They are warning signs of a loose neutral or a shared circuit and they can precede a fire. Get an electrician in the same week.
See the difference
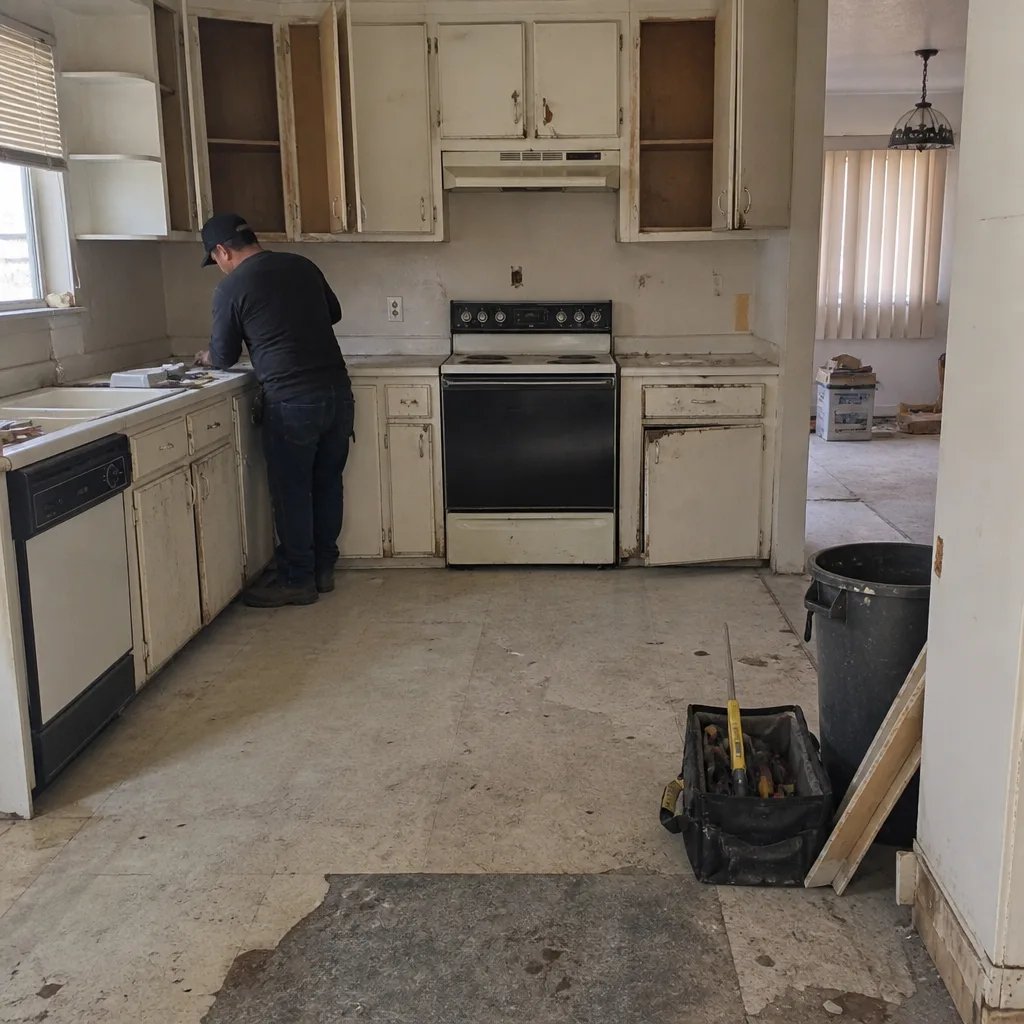 Before
 After
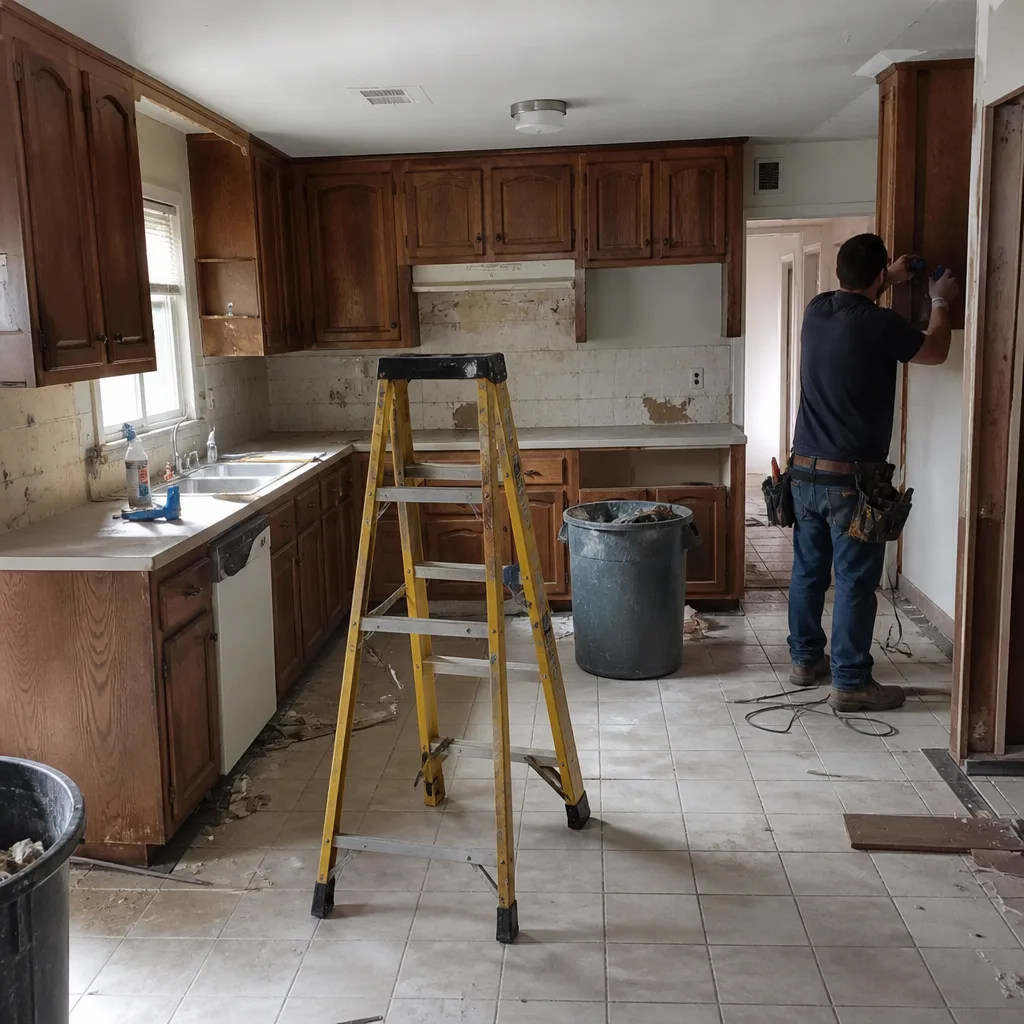 Before
 After
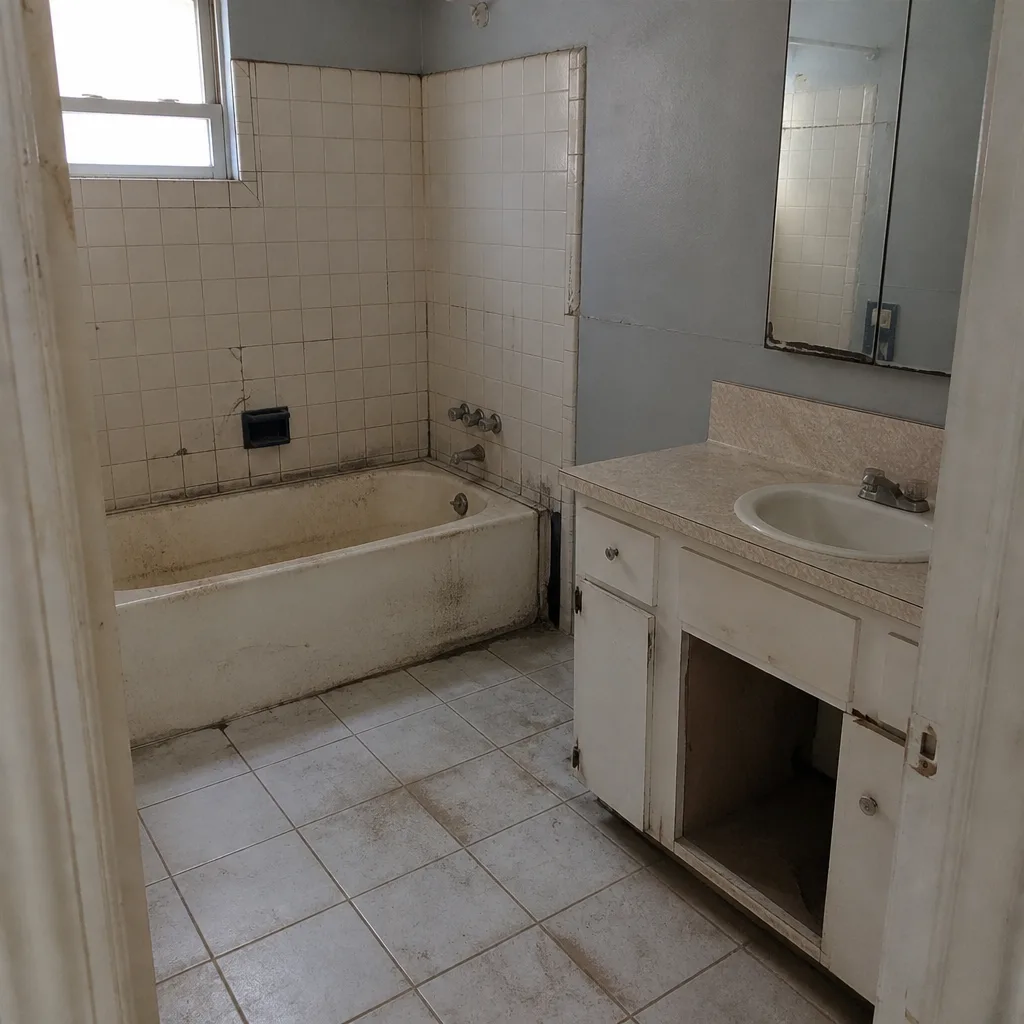 Before
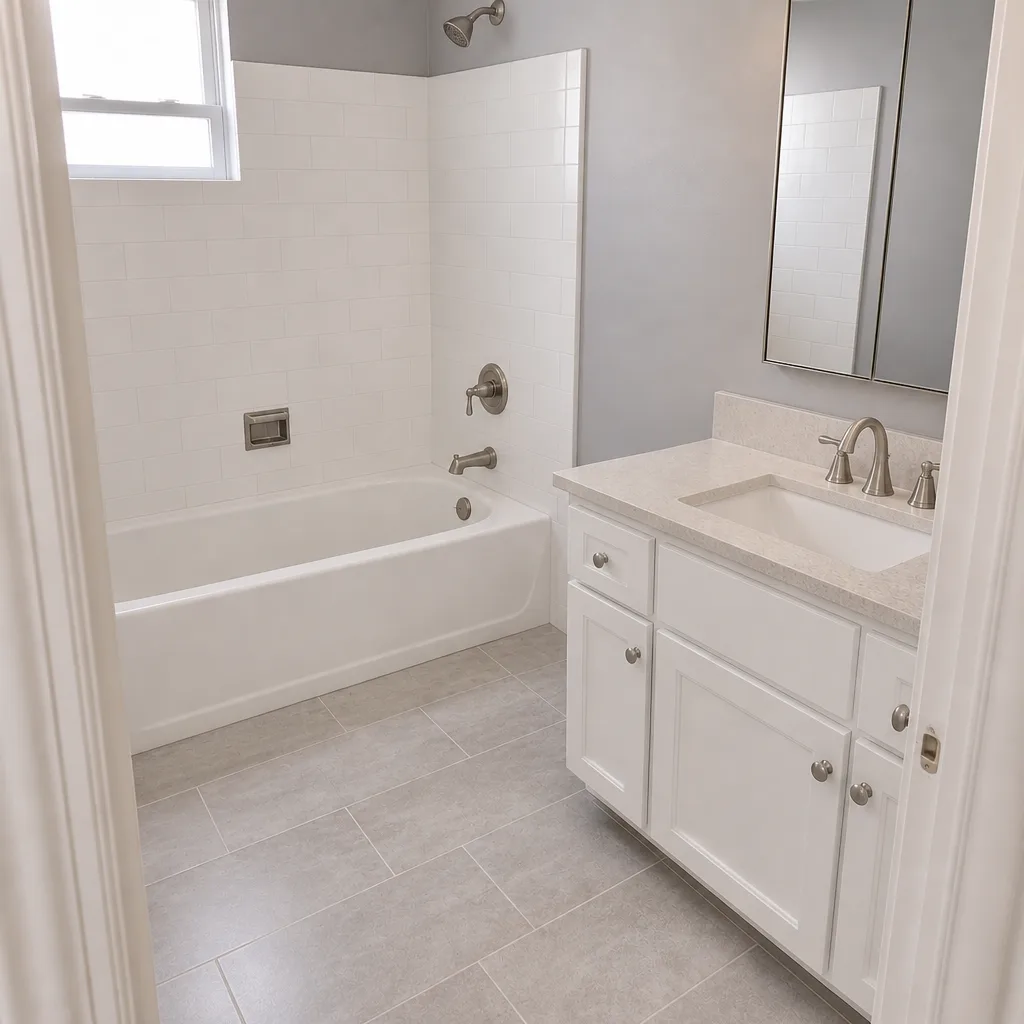 After
When to Call a Professional
Call a professional when you can’t see the cause – which is most of the time on bathroom failures. Specifically: any sign of moisture behind tile (darkened grout, peeling caulk, stains on adjacent drywall or the ceiling below), any tile field with multiple hollow sounds, any persistent sewer smell that survives a floor drain fill, any electrical symptom at all (tripping, dimming, buzzing), and any fan that doesn’t clear steam within 15 minutes of the shower ending. These are the situations where a scope of work matters and a surface fix is a false economy.
If your bathroom was remodeled and it’s failing inside the workmanship window, call the original contractor first under your warranty. If the original contractor is gone, unresponsive, or arguing about scope, an independent assessment with photos and a moisture meter usually settles the conversation quickly. Groundwork Construction Co. of Spring Valley offers free estimates in Spring Valley – call (888) 329-9414. We’ll tell you what’s actually happening, what fixing it properly involves, and what it costs before anything is touched. Upfront pricing, no surprises – and if the original contractor’s work is our work, the 730-Day Done Right Promise applies without argument.
Frequently Asked Questions

Most properly installed waterproofing lasts decades, but failures from a missing or compromised membrane typically show their first visible signs between 6 and 14 months of regular use. The sequence usually starts with failing caulk at a tub-to-tile seam, then dark or eroded grout, then a faint musty smell – and by the time a stain appears on the ceiling below, the assembly behind the tile has been wet for months. In Spring Valley’s dry climate the timeline can stretch toward 18 months because moisture evaporates off the surface quickly, but the framing behind is still getting wet. Call (888) 329-9414 for an assessment if you’re seeing any stage of that sequence.
One or two hollow tiles on an otherwise solid wall are usually cosmetic and can be replaced individually. A field of hollow tiles, or hollow tiles running along a whole wall or the shower floor, indicates a systematic bonding failure and usually means the tile has to come out. The diagnostic is simple: tap the tiles with a plastic tool handle across the field and count the hollow ones. If more than a handful of tiles in the same area sound hollow, get an independent opinion before agreeing to any repair scope. Call (888) 329-9414 for a free estimate on what a proper re-install would involve.
Sometimes. A slow drain caused by a hair clog, a partially closed valve on the drain line, or a trap that’s fine but has a shallow fall can usually be fixed from the drain side. Slow drains caused by improper rough-in venting, a drain rerouted with too shallow a slope to meet the main, or a vent stack that was capped to make way for the new layout almost always require opening the floor or wall to correct. A licensed plumber can camera the line and tell you which you’re dealing with in about an hour. Call (888) 329-9414 for a free estimate on the rough-in fix if the camera confirms the problem is in the pipe, not the trap.
It has to vent outside. In most jurisdictions, code requires bathroom exhaust to terminate outdoors through a wall or roof cap, and venting into an attic is a code violation. The reason is real: in Spring Valley’s summer heat, moisture from the fan condenses on attic sheathing and roof framing and starts rotting the structure within a few seasons. If you’re not sure where your fan’s duct goes, look in the attic – if it terminates in the insulation, or dumps into the space, it’s wrong and needs correction. Call (888) 329-9414 for a free estimate on rerouting it properly.
A workmanship warranty covers how the assembly was built – the waterproofing, tile setting, plumbing rough-in, electrical rough-in, and installation of fixtures. A manufacturer warranty covers the materials themselves – the tile, the Schluter membrane, a Toto or American Standard fixture – against defects in the product. The two are different claims and they don’t substitute for each other. When something fails in the first year, it’s almost always a workmanship issue and belongs with the original contractor, not the manufacturer. Our 730-Day Done Right Promise exists so homeowners have a clear, long workmanship window. Call (888) 329-9414 with the project details and we’ll walk you through which warranty path applies.
A proper fix – tear out the tile, backer board, and any compromised framing on the affected walls and floor, rebuild a sloped pan with a bonded membrane, re-waterproof, retile, and replace the failed drywall on the other side – typically runs into the low five figures in the Spring Valley market, because half of the work is demolition of a failure. A single tile replacement or a local reseal runs a few hundred. The gap is why diagnosing correctly matters: a homeowner who pays for a reseal on what was actually a failed pan has spent money and gained nothing. Call (888) 329-9414 for a free estimate – the number you see is the number you pay, and we walk the job with a moisture meter before we quote it.
The Bottom Line
Most bathroom remodel problems that get blamed on “contractor mistakes” are the downstream result of one of three root causes: skipped inspections, unapproved substitutions, or waterproofing that was done wrong and hid behind tile until the first year of use exposed it. Grout cracks come from substrate movement, hollow tiles from failed bond, drain odors from rough-in venting, dimming lights from electrical shortcuts, and foggy mirrors from undersized or misrouted fans. Identify the root cause before you pay for a fix. Patch the symptom and you’ll be back here again in 12 months, in the same conversation with the same failure, minus the cost of one unnecessary repair.
If the failure traces back to how the bathroom was built, the conversation belongs with the contractor who built it. If your builder is gone, or the work is beyond the warranty, an independent assessment saves you from spending money on the wrong fix. We’ve been doing this long enough to know that the homeowner who calls with symptoms and a photo usually gets a straight answer in ten minutes. Groundwork Construction Co. of Spring Valley offers free estimates in Spring Valley – call (888) 329-9414 to schedule yours. From foundation to finish line, and backed in writing for 730 days.
Written by the team at Groundwork Construction Co. of Spring Valley.